G27 Steeringwheel mod number two with Sugru


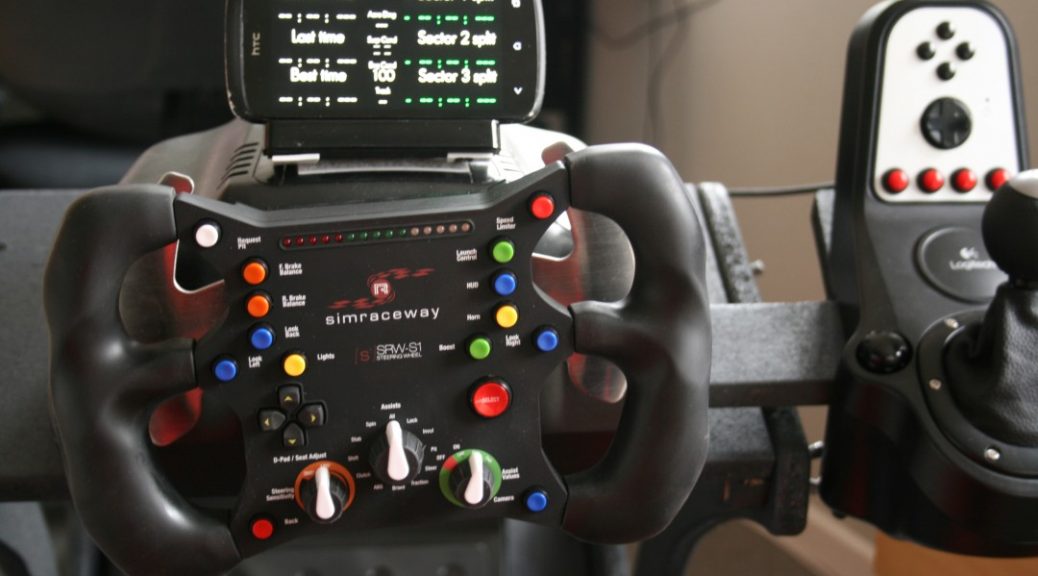
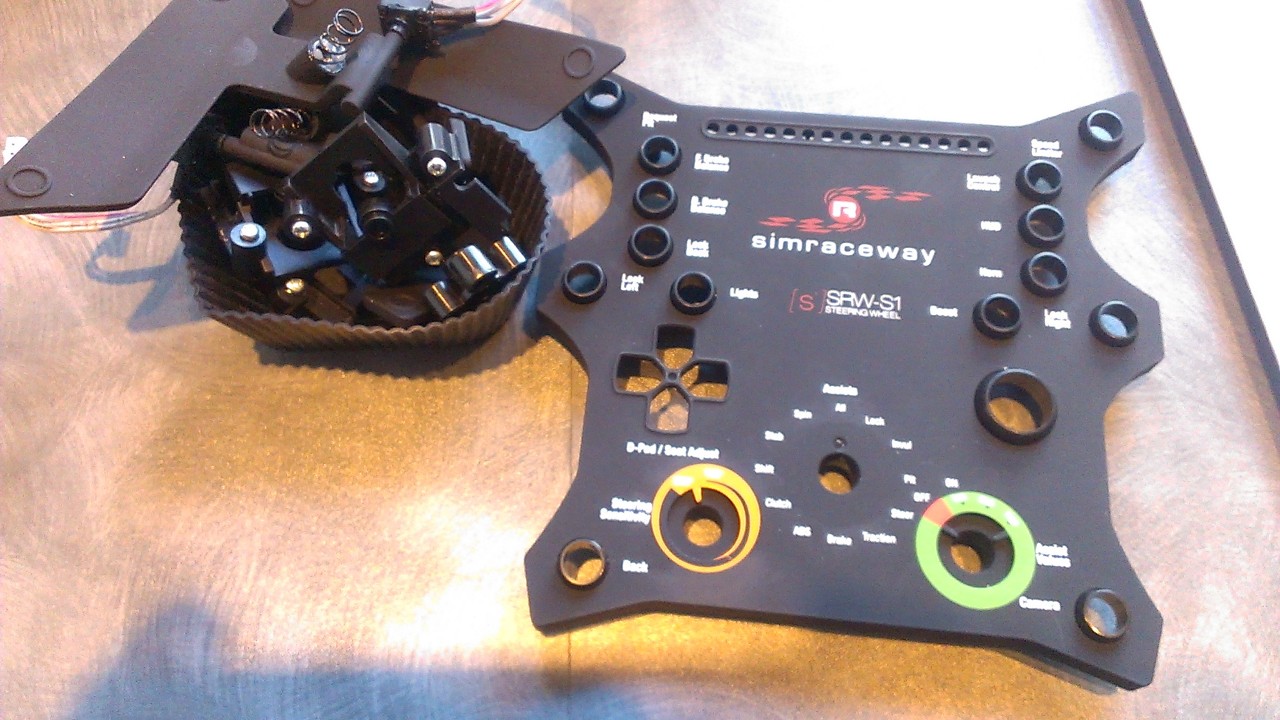
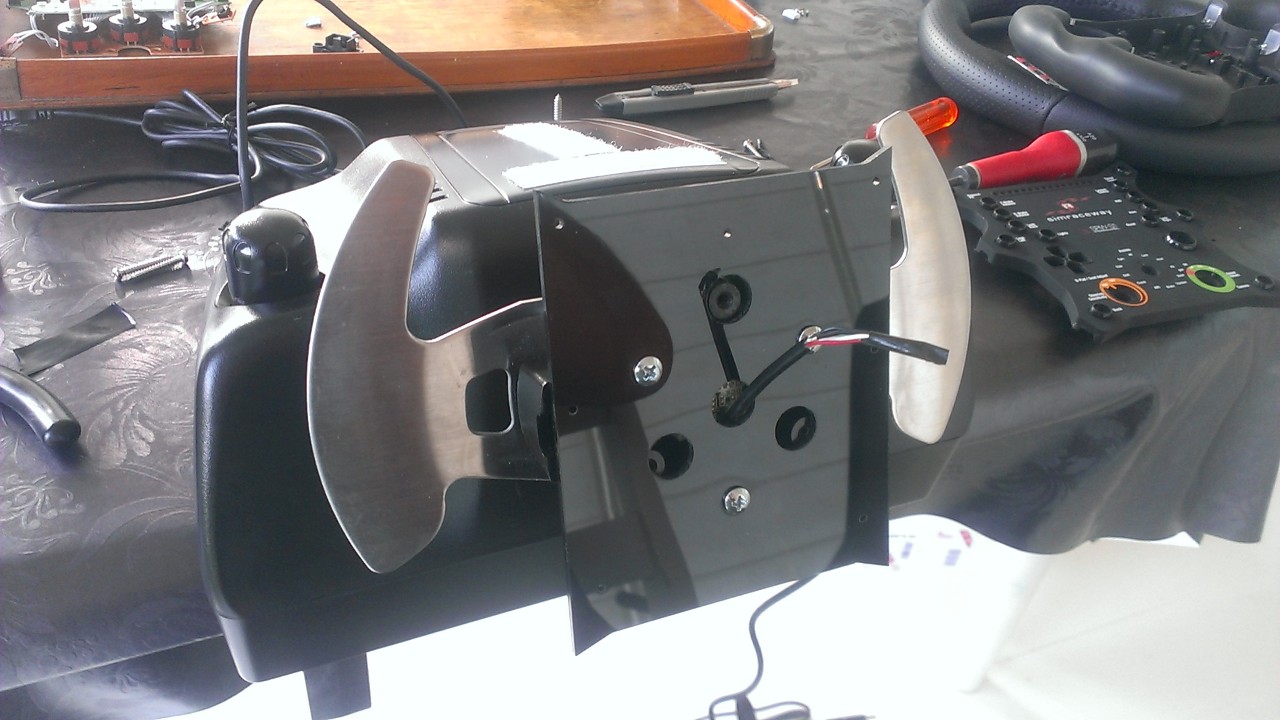
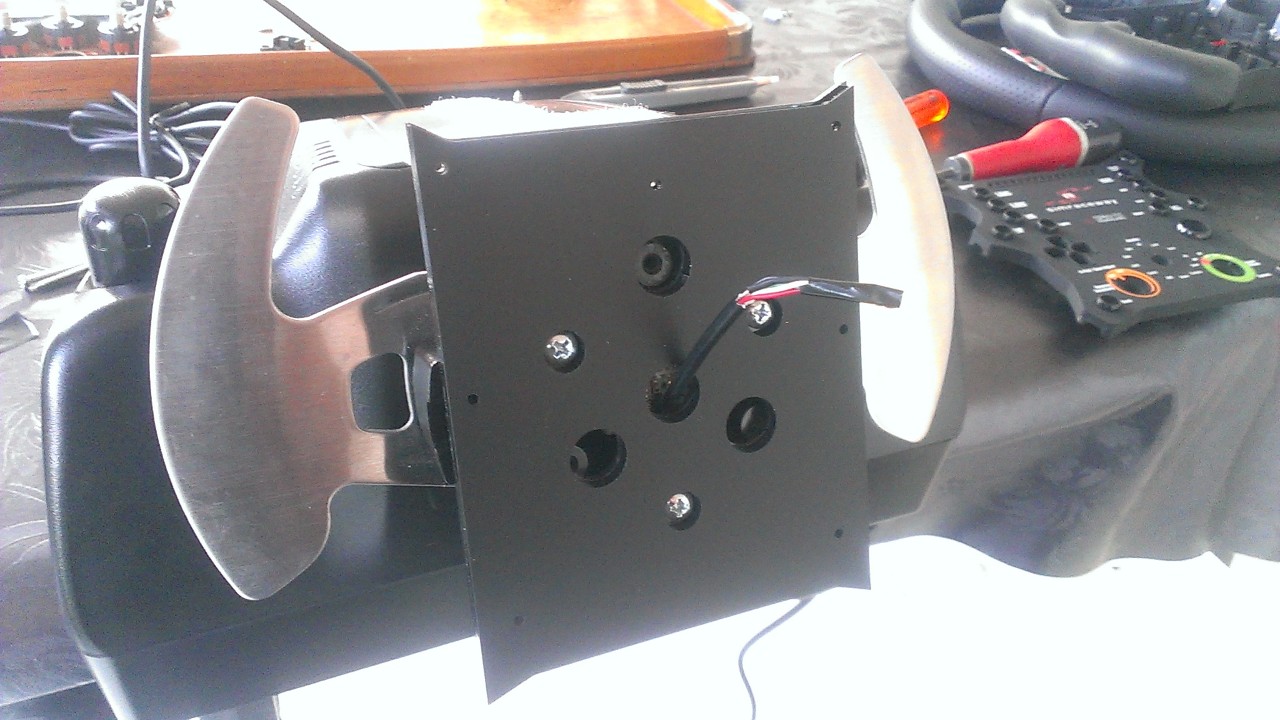
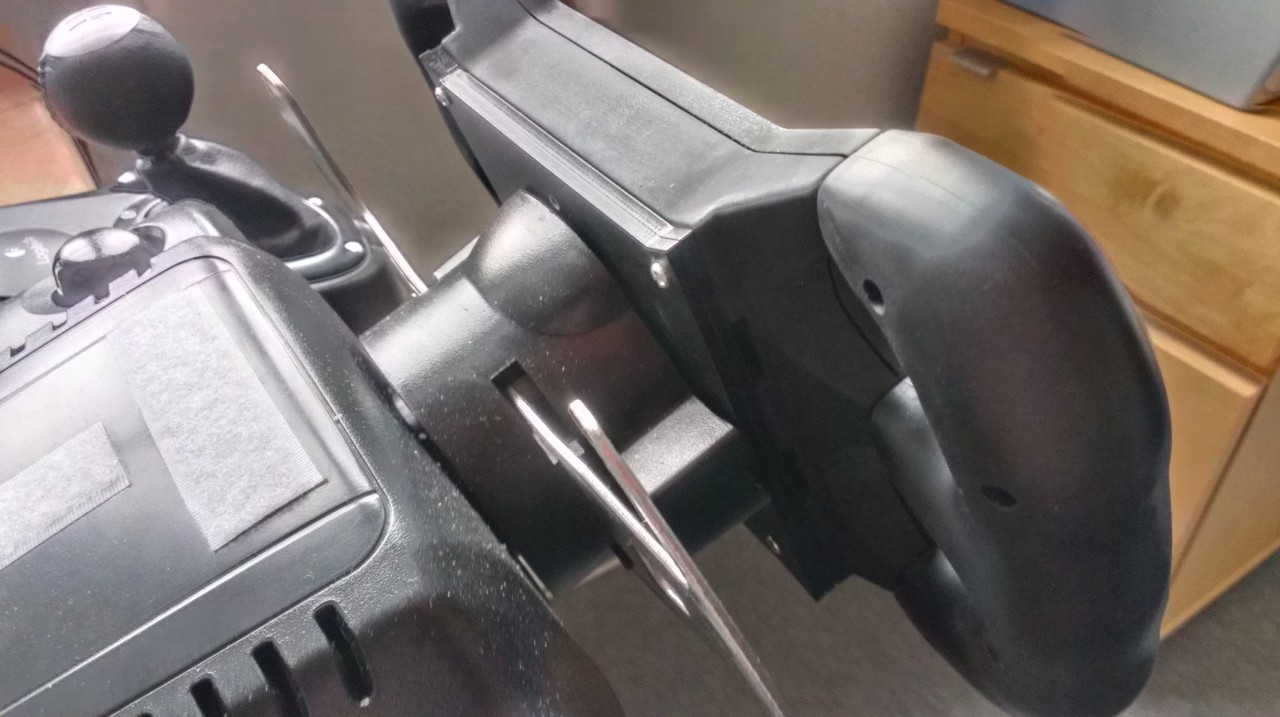
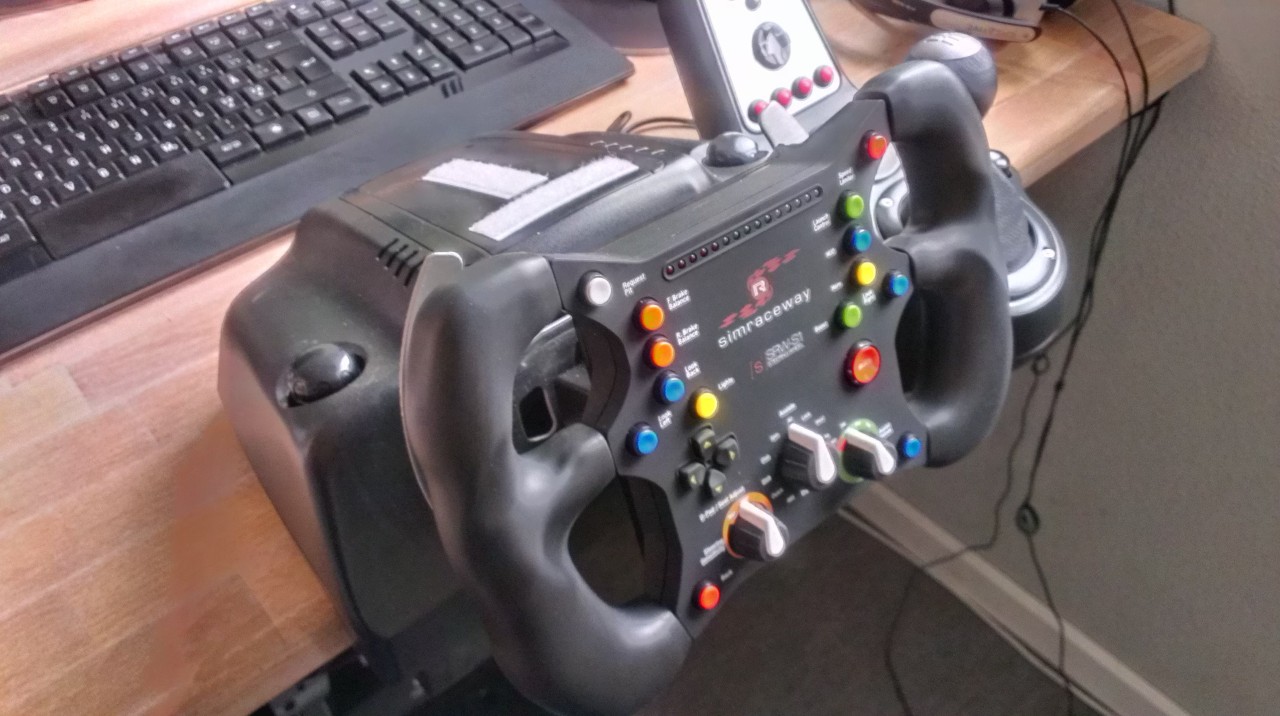
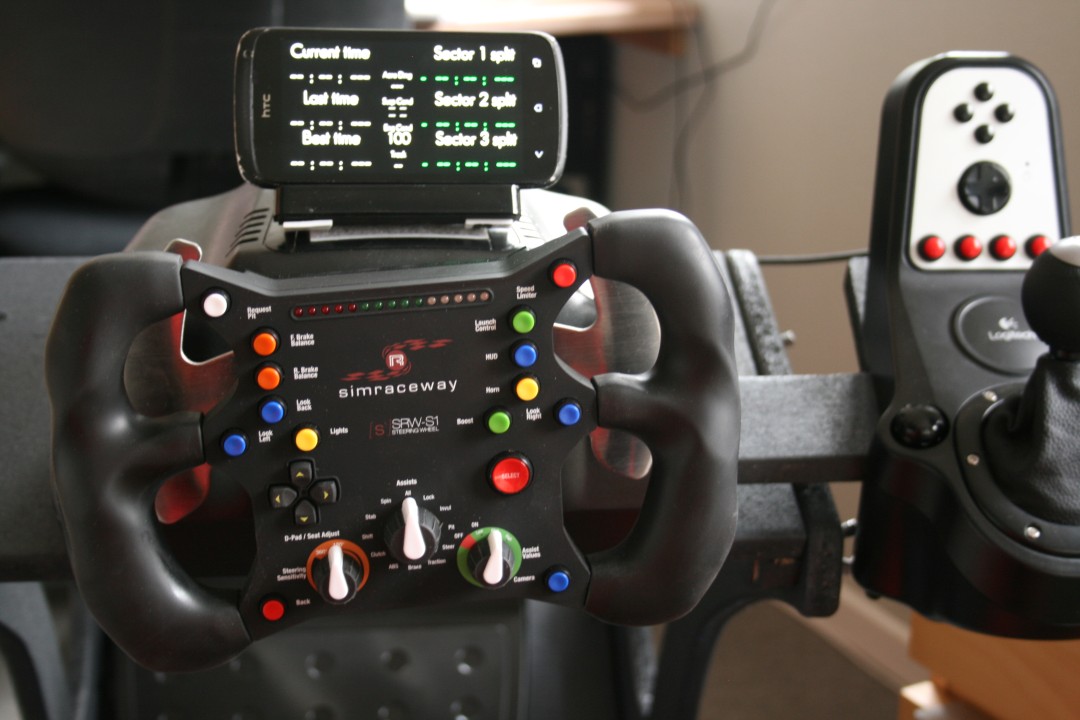
Well, the SRW-01 mod have done me well, but now I have worn down the plastic cover, and I even tried to glue it, but it’s not holding up.

So while im looking for a new used SRW-01 for sale somewhere, I’m trying to make a more solid steeringwheel with the use of the eletronics from the SRW-01.

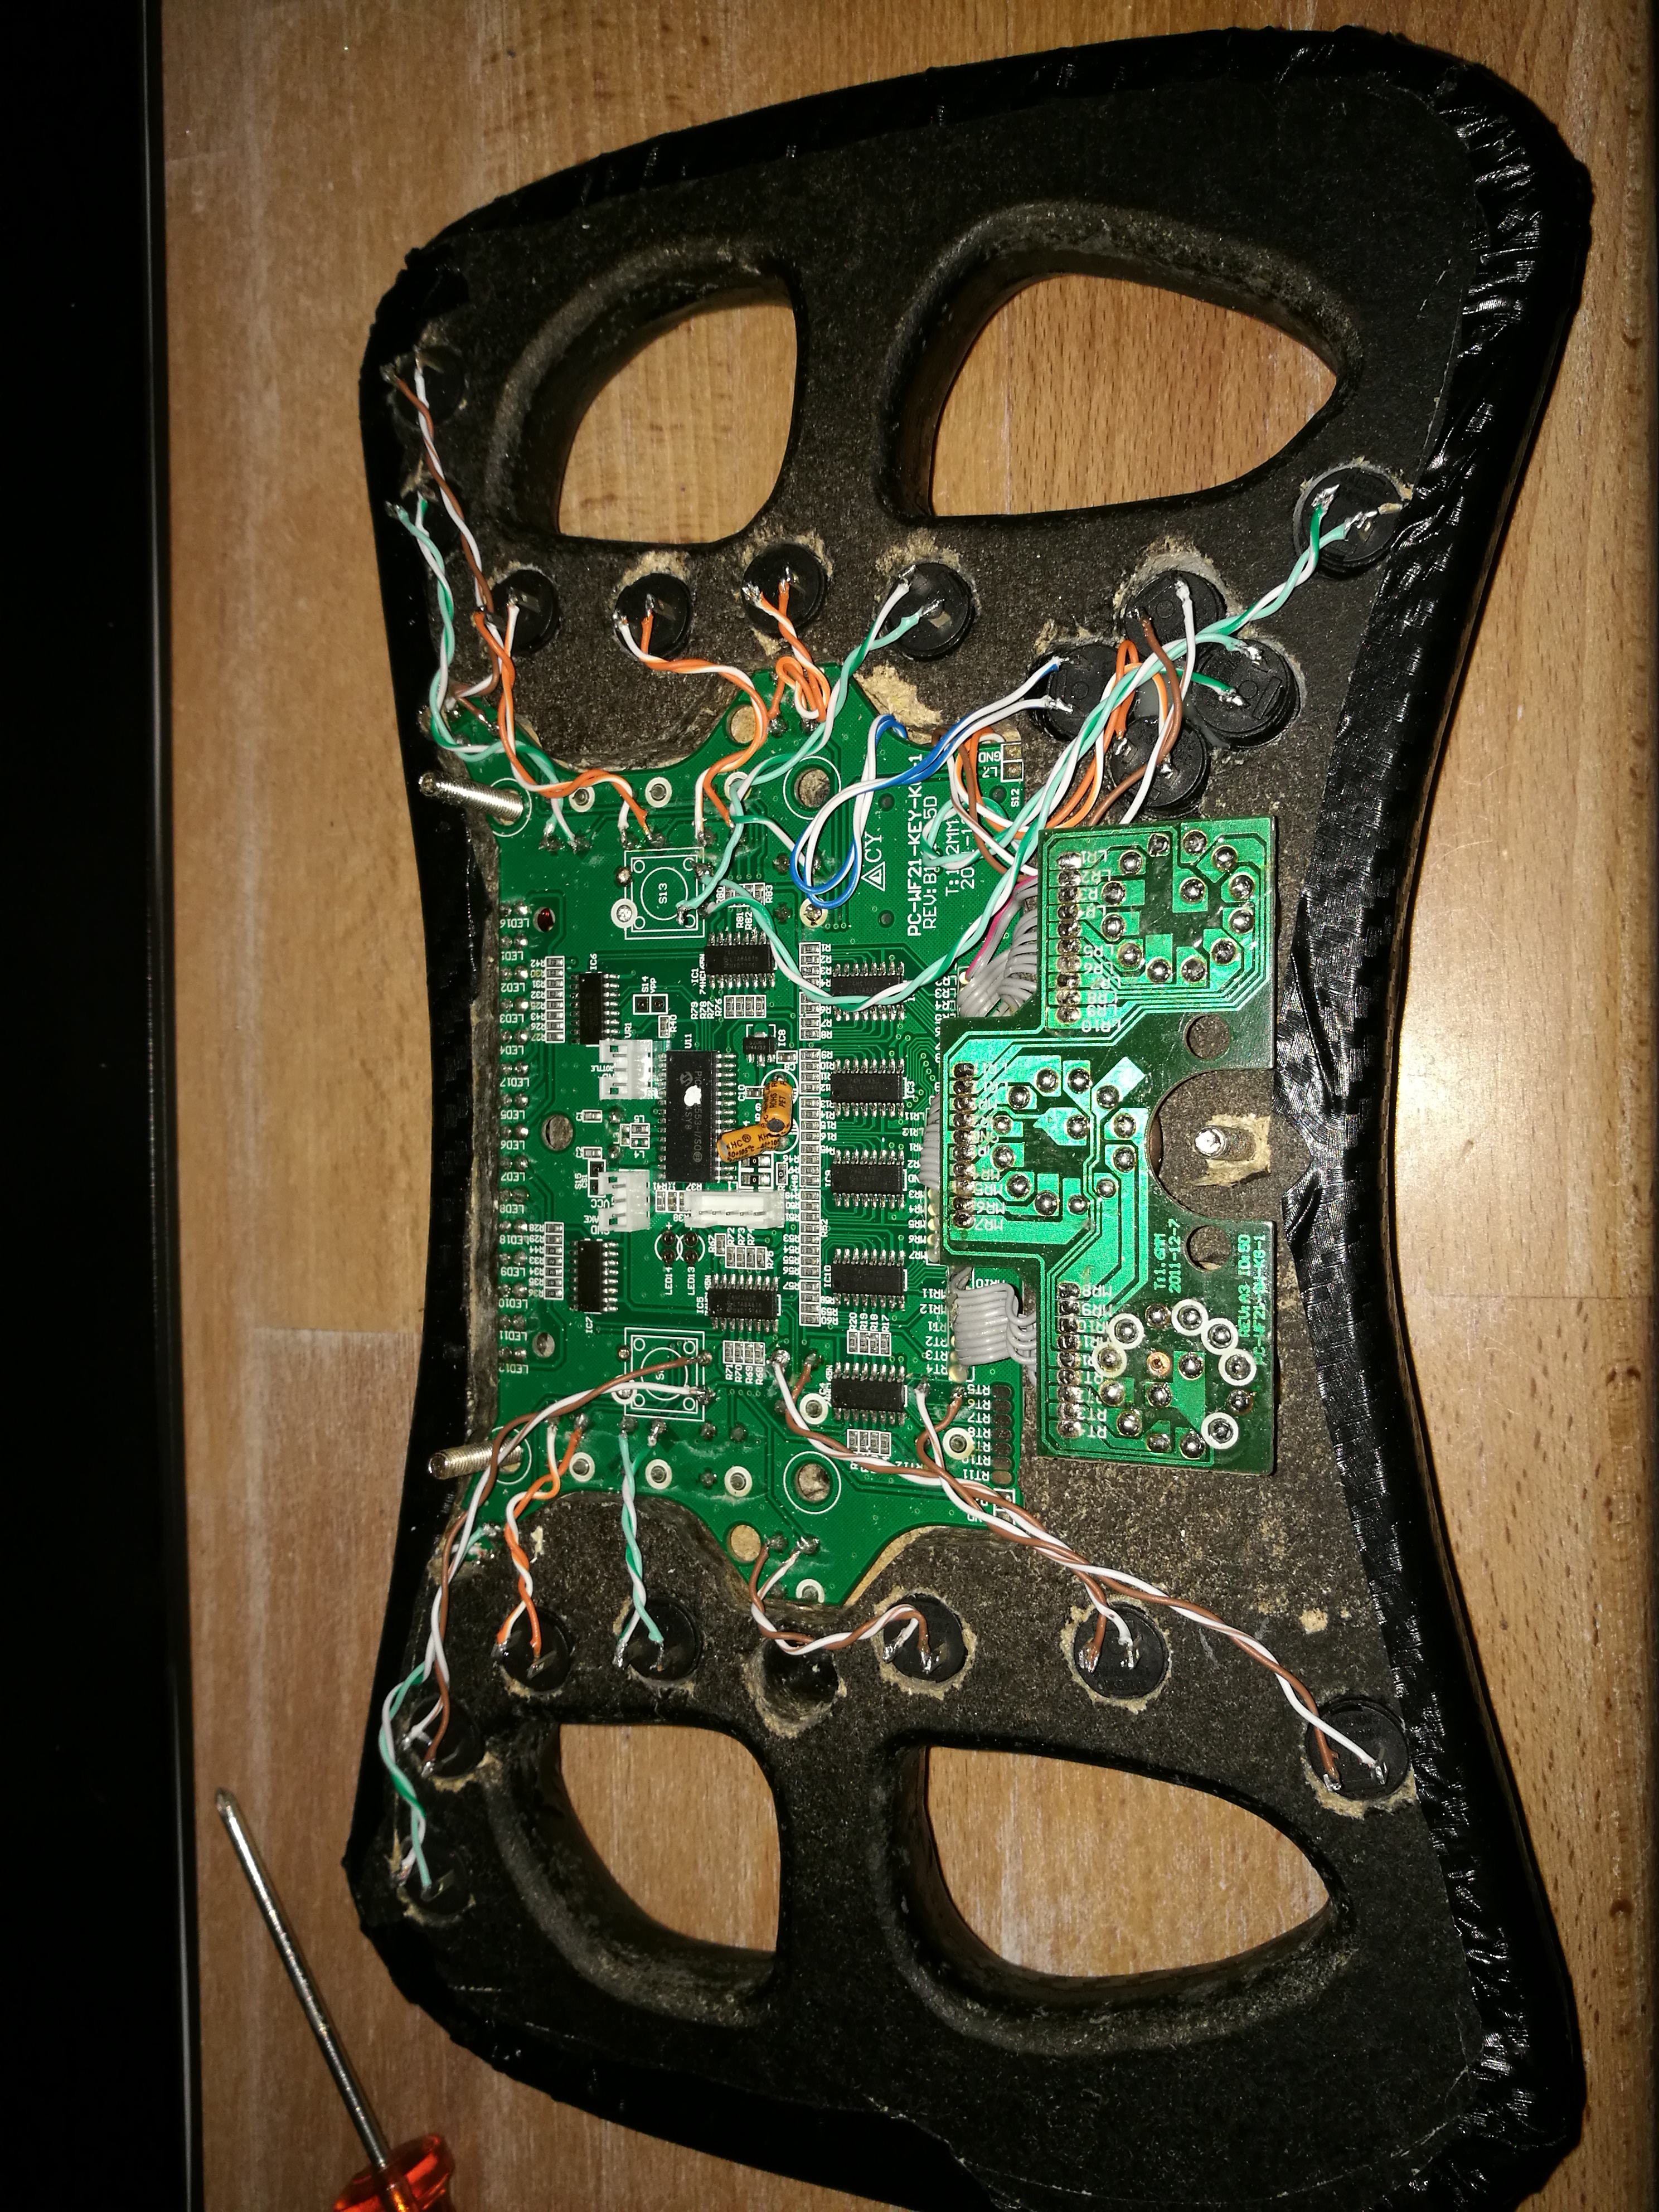
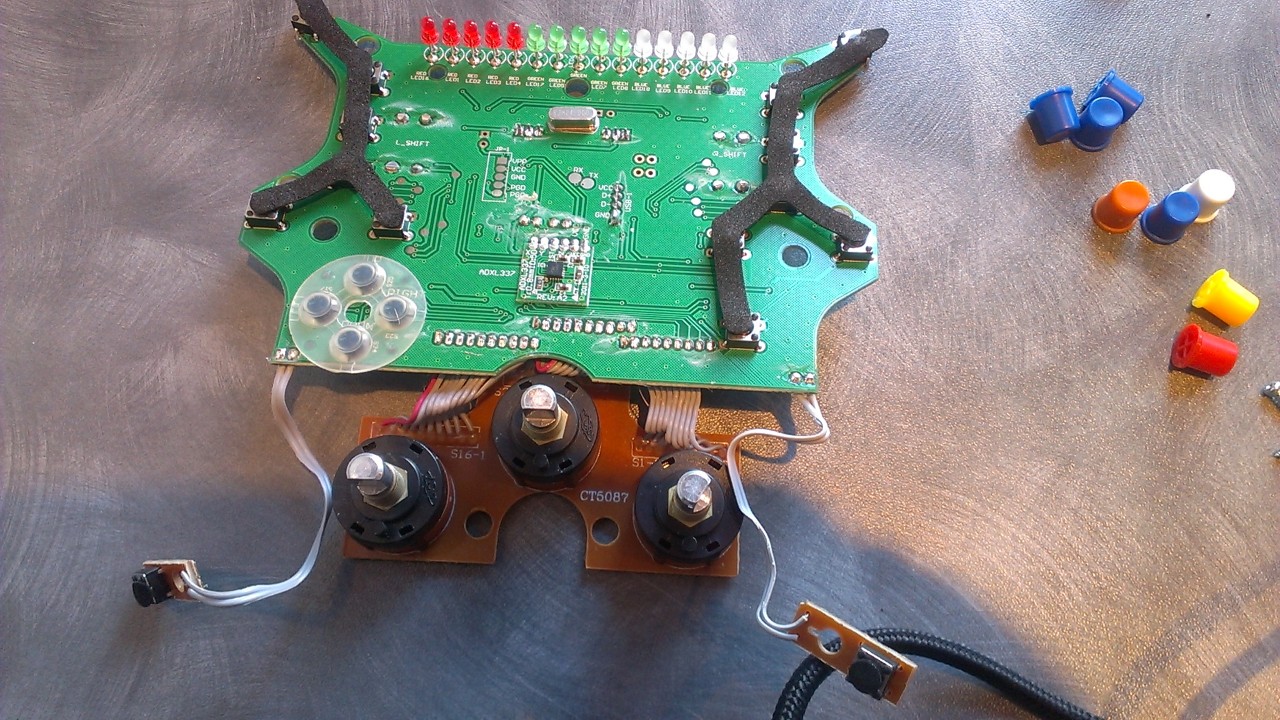
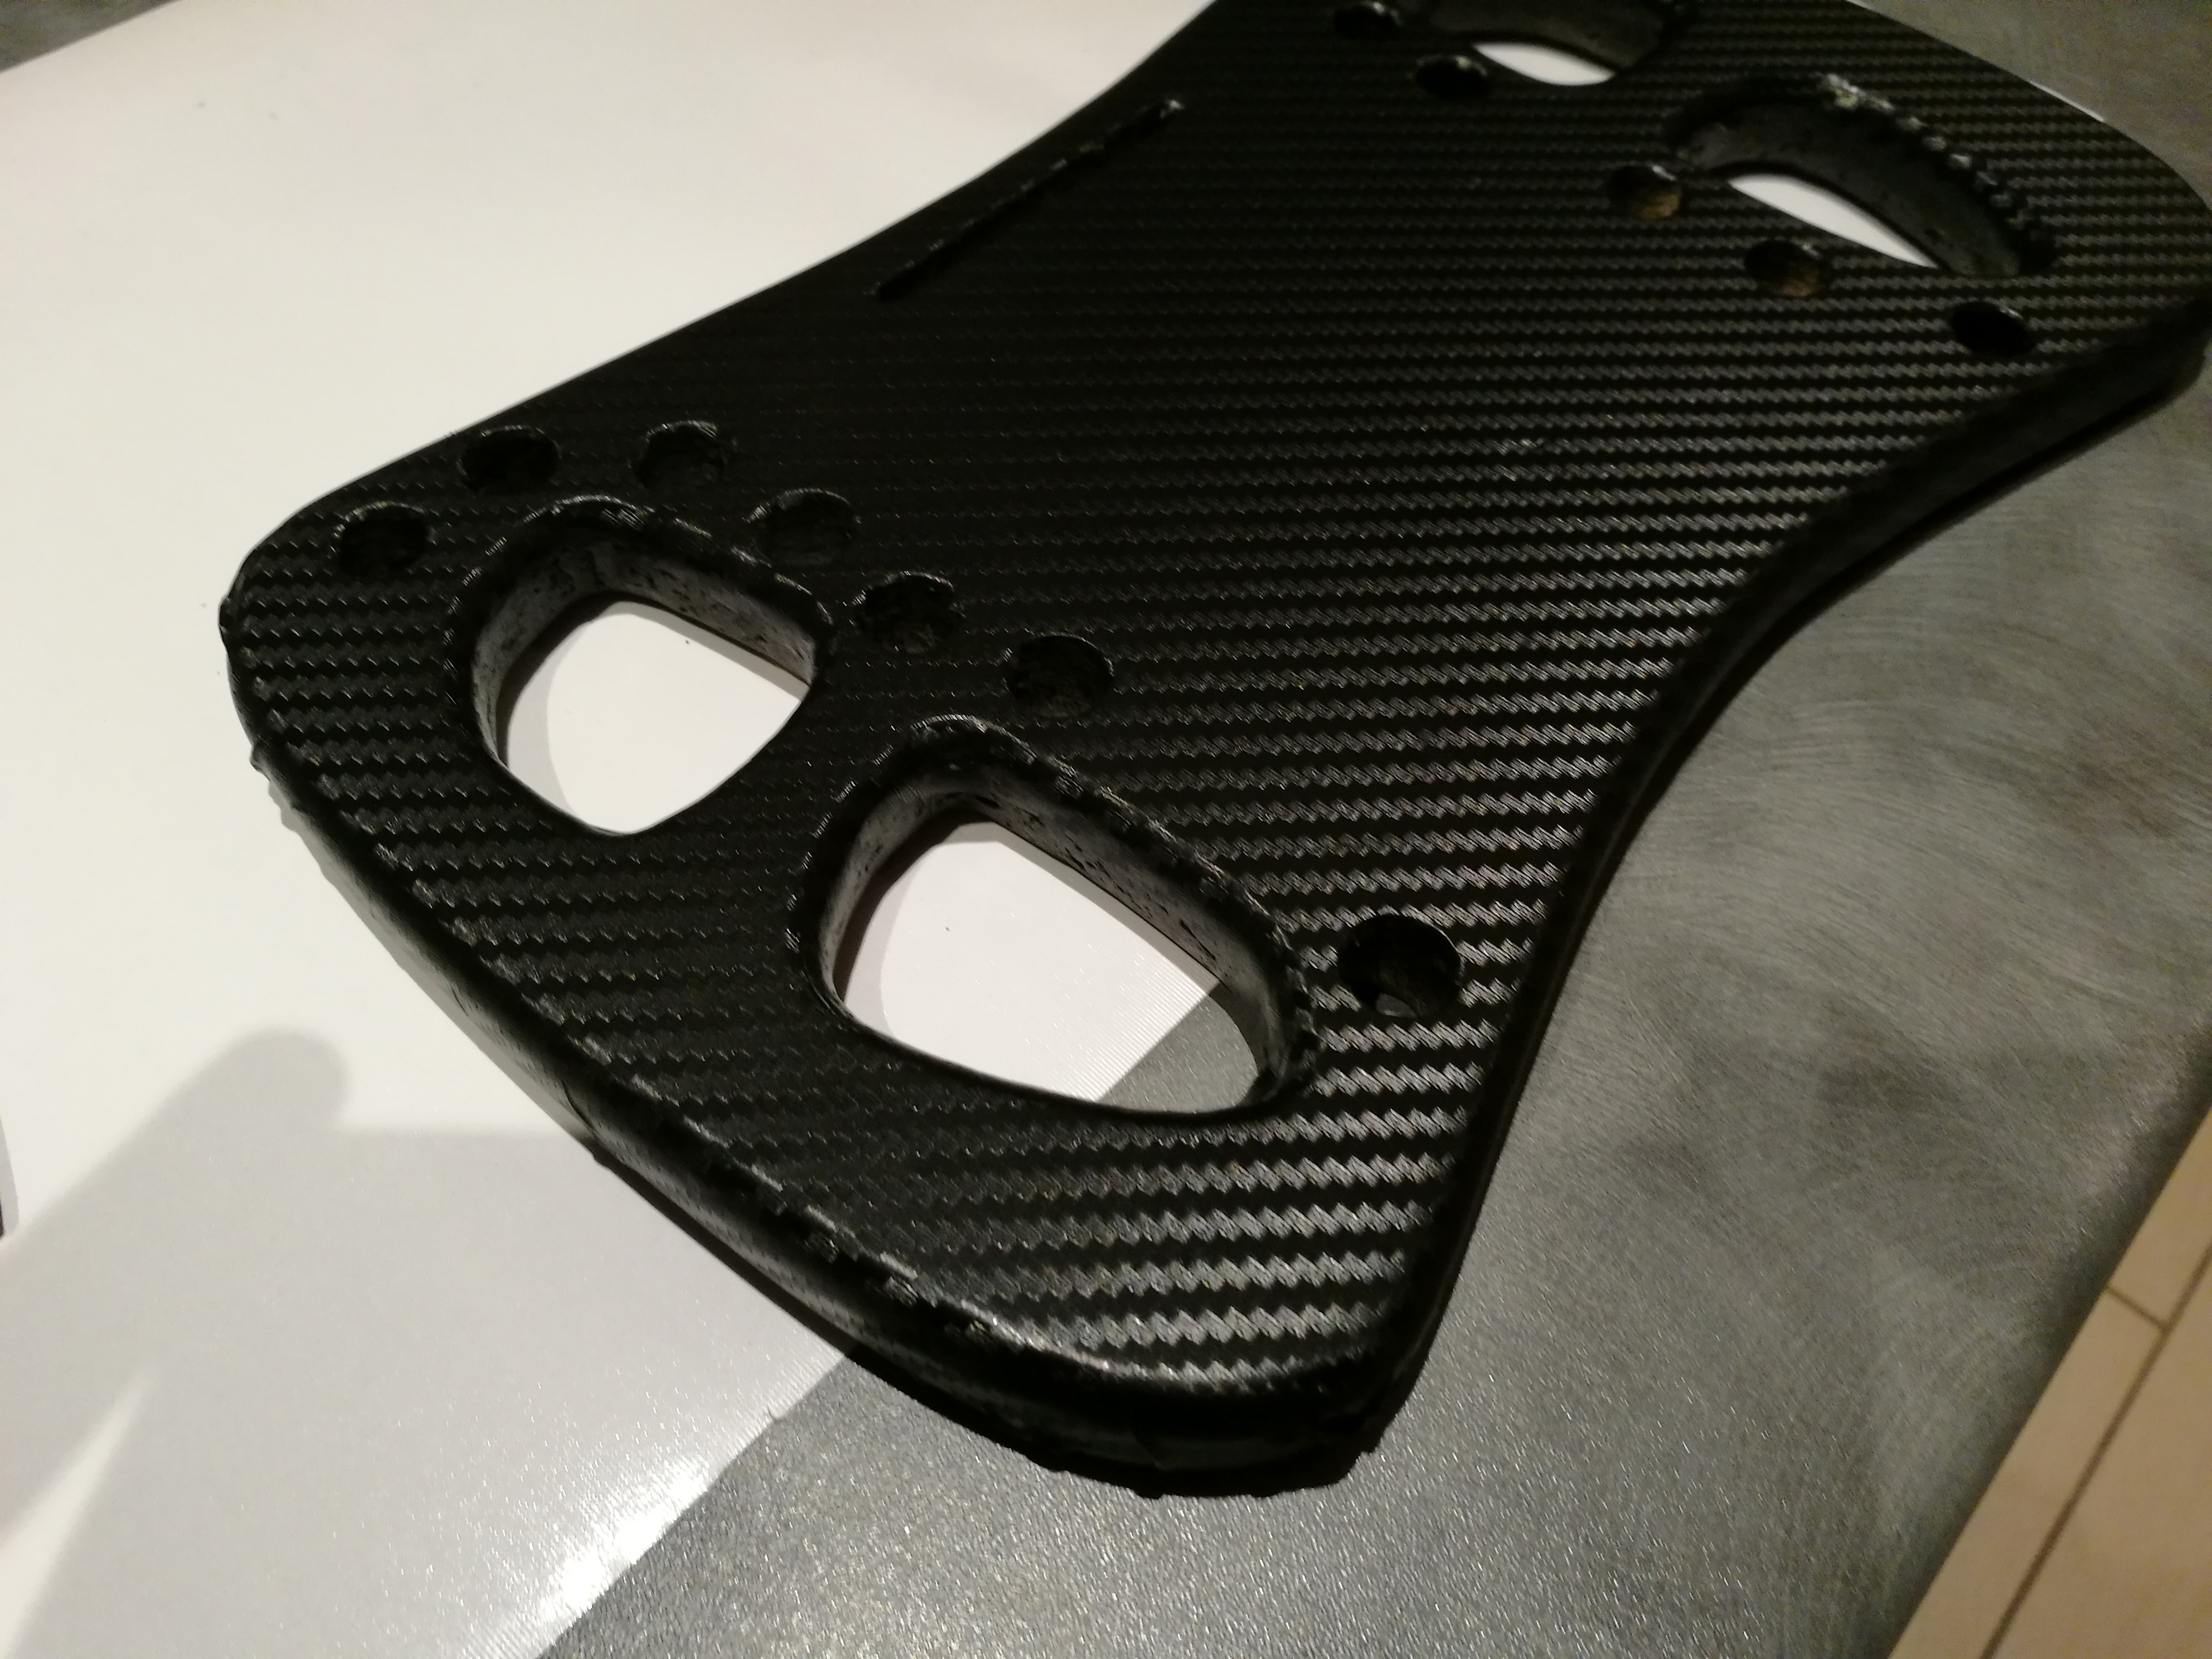
I have researched alot and came up with the solution that I can only reuse the pcb print and connections.

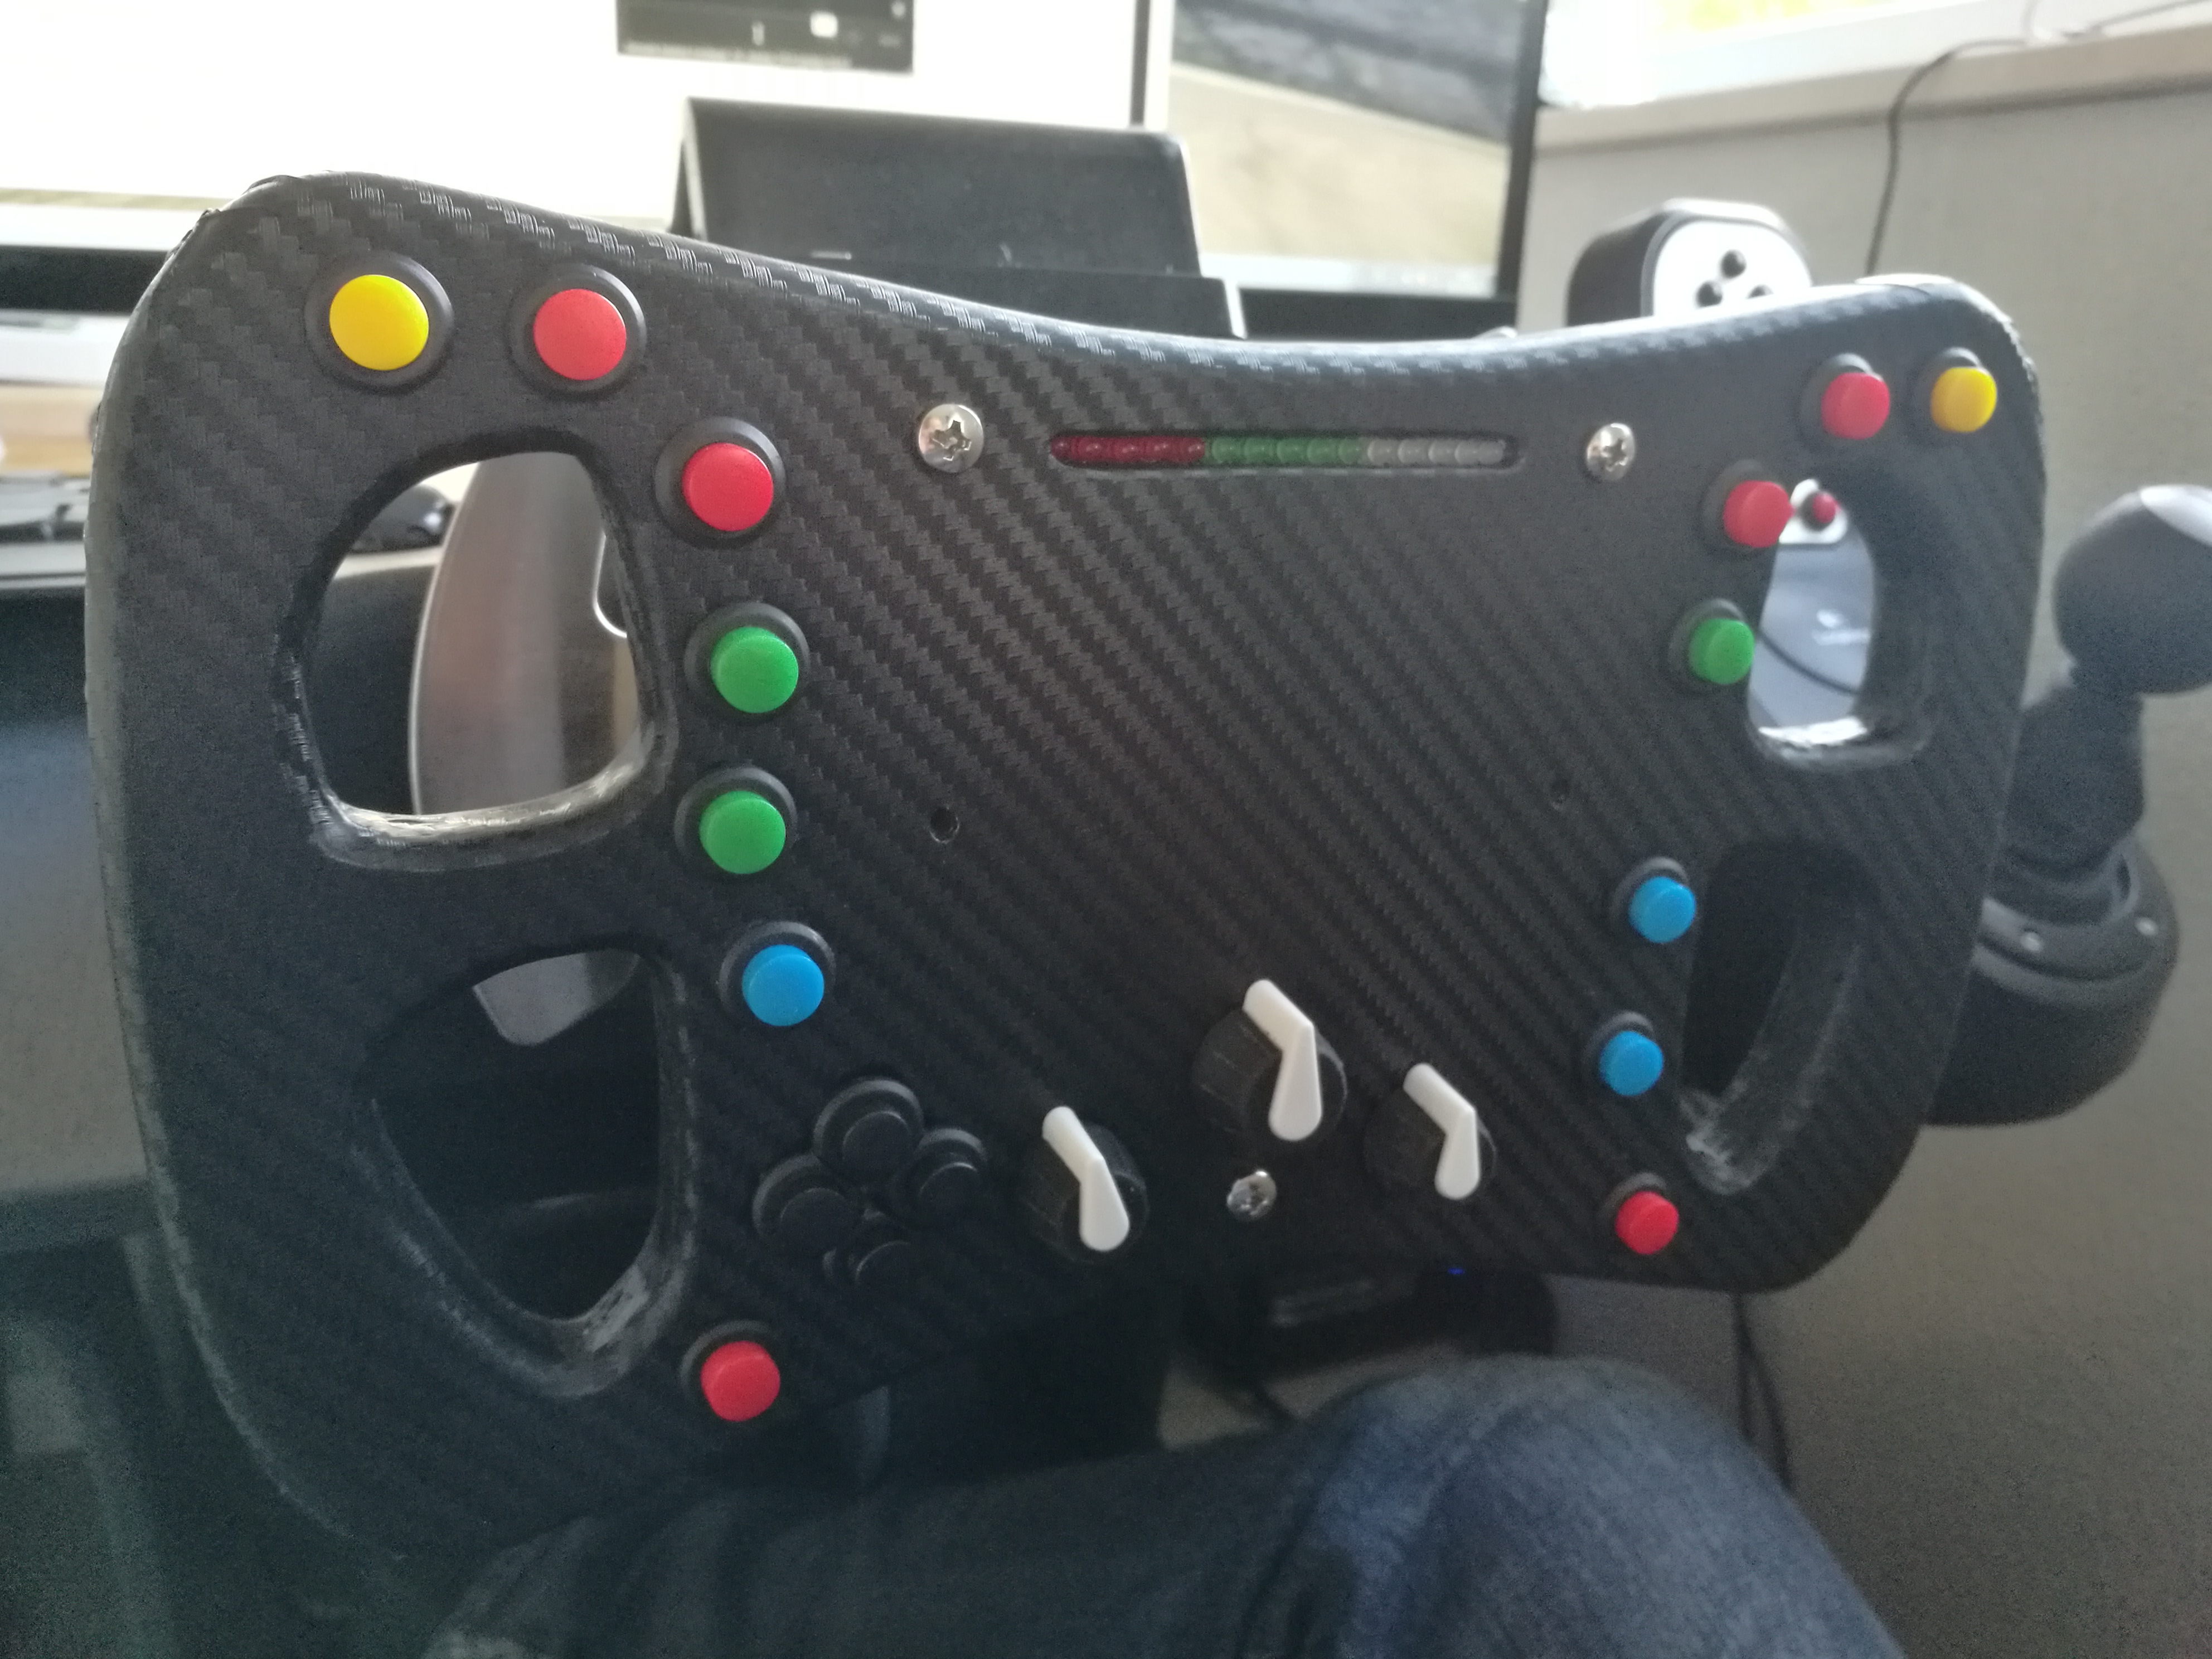
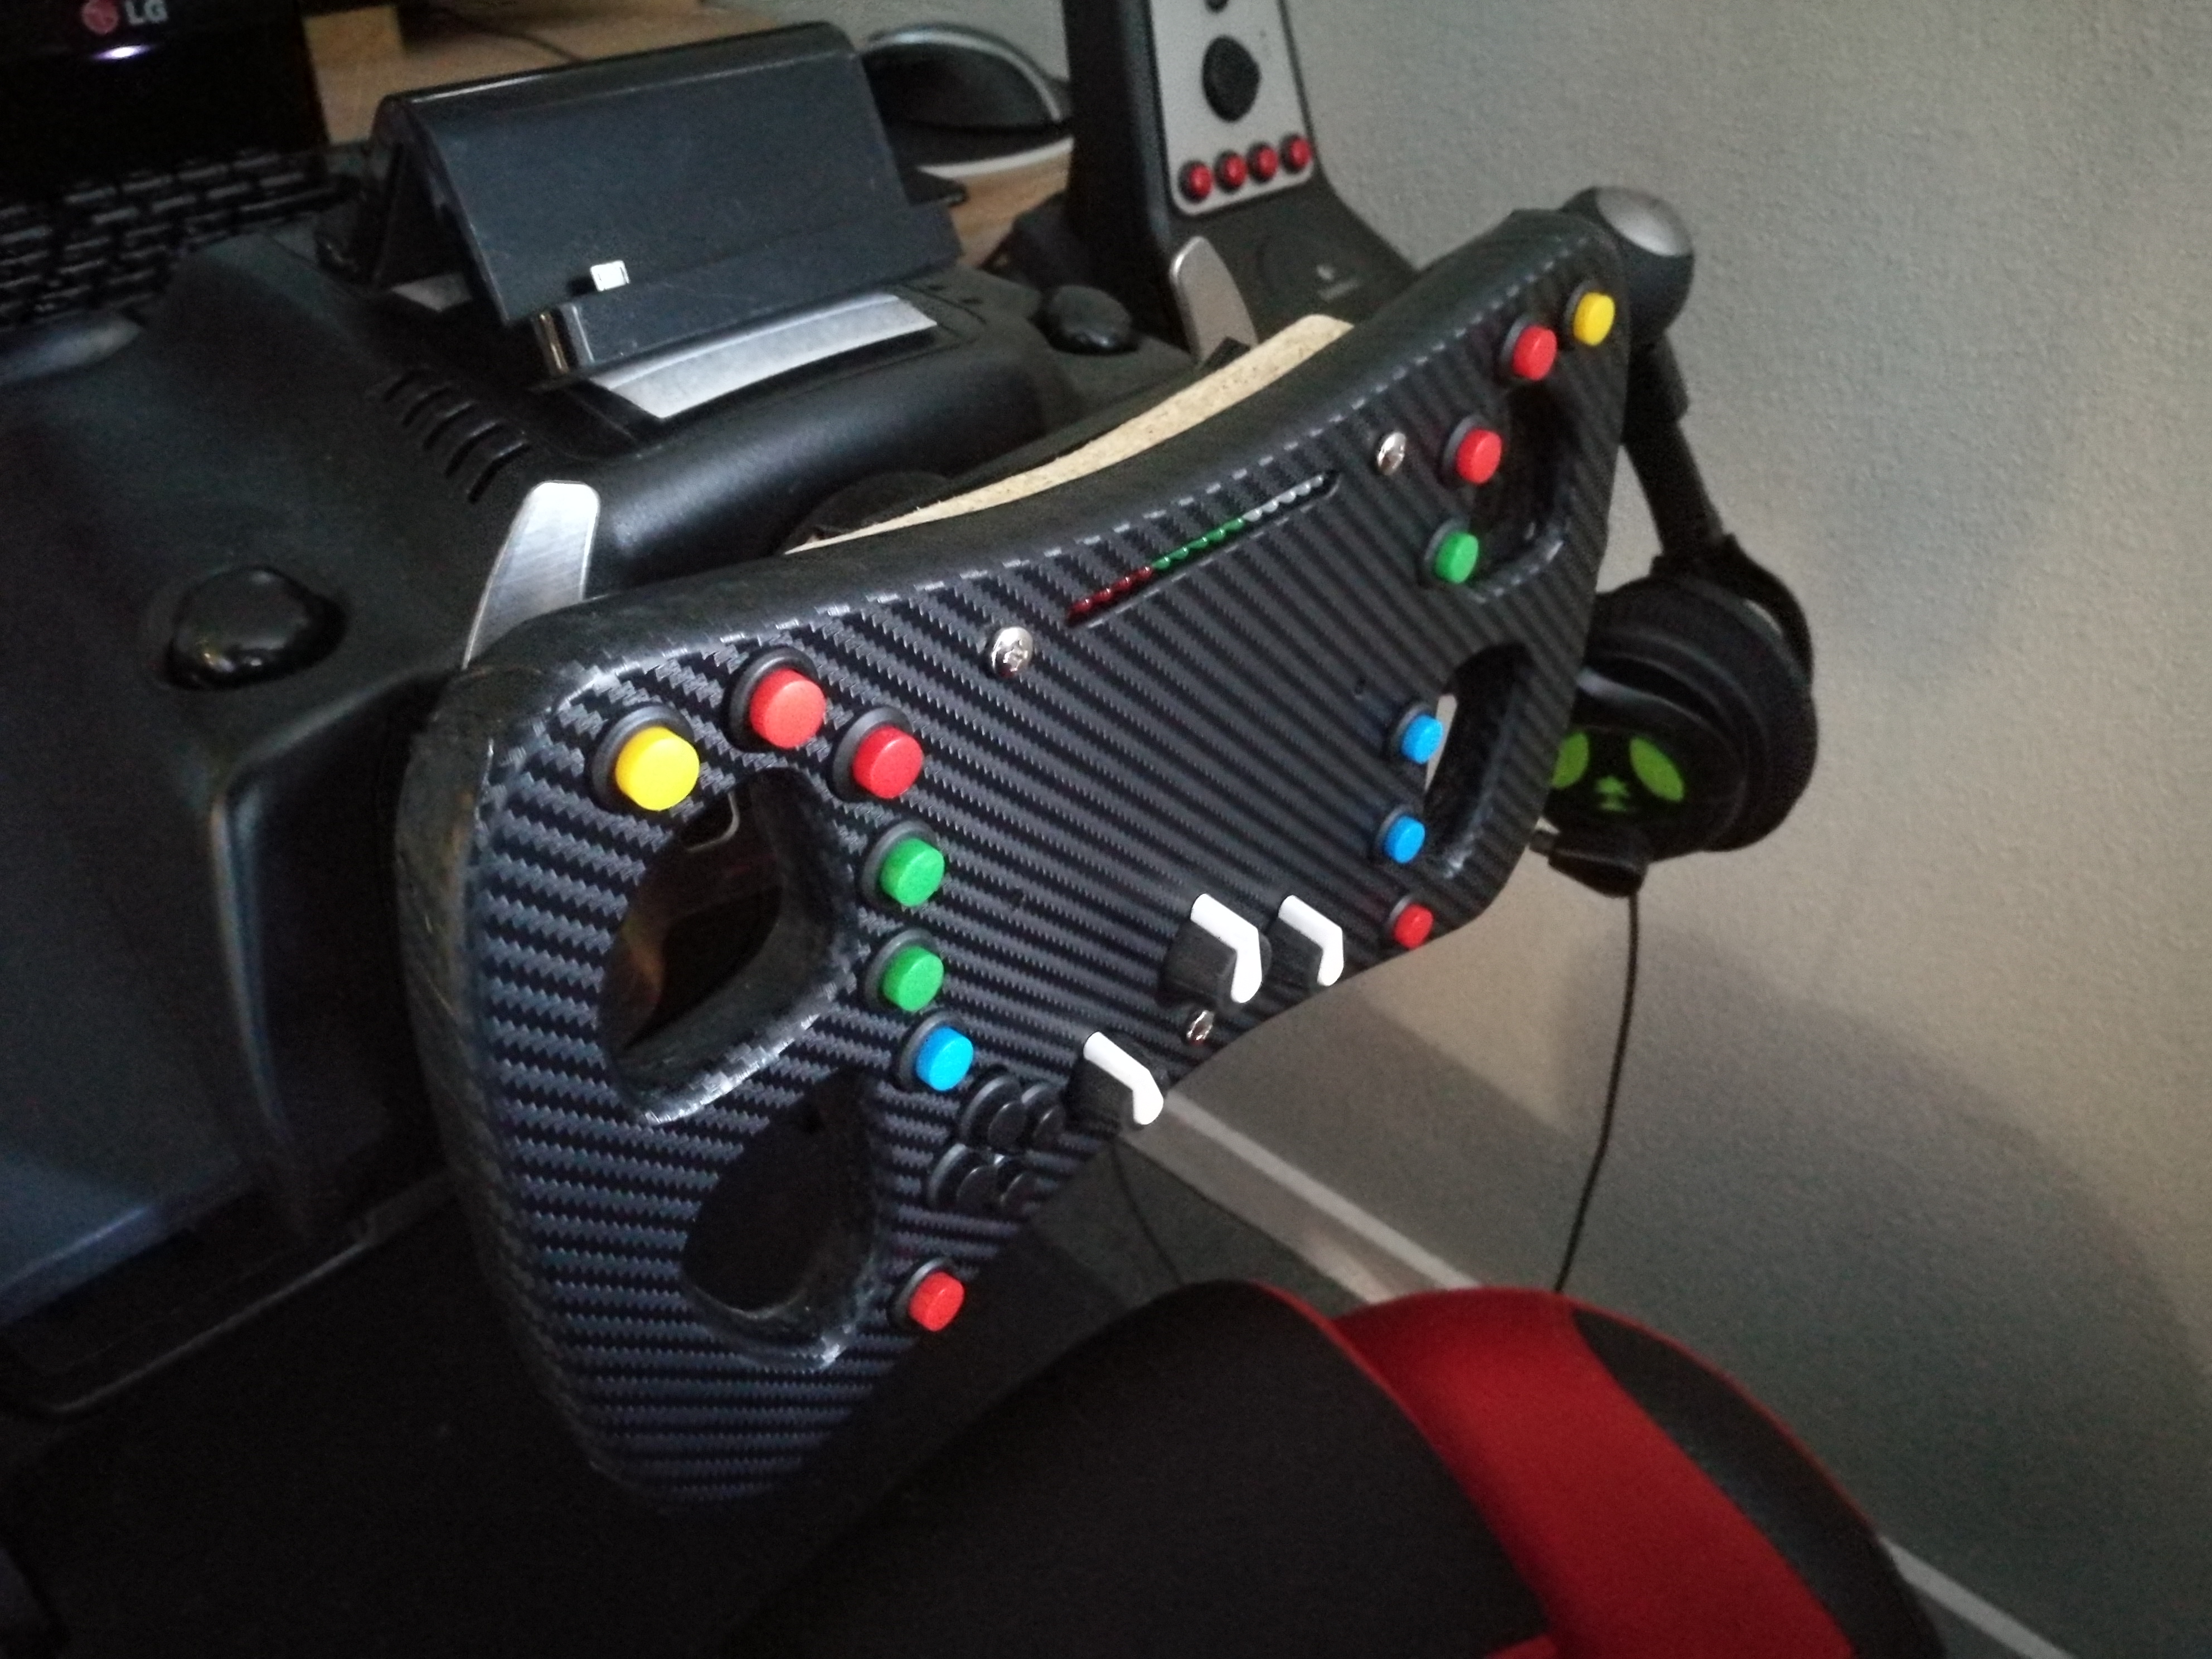
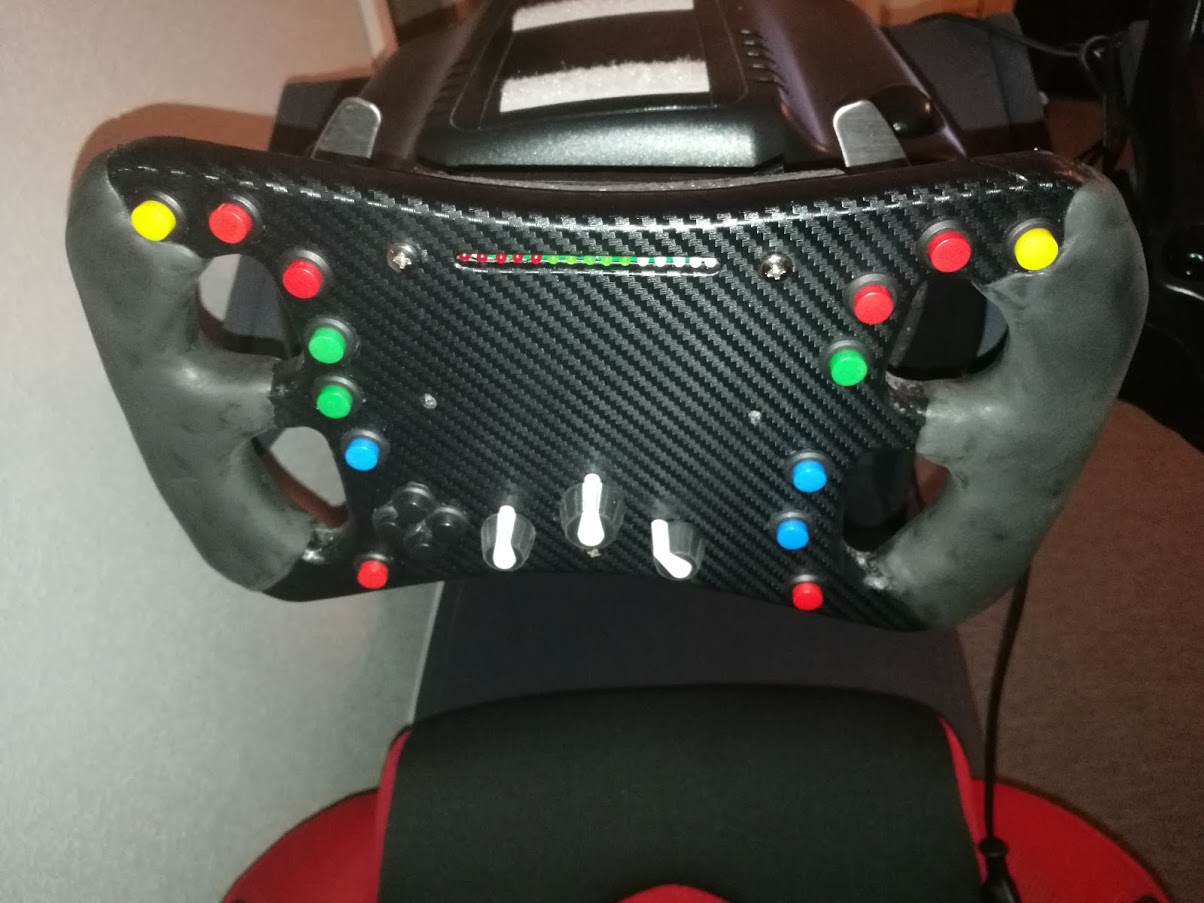
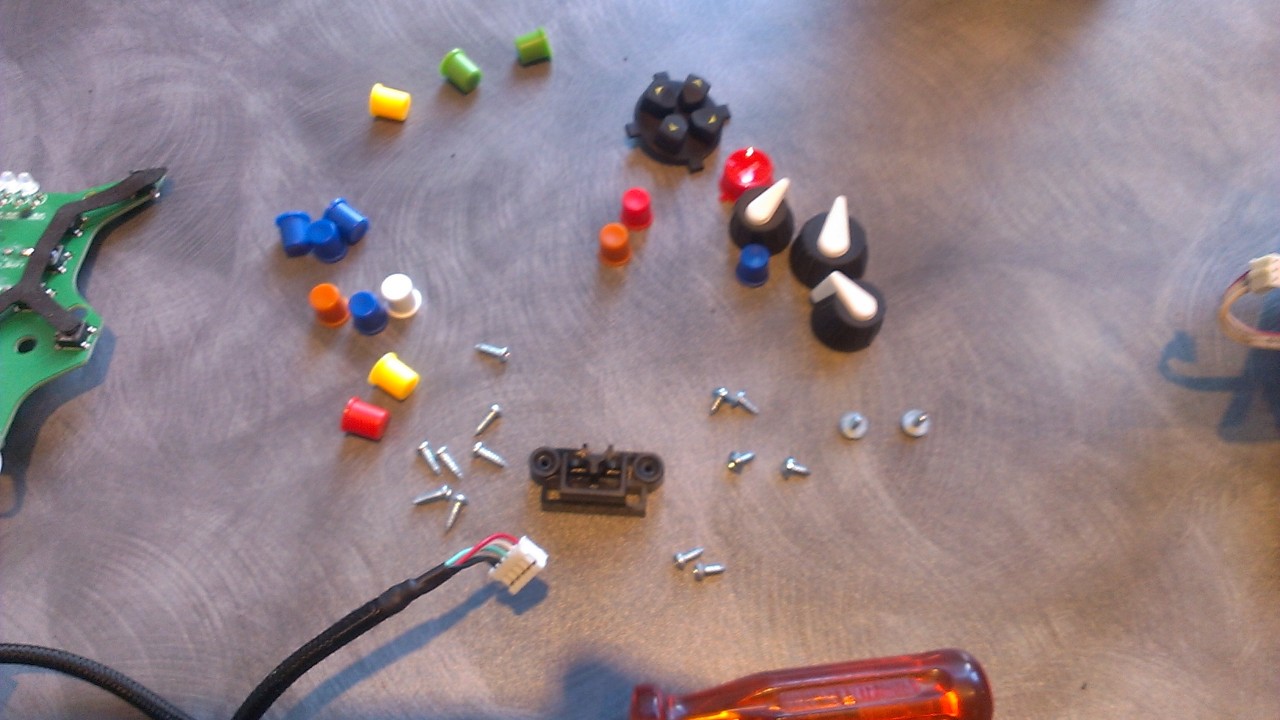
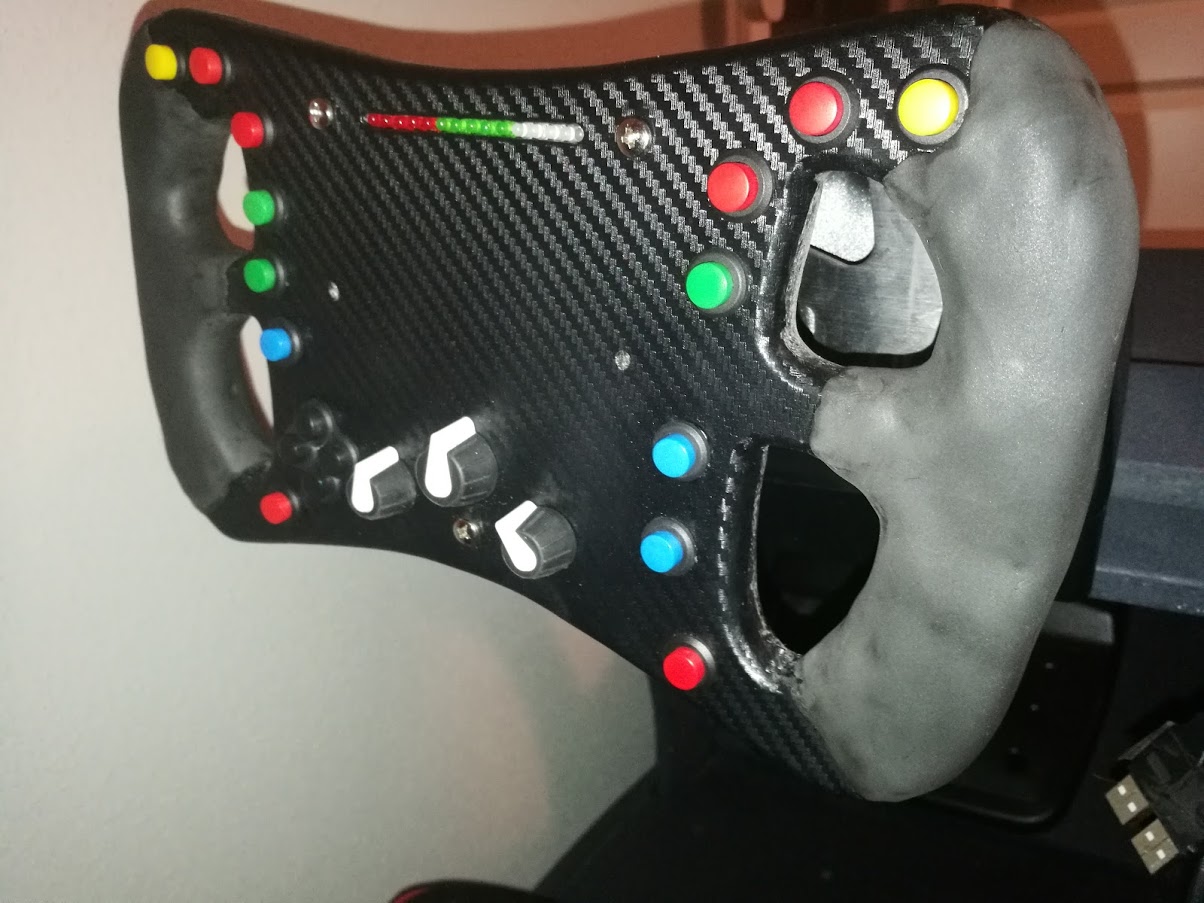
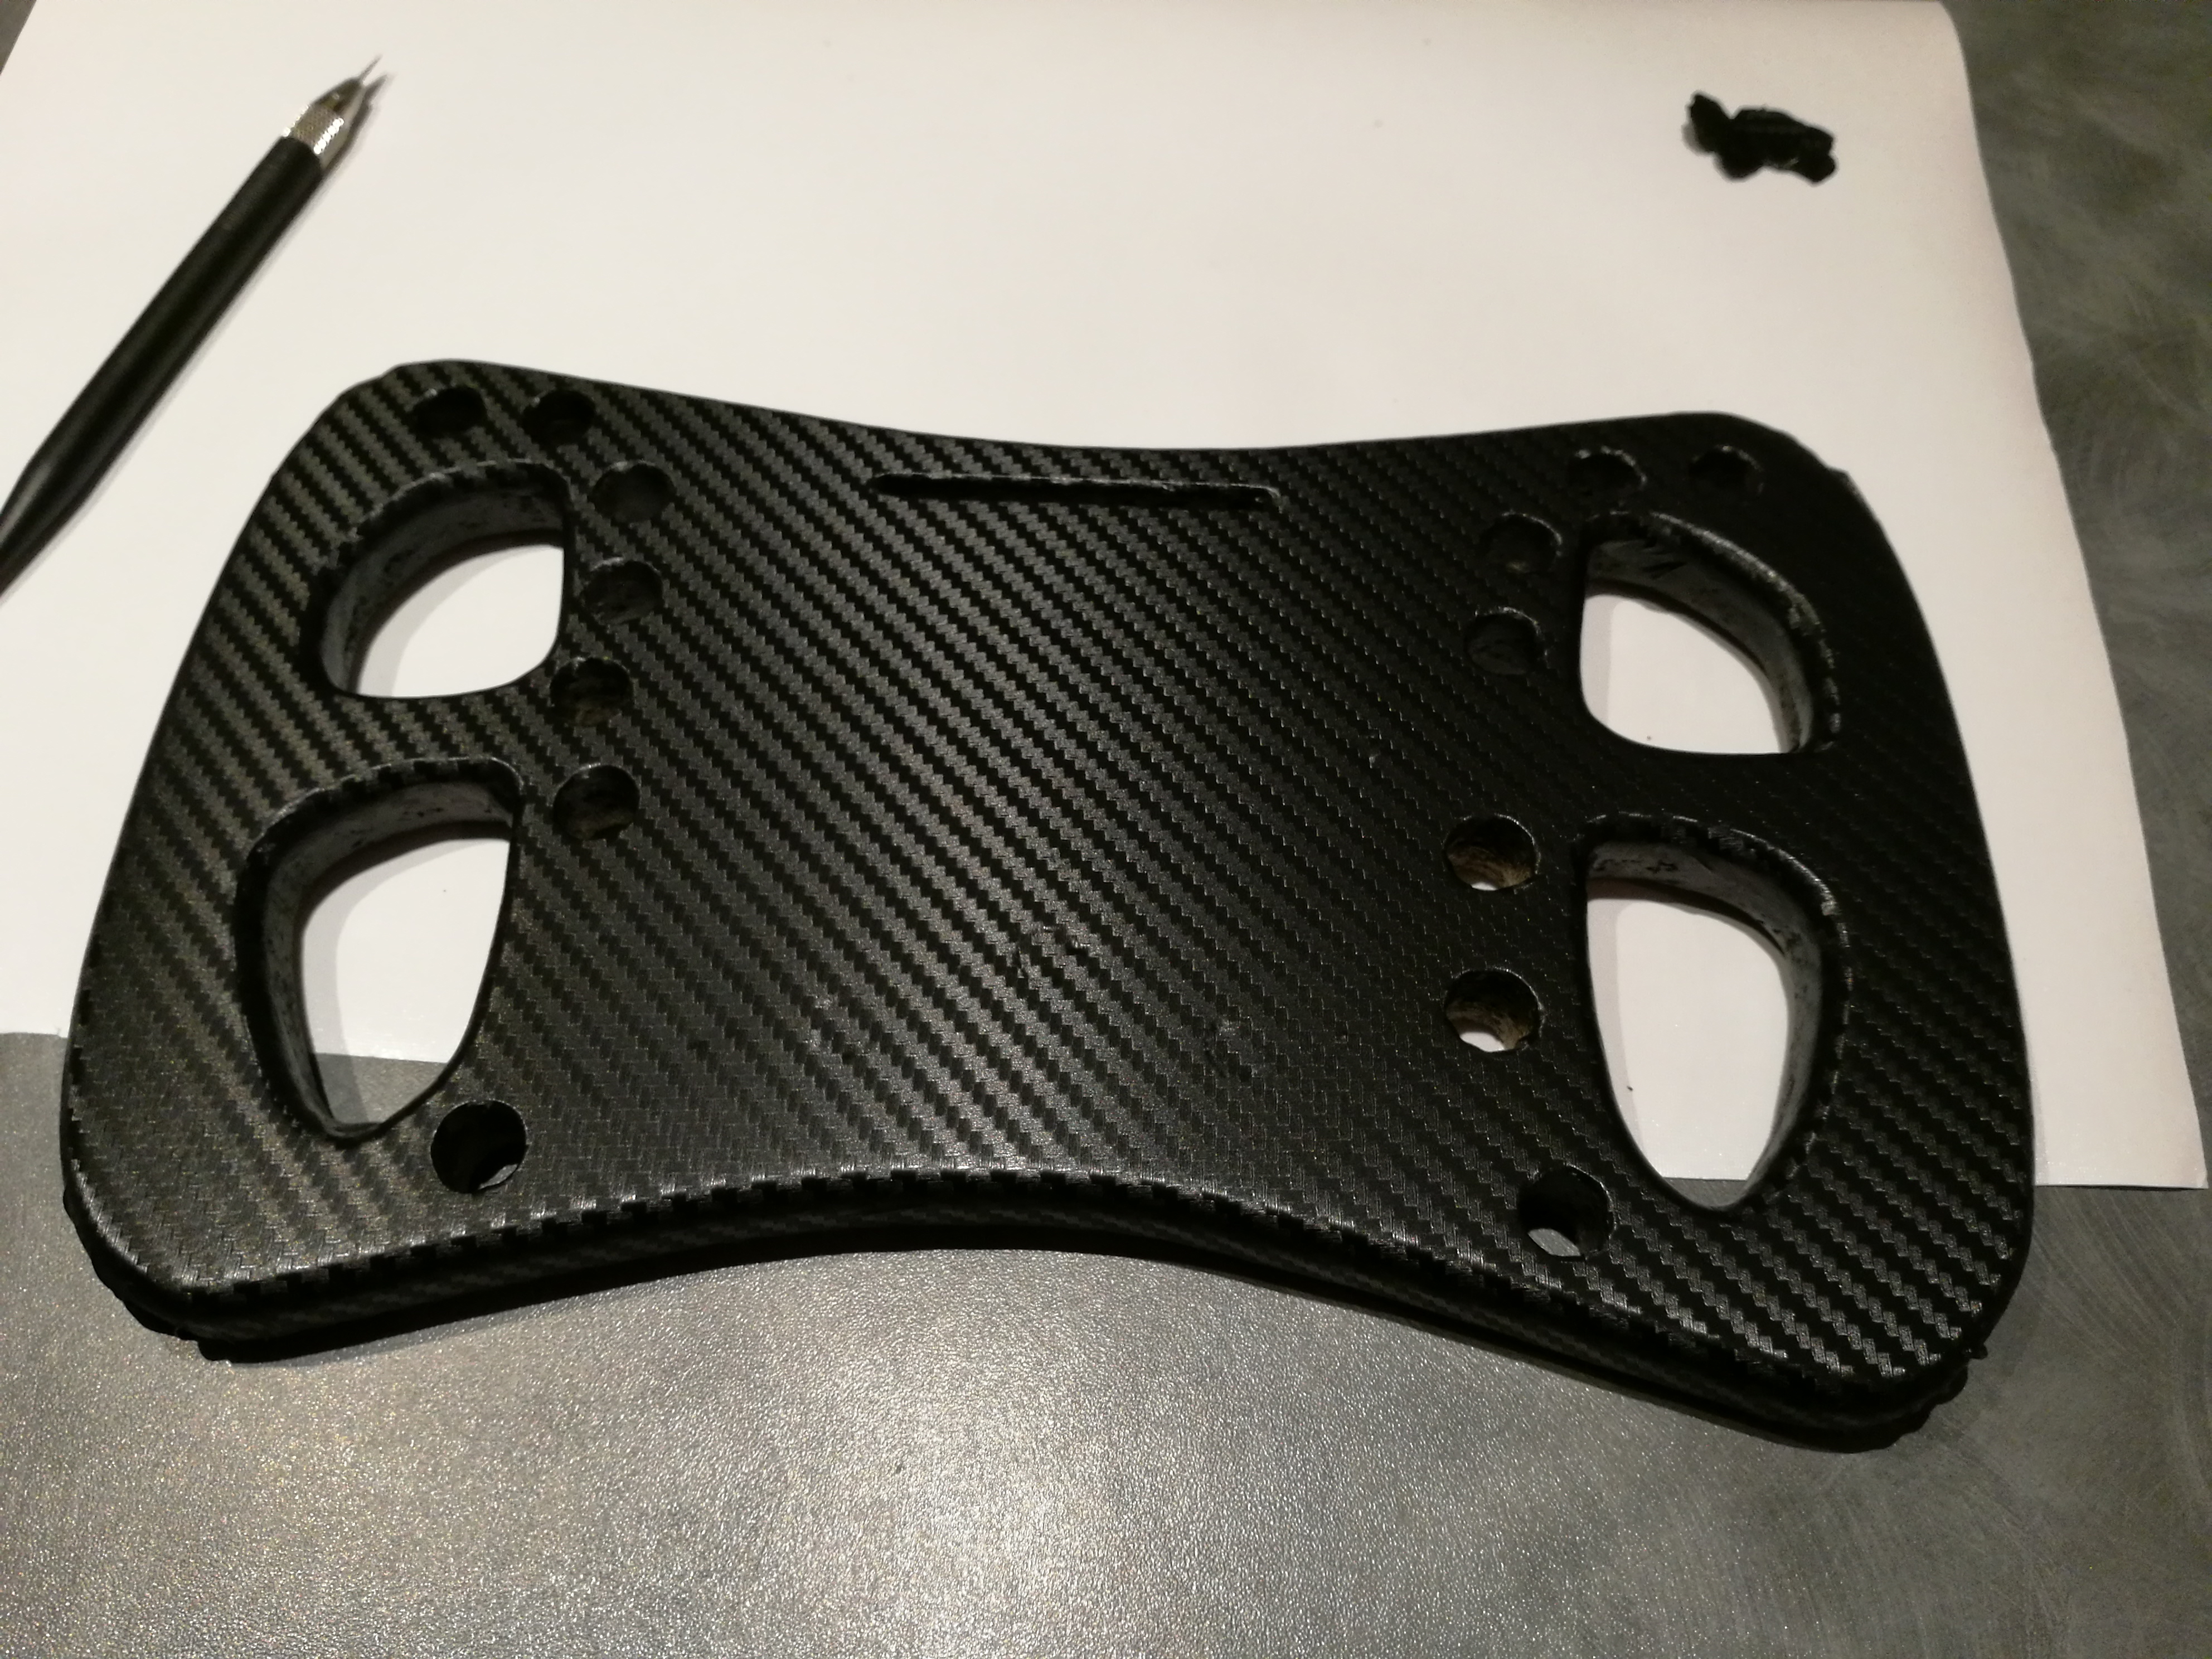
So new supplys… buttons, actually 17 of them. All I could find was 25mm long where 20mm where sunken.


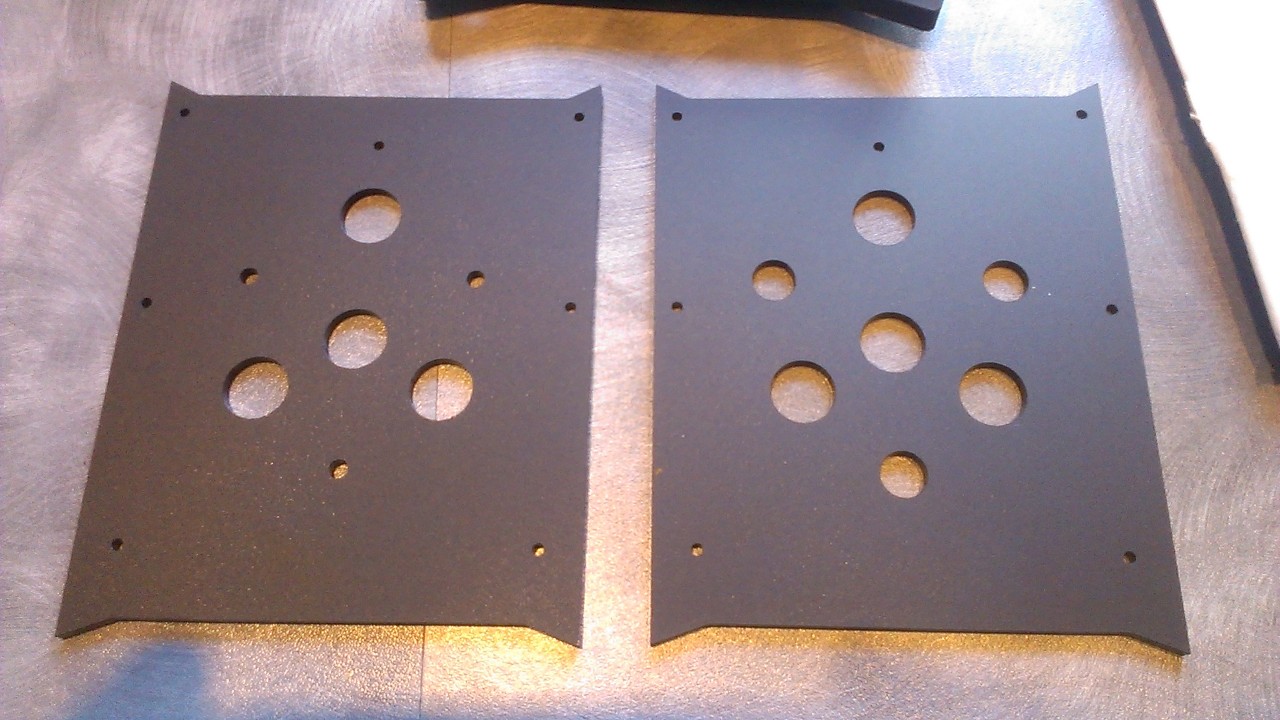
I have two options, either get a lasercut 5mm acryl or try to make it in a wood material.

Making a lasercut 5mm acryl is most costly, and takes some time to get i drwan correct and sent to the cutter. The result though might prettier, but alot can go wrong, if I somehow made a faulty drawing or altered the form along the way.

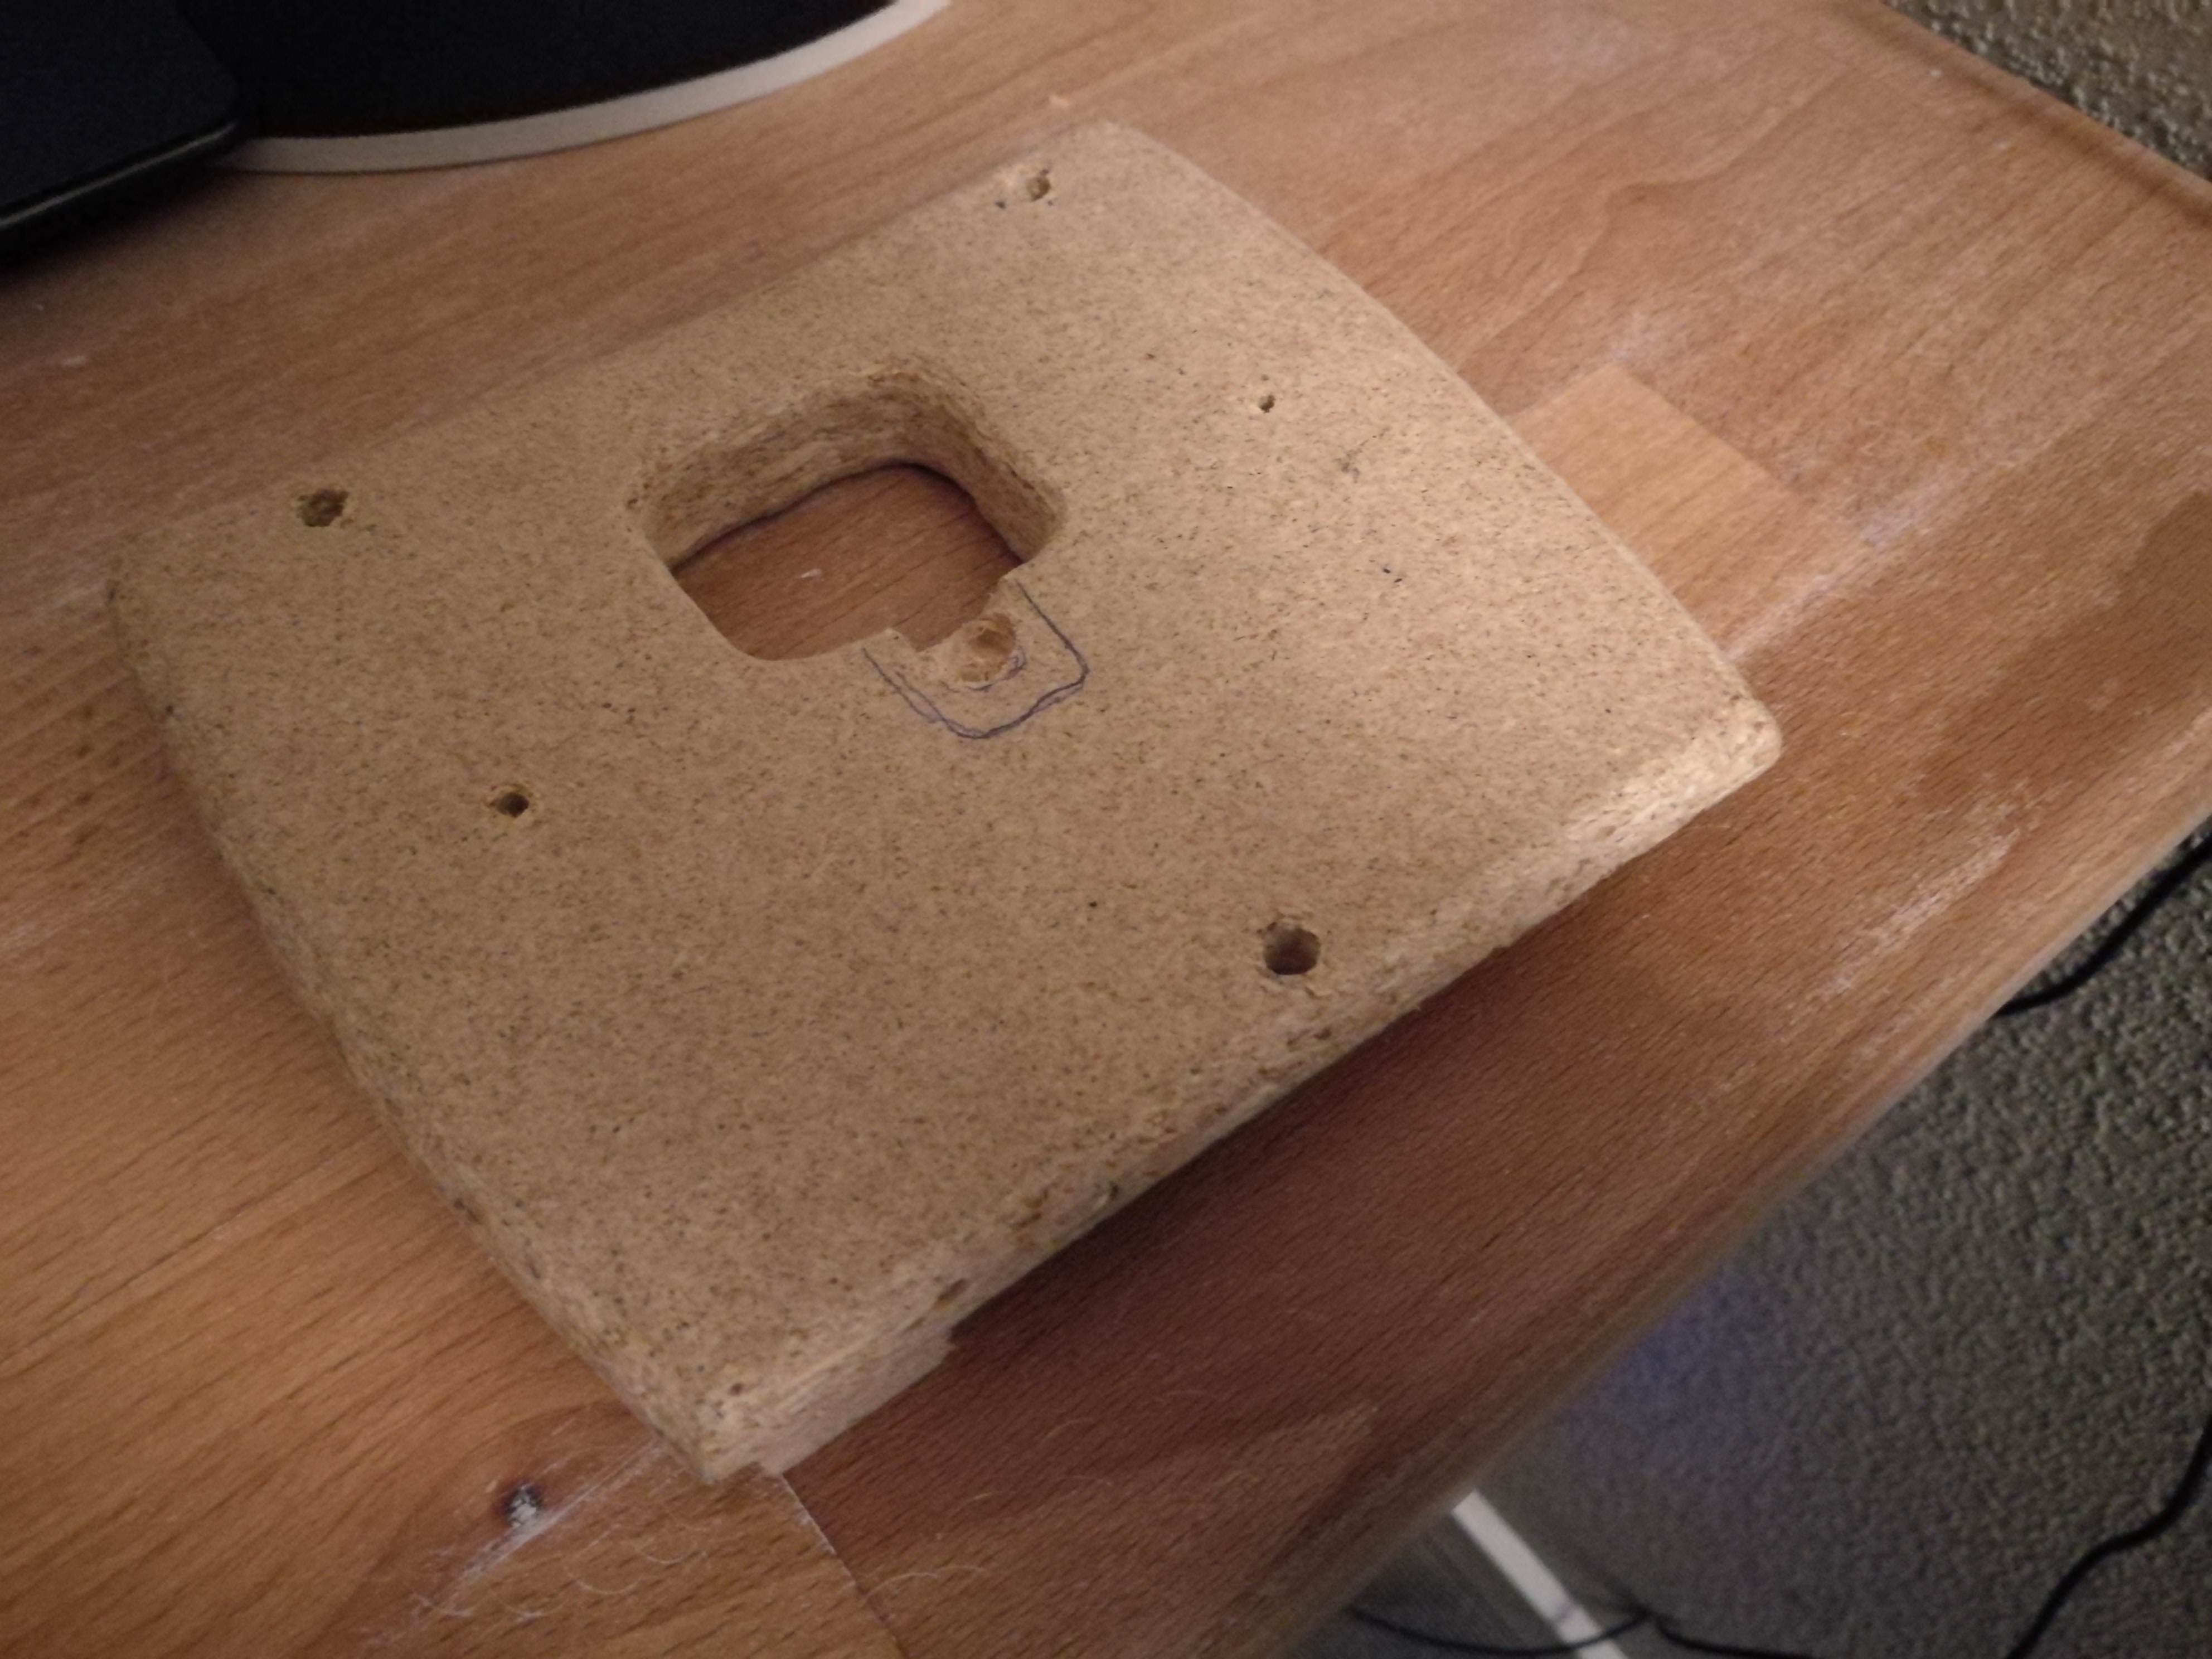
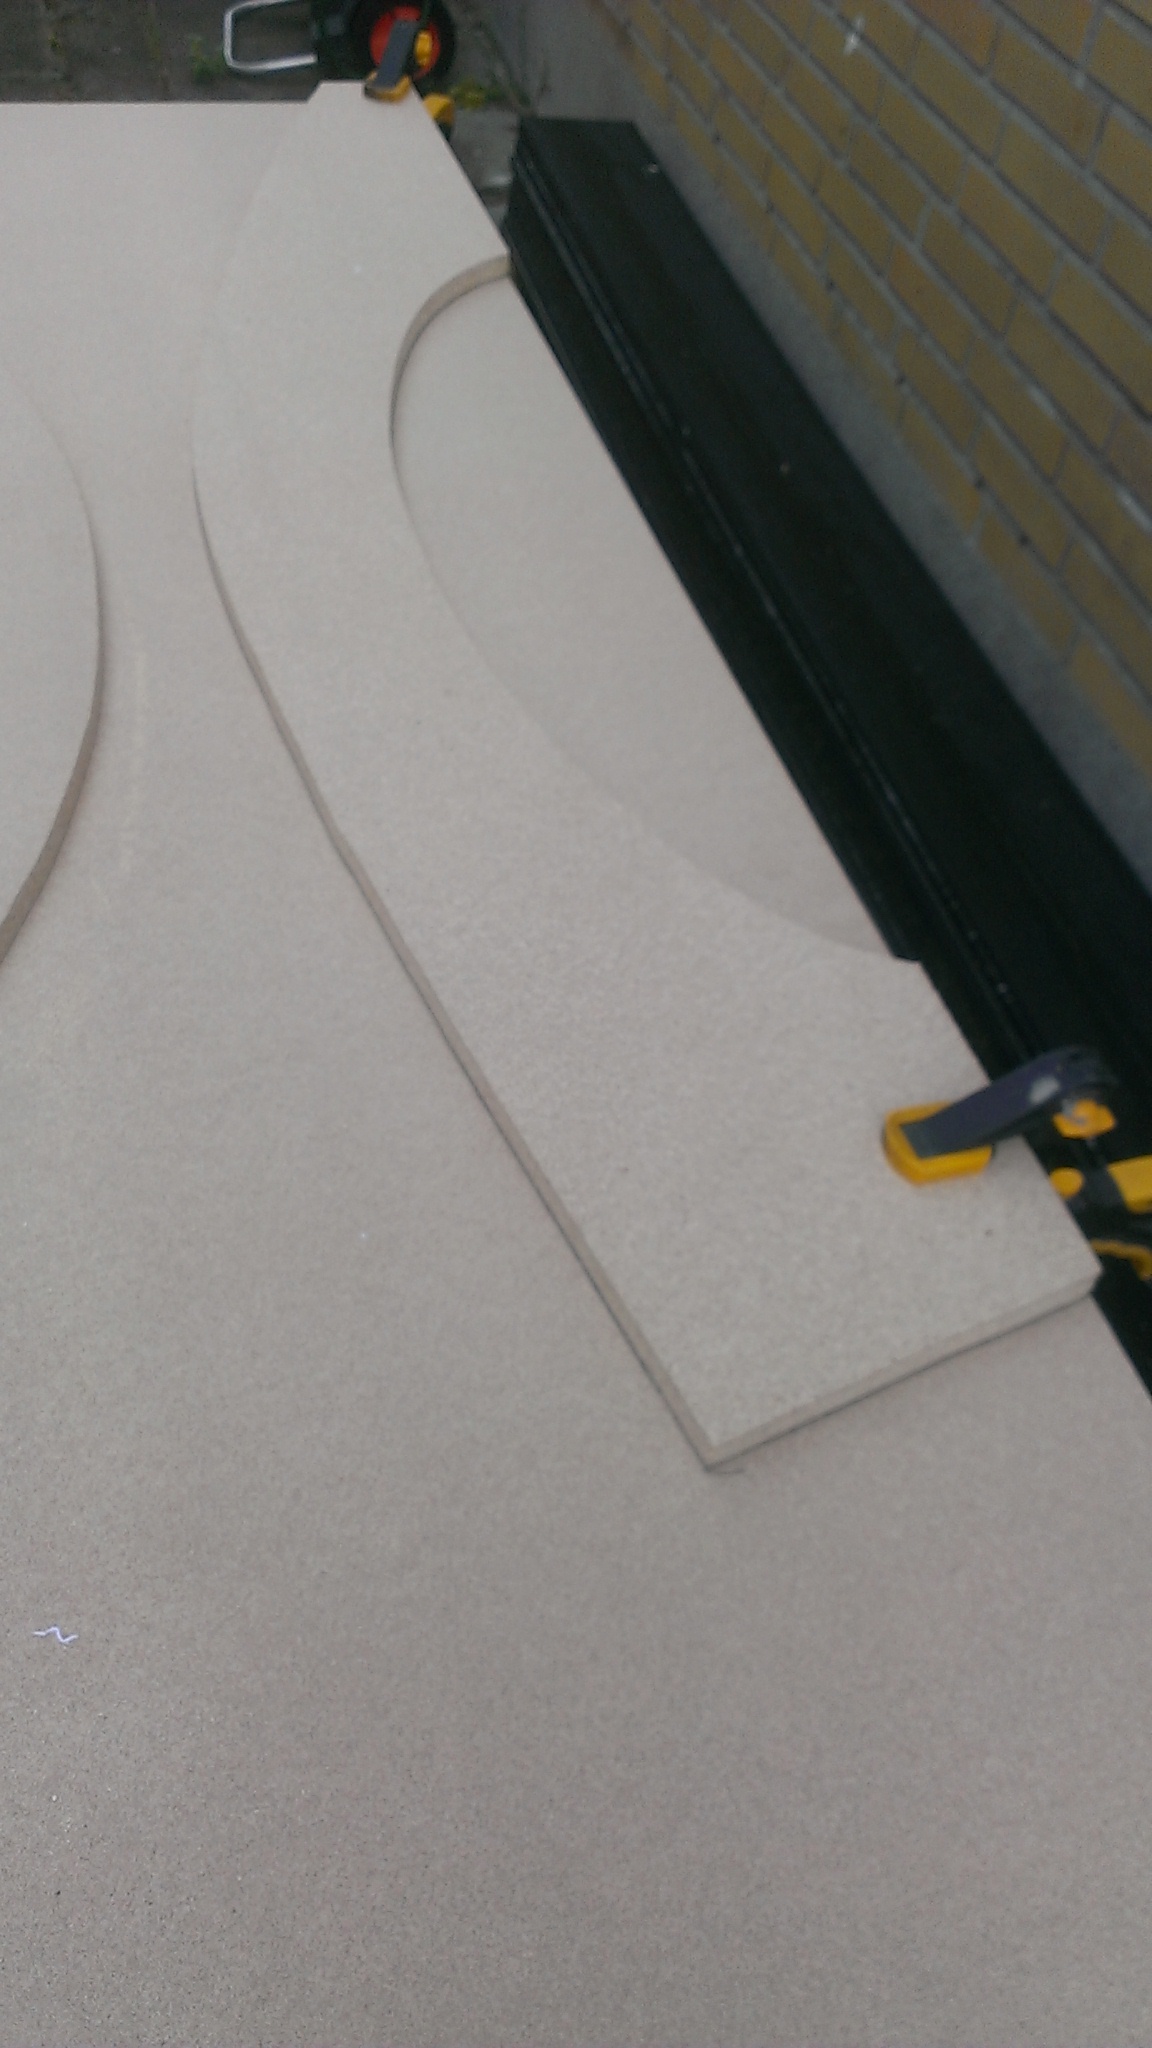
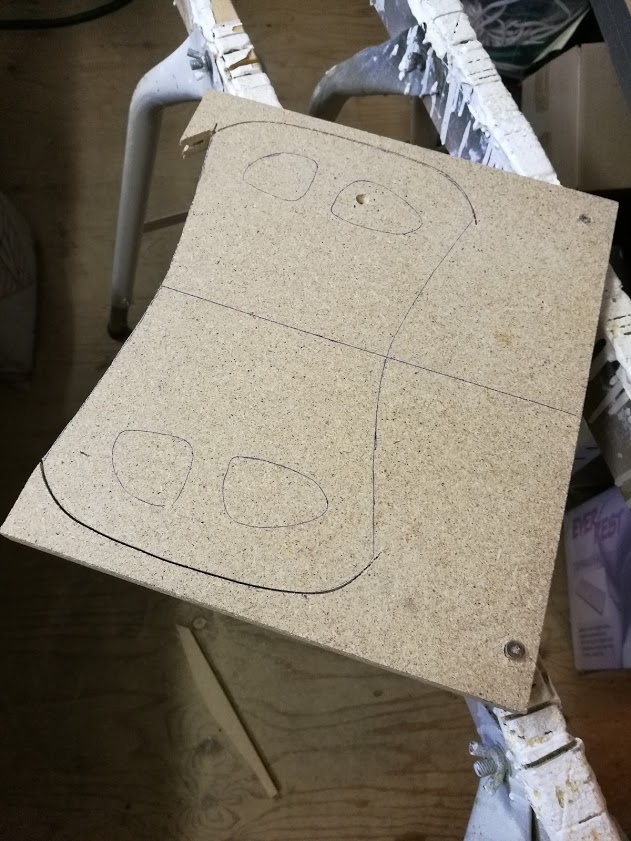
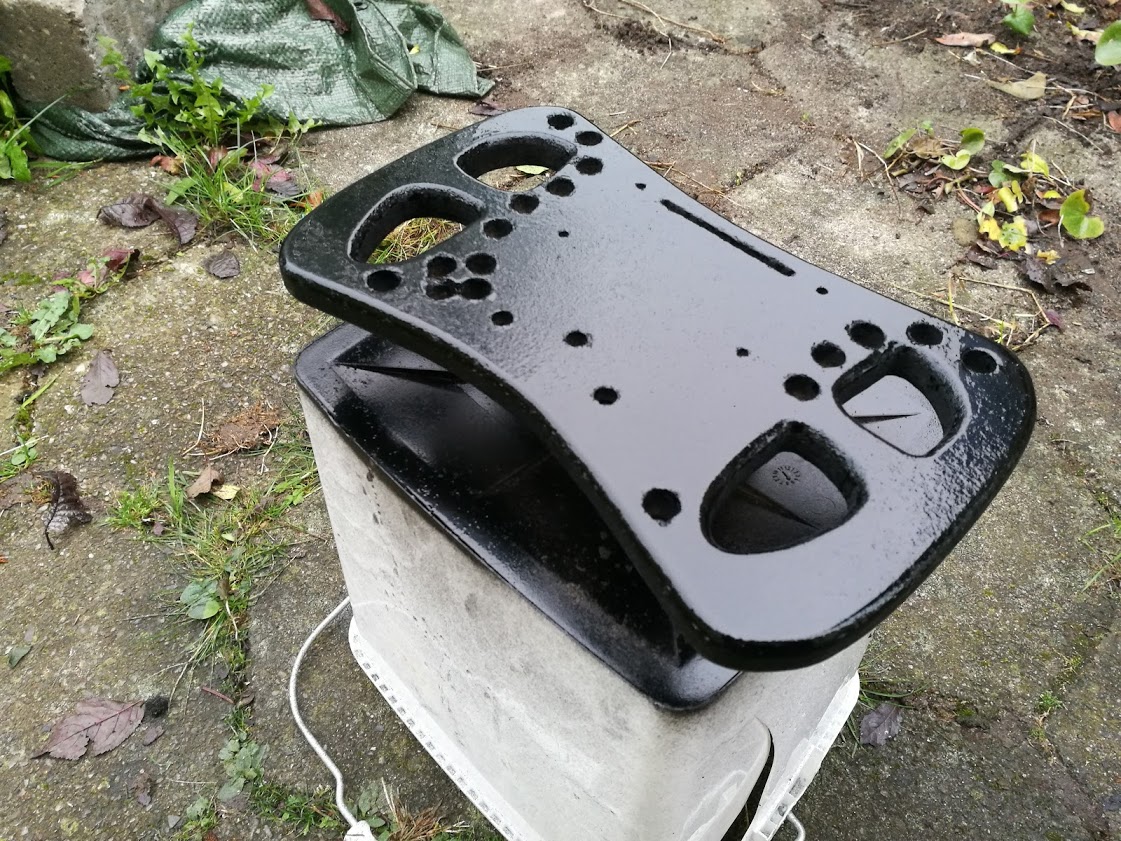
So I chosed wood, actually MDF

Its easier to work with, its cheap, and easier to do over again.

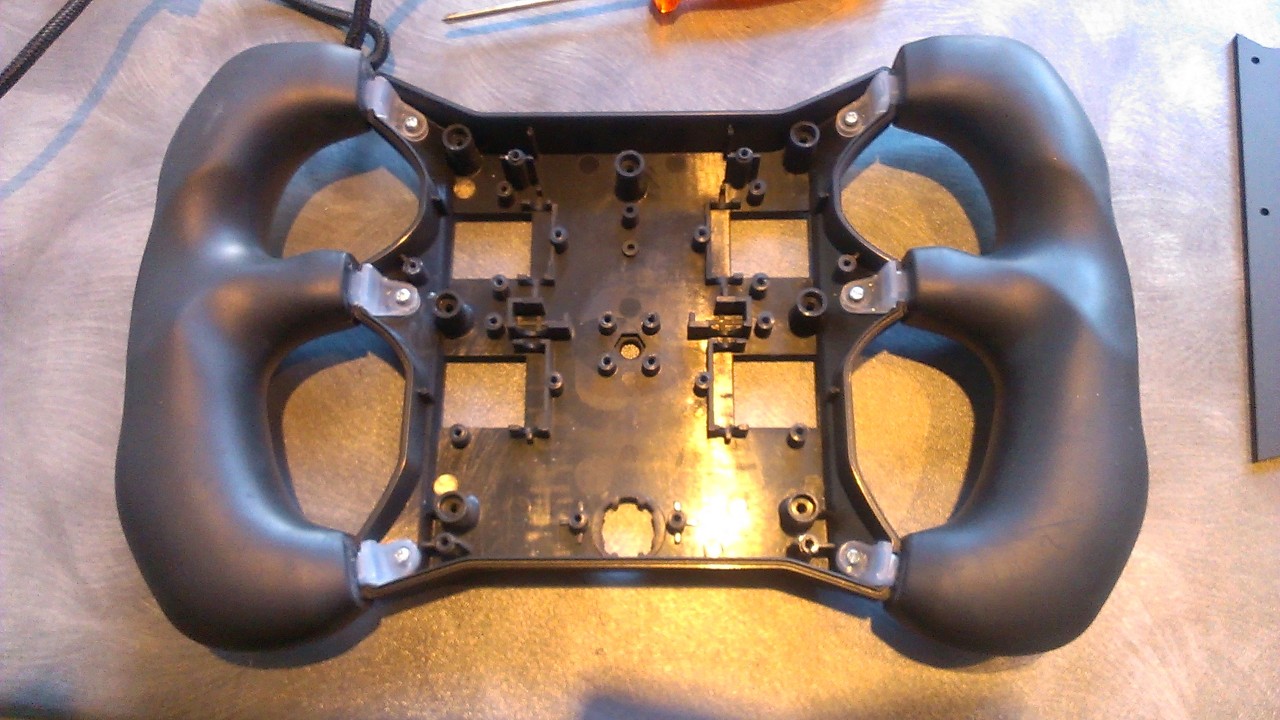
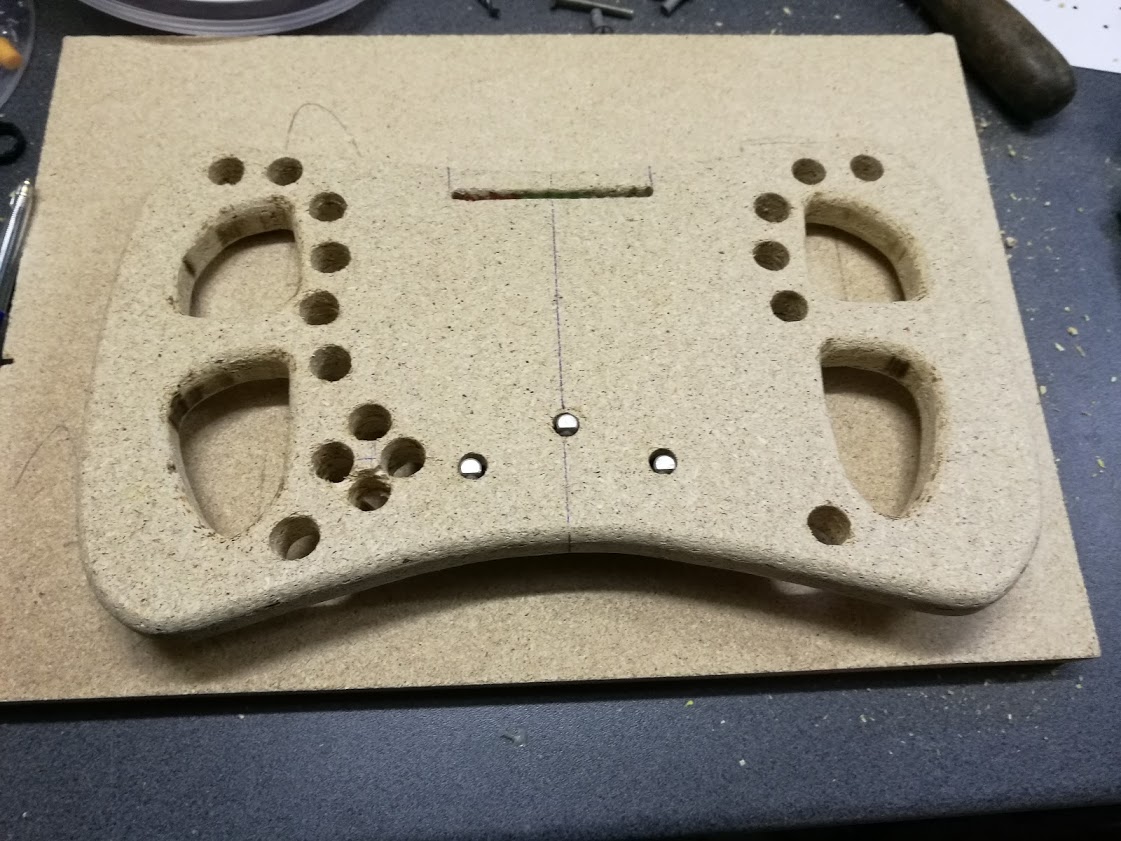
when reusing the electronics, the pcb actually sets the limits of size and button placements, and my goal is to make it a bit bigger than the original SRW-01 and more like the real thing.

Real formula wheels are about 28cm wide, so shall mine 🙂

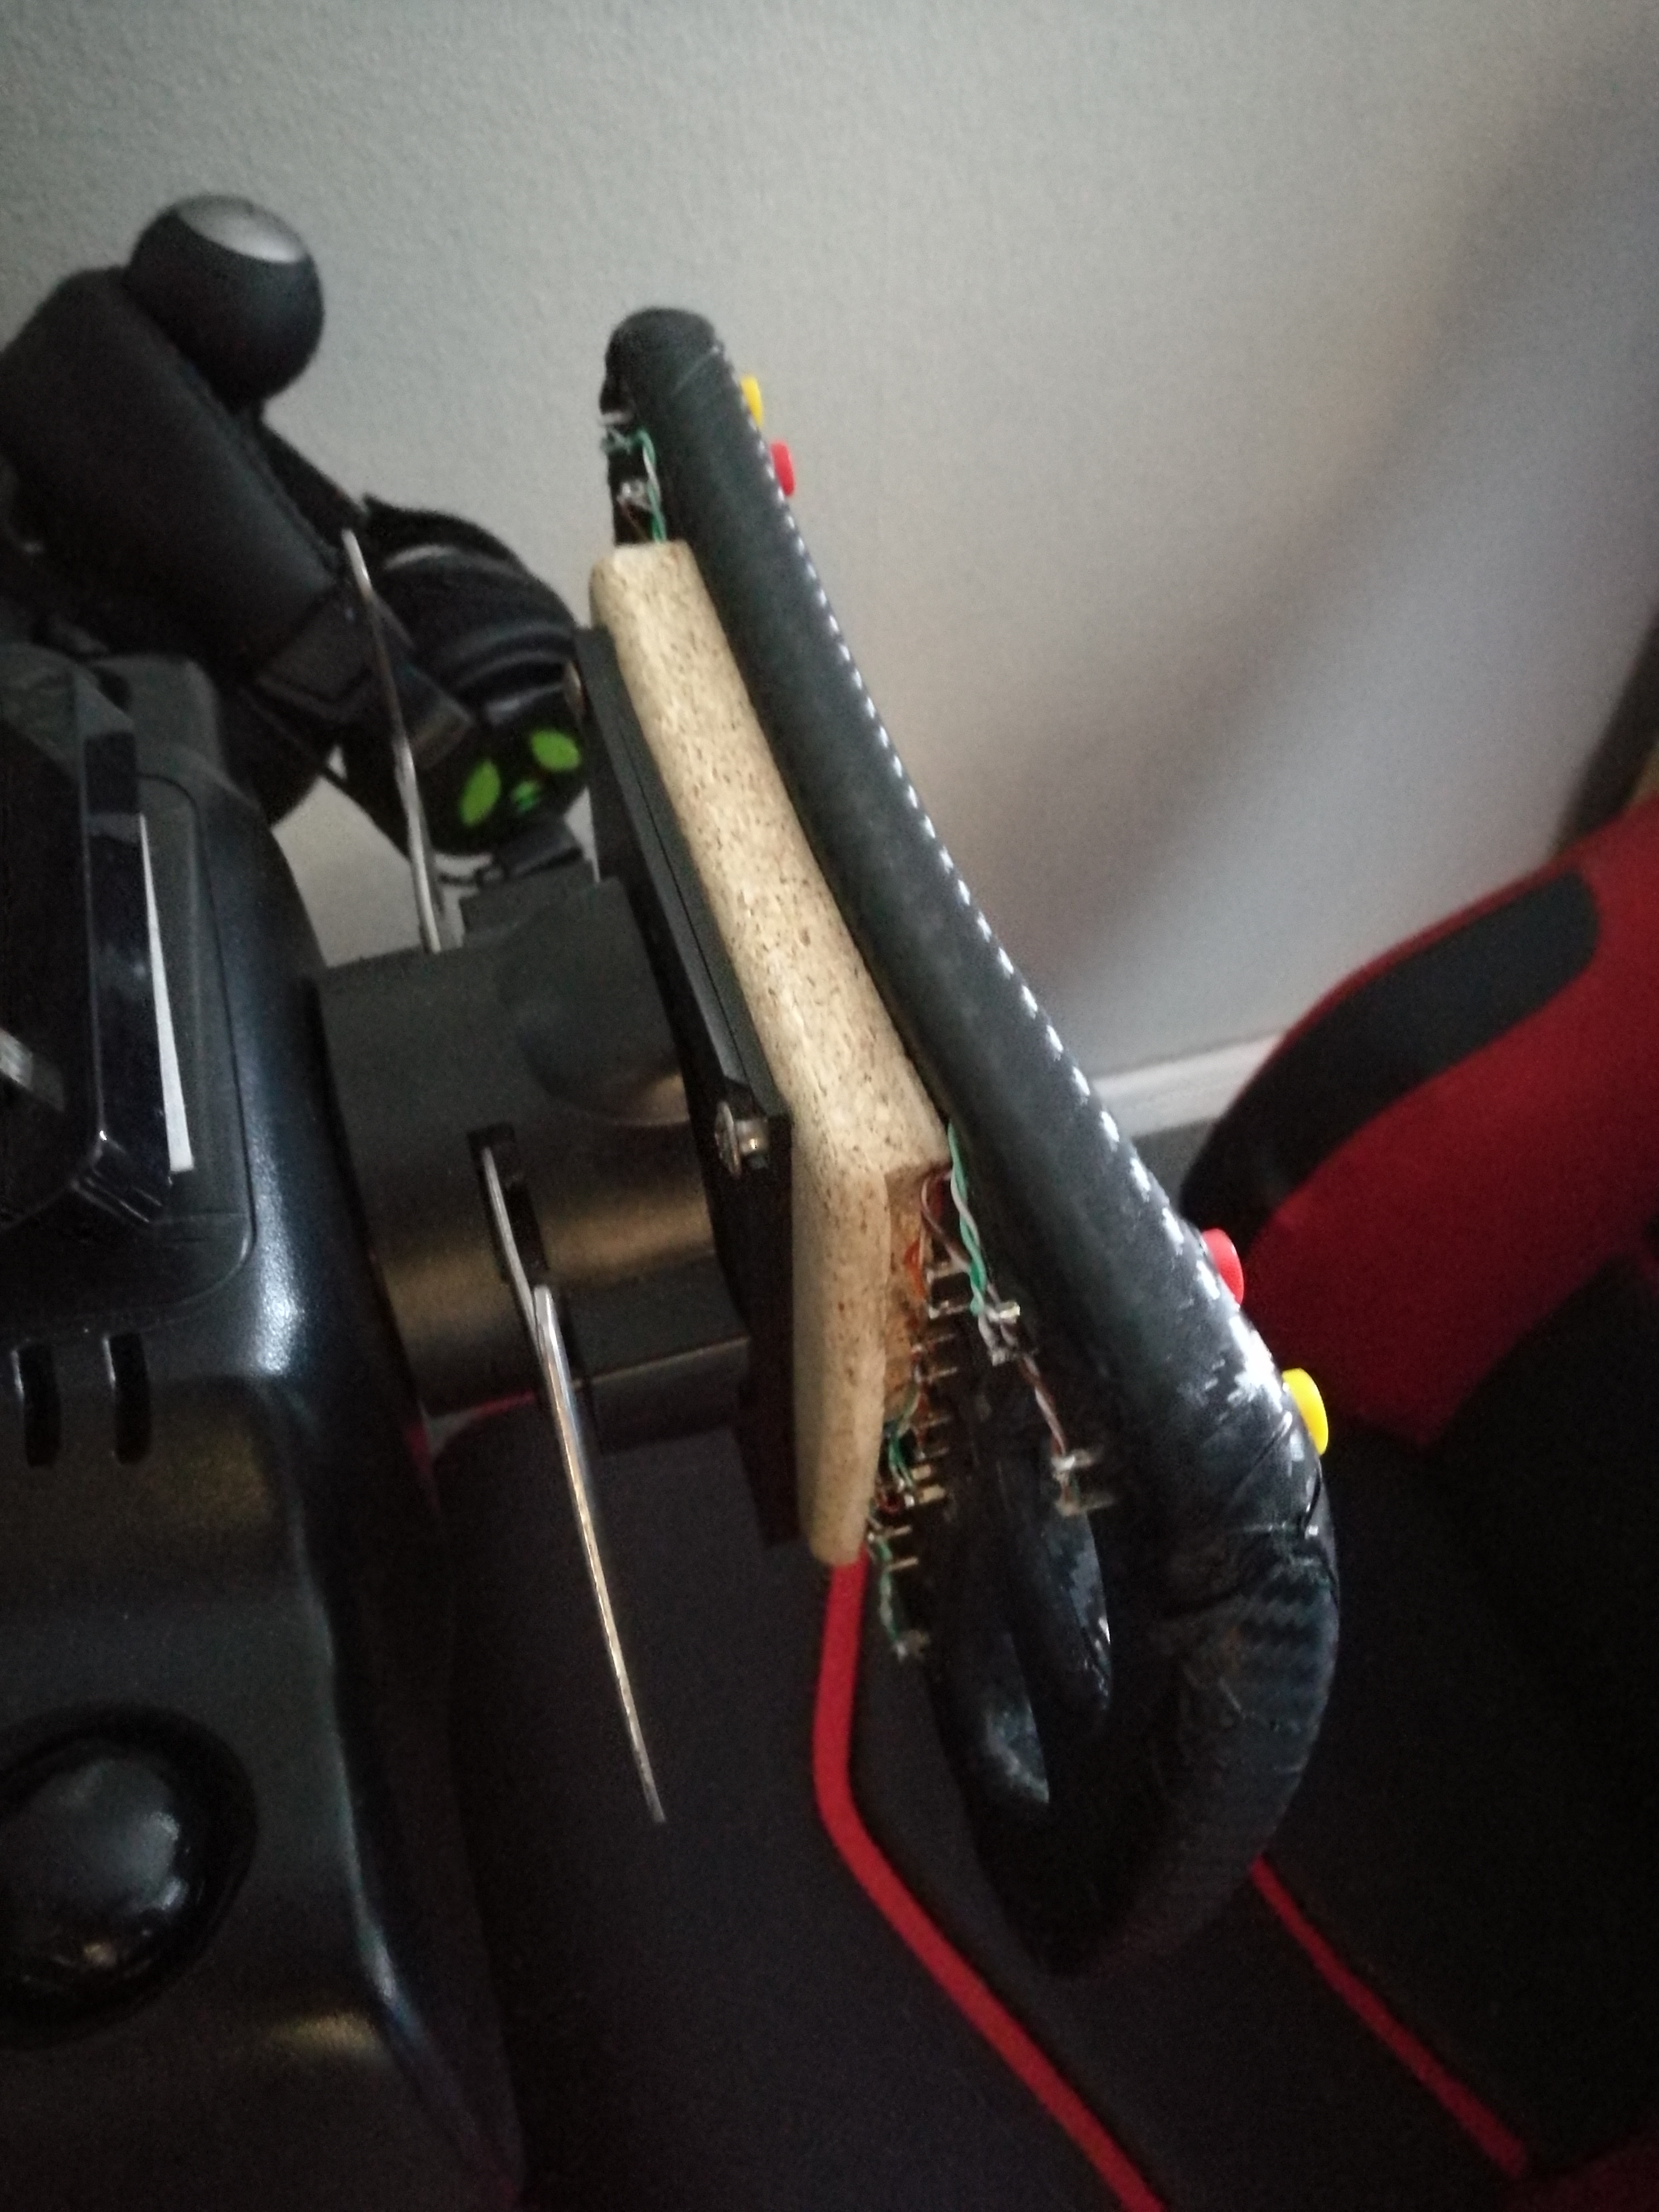
I thought of reusing the handelbares but the contruction and the way they should be connected to MDF would not last, so a different aproach was needed. The handlebars should be part of the wood.

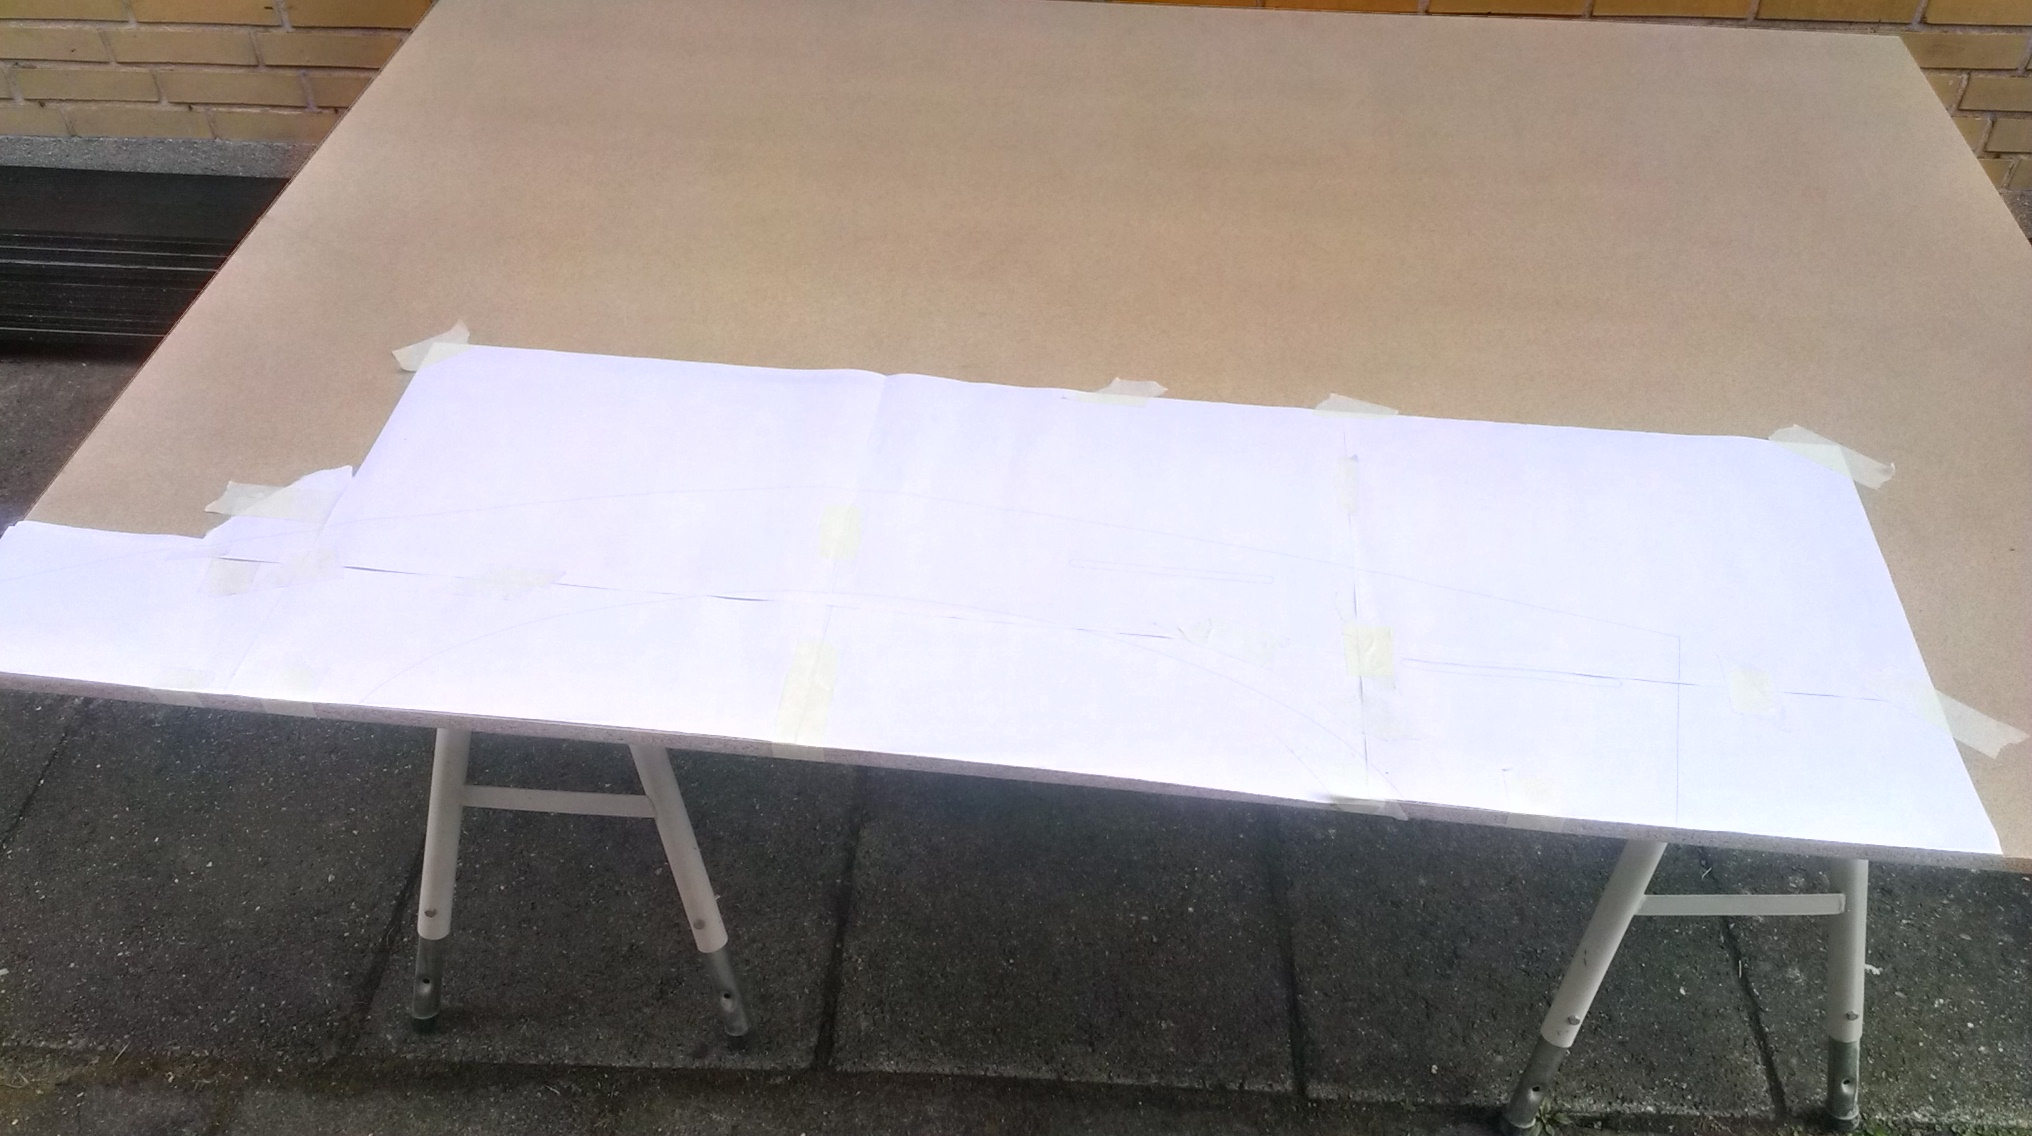
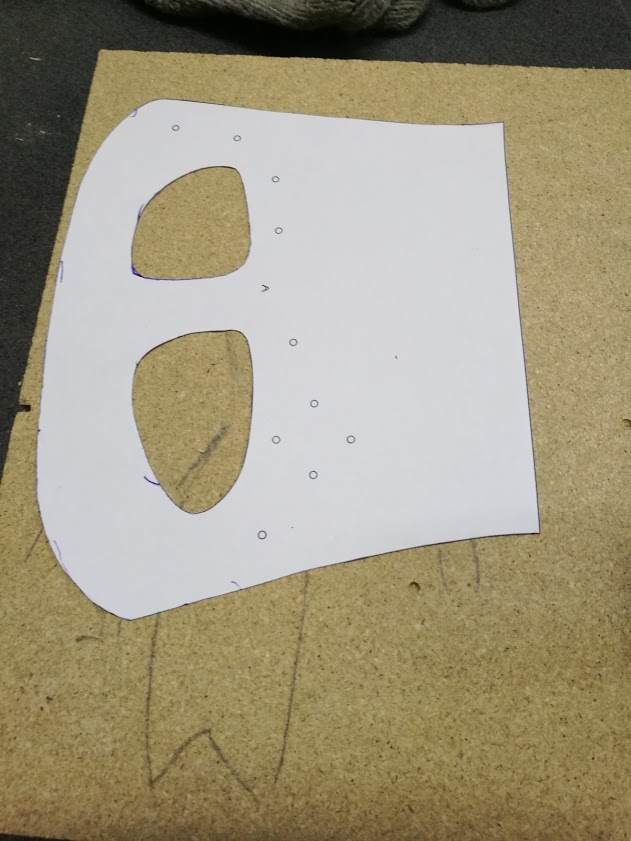
Designed it in 3d, made a 2d schematic for cutting.

001 002
Making all the edges round and nice, and drilling all the button holes.
and drilling out space for the pcb.
003 004
When all sanded down to a good result i painted it black, though in the end I will properly add Carbon look alike plastic wrap.
005 006
A days work, now it needs to dry….
will update this post in a week or so.
got time to som more work on this project.
Bought some carbonfiber laminating film, not that easy to apply around the narrow bends but the rubber handlebars will cover those.

cof

cof


cof

And testing with buttons

cof


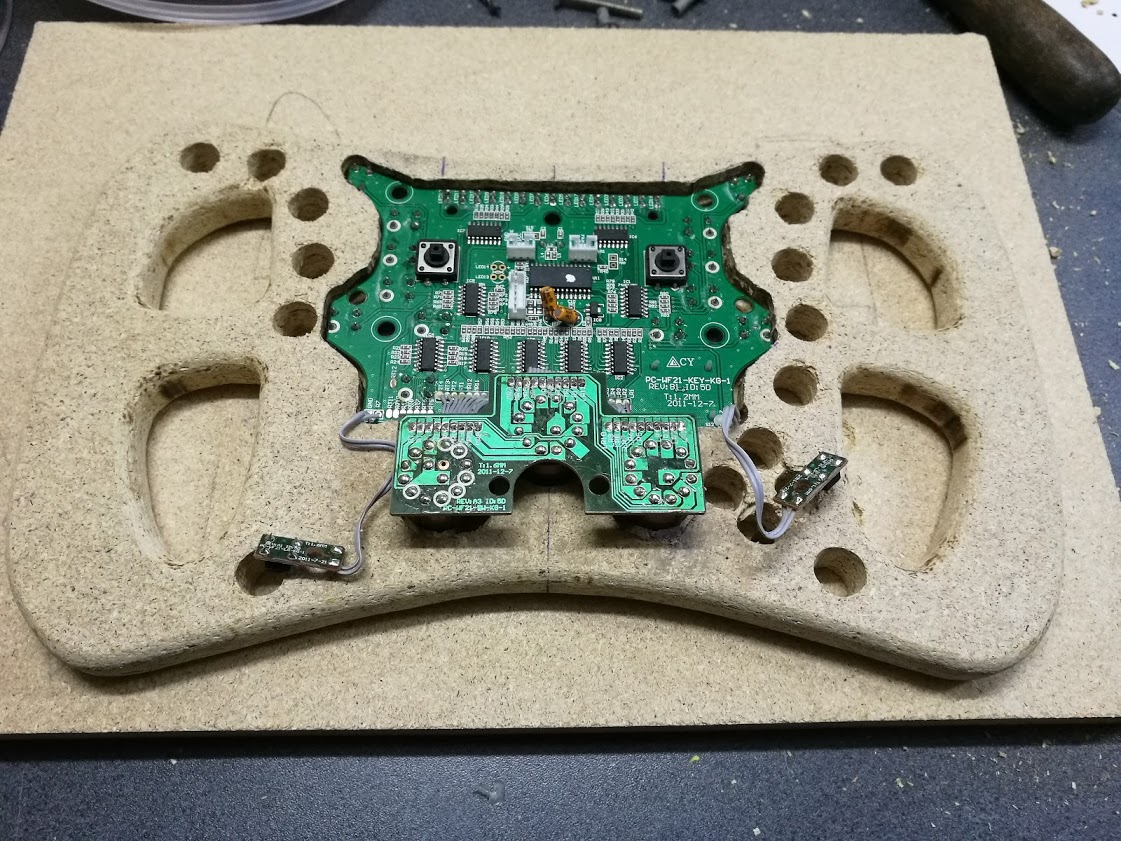
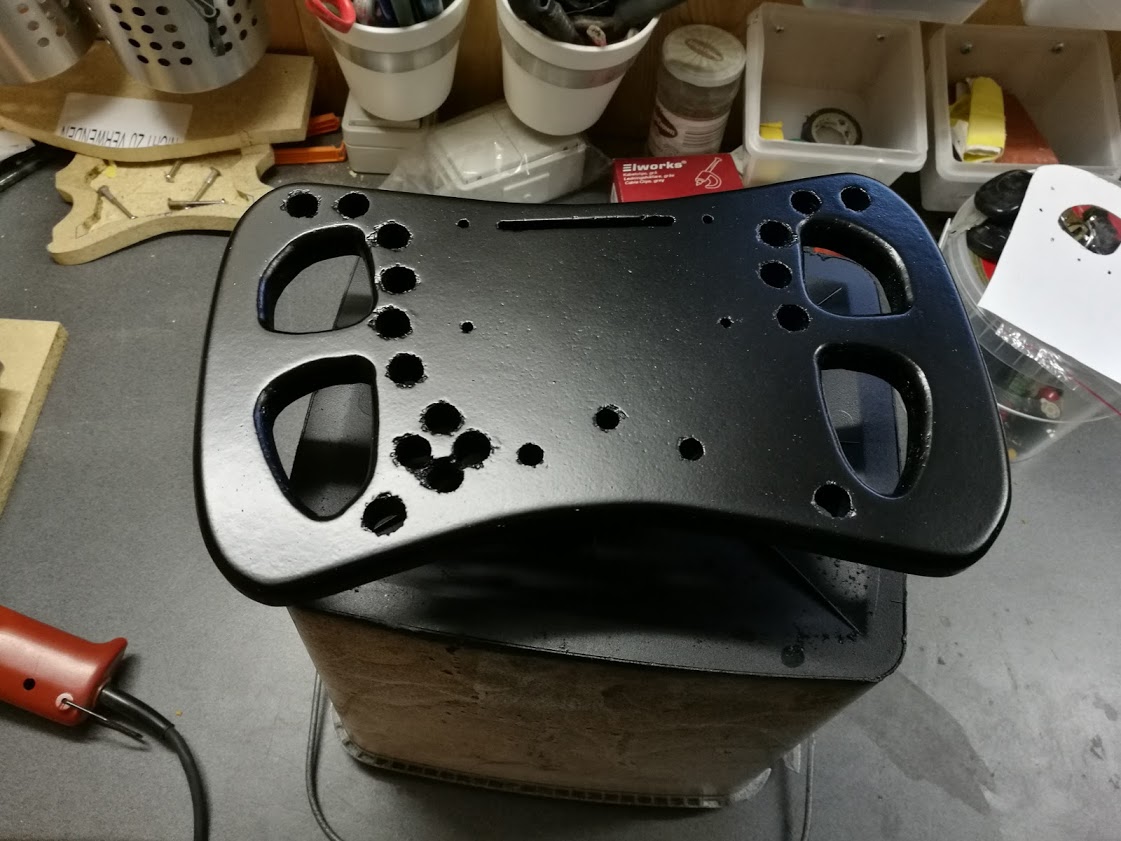
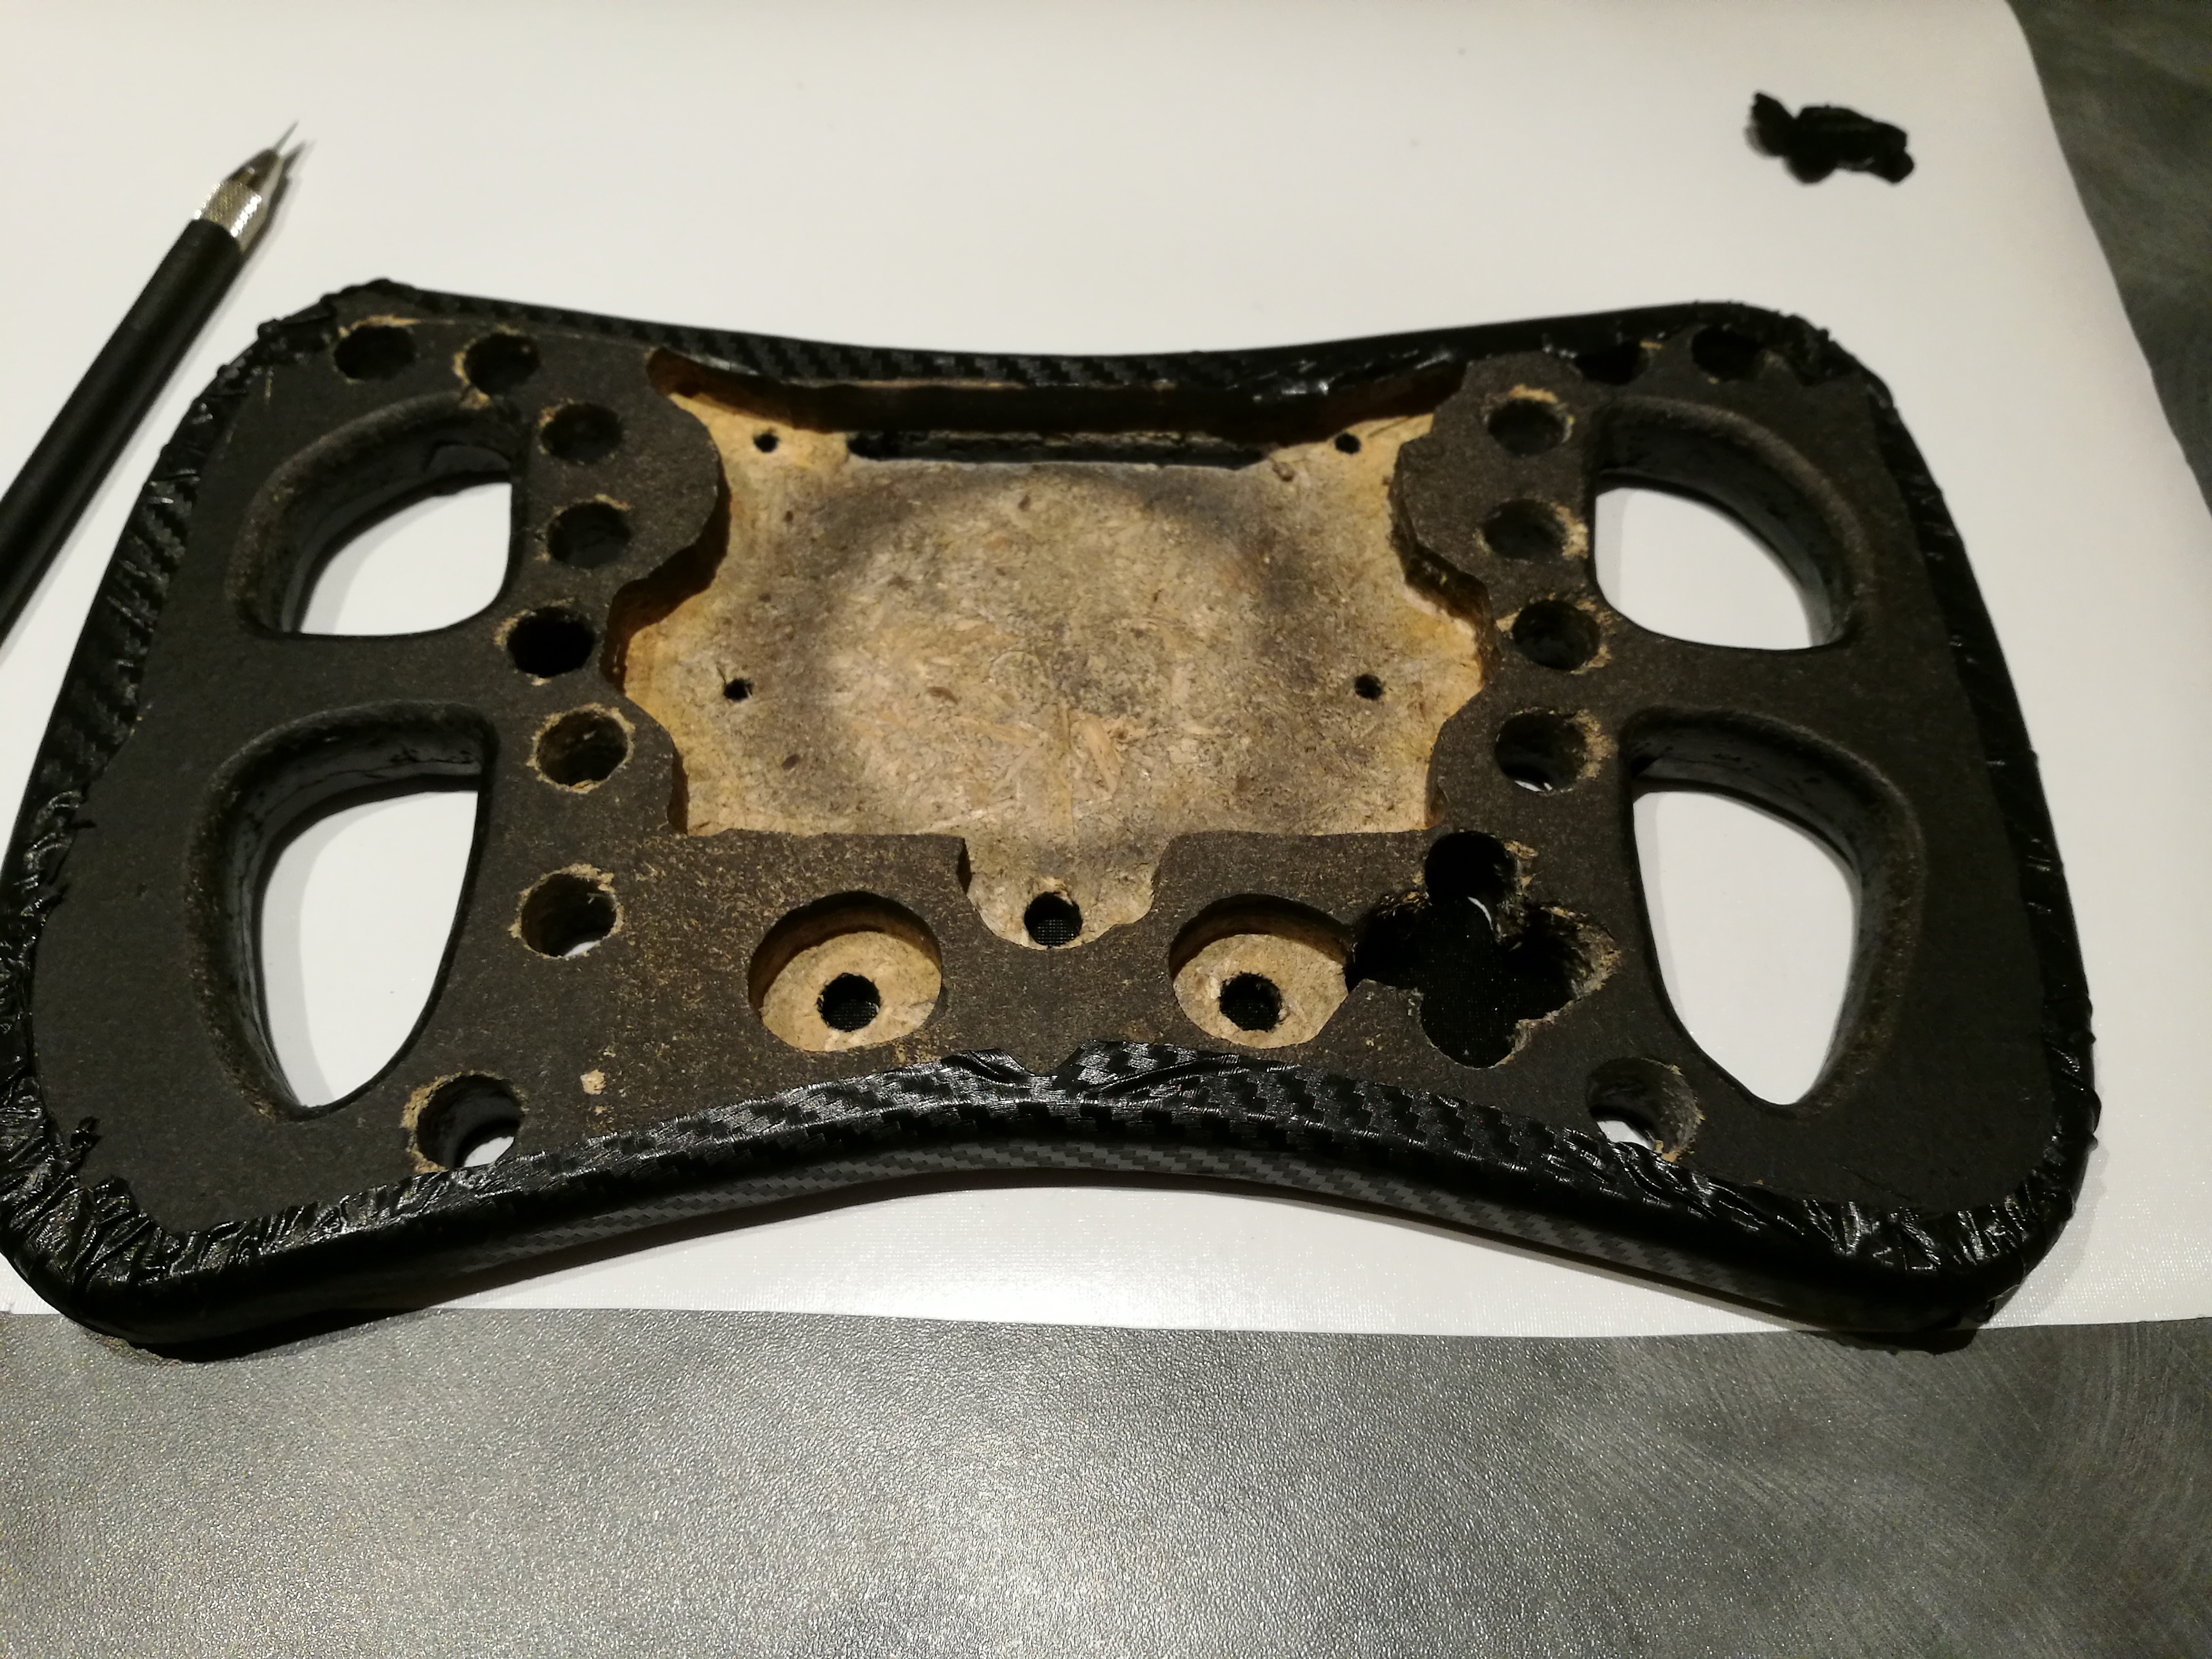
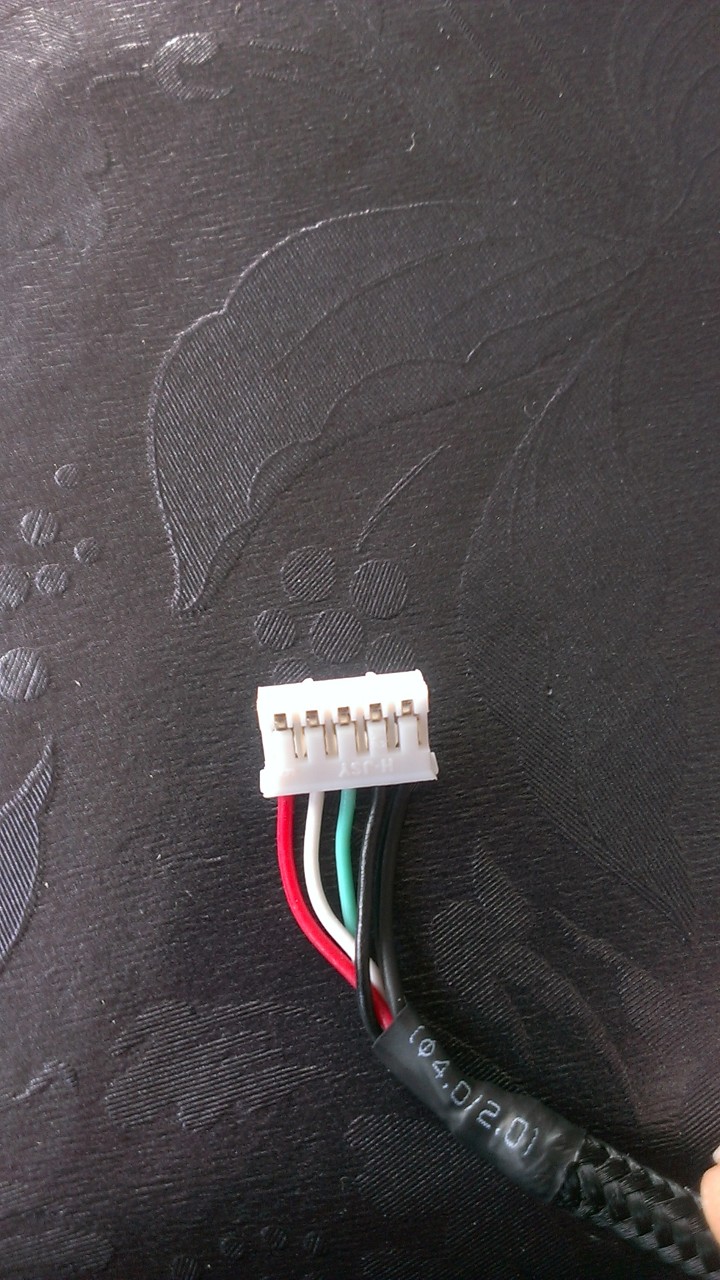
All the wirings to the new buttons, had to remove all the old switches

dav

The backplate

mde

Result so far, now its testing time.

sdr

mde

mde

Final result with 12 pcs of 5gram Sugru bags on each handlebar.
It is sanded with corn 400 afterwards to give a kind of “eraser” feel.
Great grip.

Formula racing steeringwheel G27 mod


The Logitech G27 steeringwheel is an okay steeringwheel considering the price.

But I like driving formula cars and le mans racers etc. in the pc racing simulator game Project c.a.r.s.

So I began to look for my options for a more racing kinda like steeringwheel.

I found a guy who had modded his G27 with the Simracingway SRW-01 steeringwheel.

Billedresultat for simracingway srw

This steeringwheel has a usb cord. It has a bit of plastic feling but its okay and have a good form and a lot of buttons.

I found a guy online who sold a used one, really cheap so what the heak.

Preparation

I had to get it attached to the wheelbase so measured it all up and drawed a holder in Qcad.

you can download the pdf here: srw-s1-001.pdf

I got it lasercut quite cheap, actually two because the could only do it in 3mm acryl and I wanted to be thicker.  And when making two why not make the screws “sunken”, thats why they are not identical.

001e


Disassamble

The flappy pedals will not be reused.

001d

001c

001b

001a


Wiring through the G27 wheelbase

This is actually the hard part, I had to cut the wire and solder it back on. I dont have any picture of this but basicly just find a place were the wire can go in the wheelbase and then place it along the original G27 wire that goes to the steeringweel.

002

003

When the two holder plates are combined, the screws are “sunken”:

004


Final result

imag2729

imag2728

006

005


Software

Download the fanaleds for controlling the blinking gearshift LEDs.

And the dials works with a little “virtual joystick program I found online somewhere but apparently have been removed.

you download the utility here (15mb) rar file:

setup-srw-s1-dial-utility-1-6

You might need to install a virtual joystick usb universal driver, look it up, dont remember where and how etc.

DIY Playseat – racingrig

After I have posted my DIY racingrig on the Project C.A.R.S forum, a few dozen have asked for the drawings, now I’m publishing it here for every one. Sorry there aren’t so many pictures but didn’t know it became a “guide”.


Last year I bought myself a great Logitech G27 steeringwheel. but soon I started to be jealous on all those racing rigs out there.

I found the expensive Playseat, where you almost are lying down as if it was a formel car or a le mans racer.

Its too expensive for my budget so started to mess around to see how I could build something like that.

First of I found a used, very cheap “racing” car seat.

I then tossed some wood together to find out the angles and placements of pedals, seat, and steeringwheel.

Prototype

Alot of adjustments and replacing it over and over again made me think at a racingrig should be some though of adjustable.


Design

I then began to draw it up in 3d, and quickly I figured out how it could be adjusted easily, within limits.

Here’s my initial 3d drawings:

racingseat4racingseat5 racingseat2 racingseat3

And with a 3d skeleton with my height, just to see if I got the dimensions correct.


racingseat8

wireframe

Now that the design was defined, It was time to convert the 3d to actual wood.

I flattened the shapes and imported it to Qcad and then made them 1:1 scale. Saved it to pdfs and printed them as “posters”.

When doing so, it’s simple to lay them on MDF wood and tape them together and use it for cutting guidances.

2d  “A4 format” pdf’s print as posters:

wheelbase.pdf

sidepart.pdf


Cutting

imag2678

imag2681

imag2682

imag2685

imag2684

When cutting two identical parts, its impossible to make them identical, but after cutting them, just align them next to each other and sand them into same shape.


Assembling and testing

imag2688

imag2711


And final touches

Paint, “floor”, holder for gearshift (only uses the buttons)


img_9432-custom

img_9450-custom

img_9445-custom

img_9435-custom

It even fits in the room when not using it.

img_9465-custom

img_9443-custom