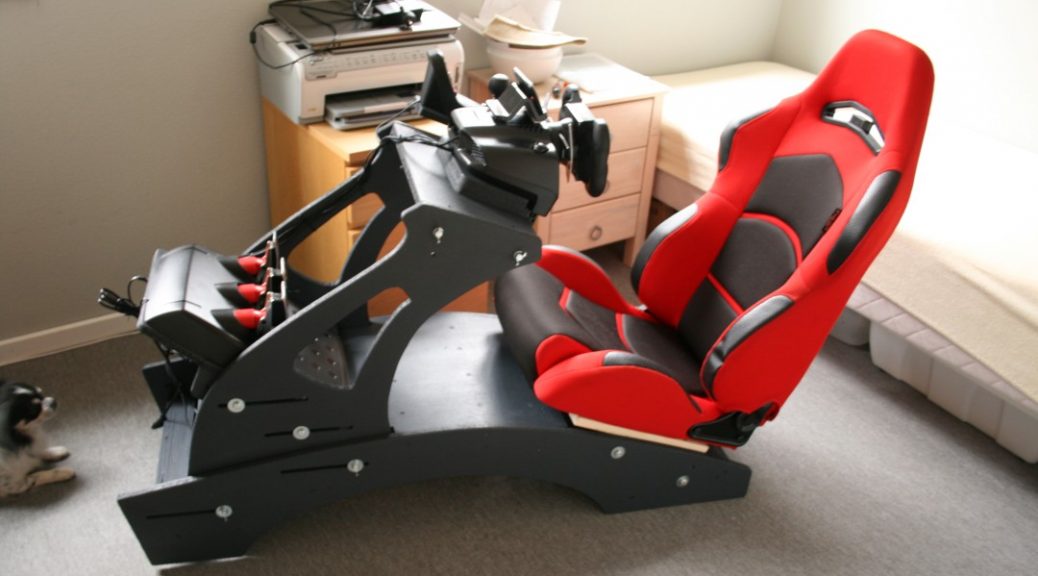
After I have posted my DIY racingrig on the Project C.A.R.S forum, a few dozen have asked for the drawings, now I’m publishing it here for every one. Sorry there aren’t so many pictures but didn’t know it became a “guide”.
Last year I bought myself a great Logitech G27 steeringwheel. but soon I started to be jealous on all those racing rigs out there.
I found the expensive Playseat, where you almost are lying down as if it was a formel car or a le mans racer.
Its too expensive for my budget so started to mess around to see how I could build something like that.
First of I found a used, very cheap “racing” car seat.
I then tossed some wood together to find out the angles and placements of pedals, seat, and steeringwheel.
Prototype

Alot of adjustments and replacing it over and over again made me think at a racingrig should be some though of adjustable.
Design
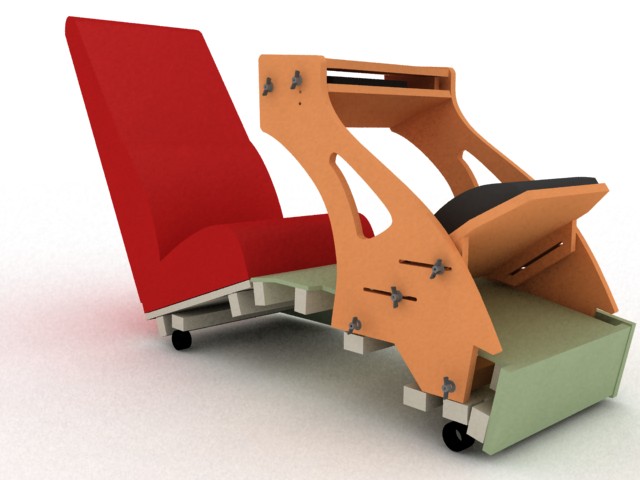
I then began to draw it up in 3d, and quickly I figured out how it could be adjusted easily, within limits.
Here’s my initial 3d drawings:
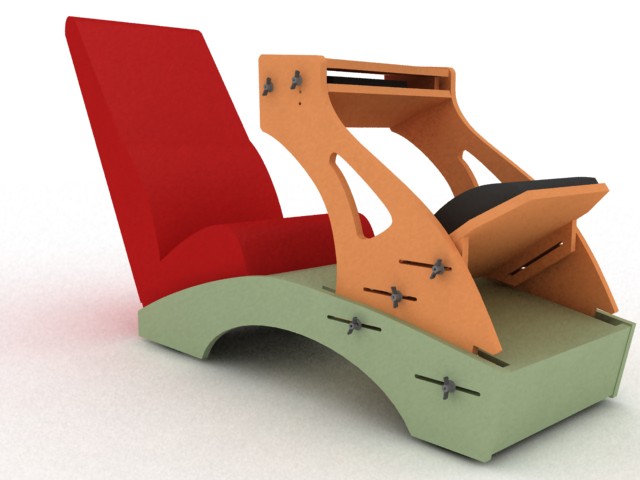
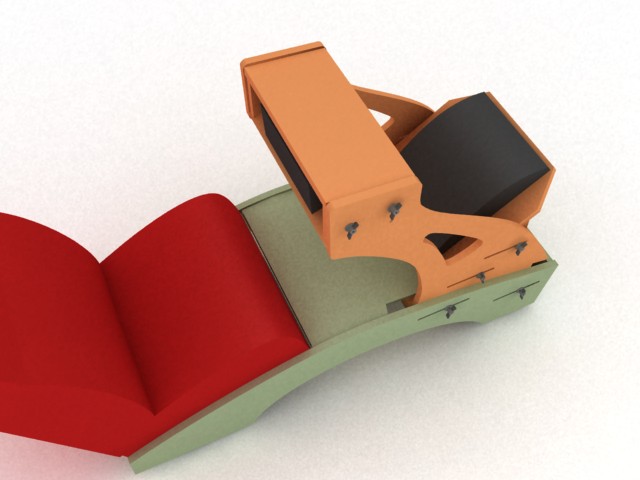
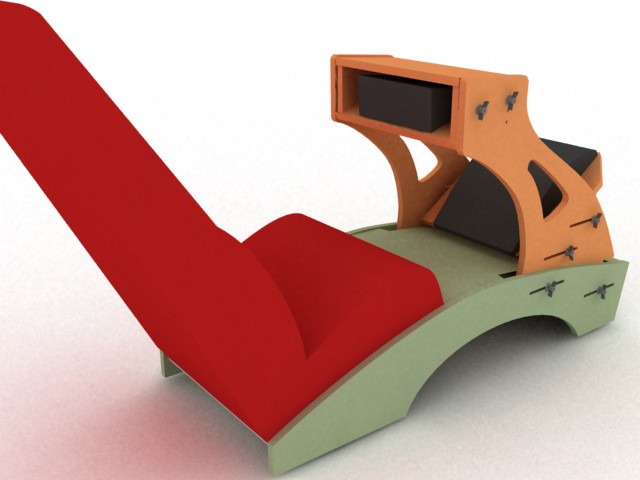
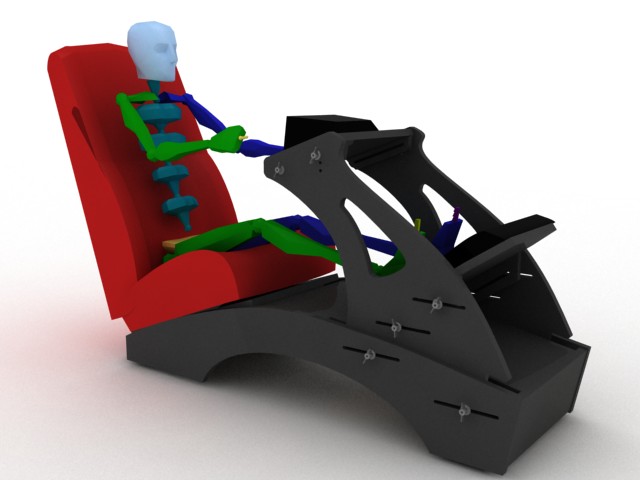
And with a 3d skeleton with my height, just to see if I got the dimensions correct.
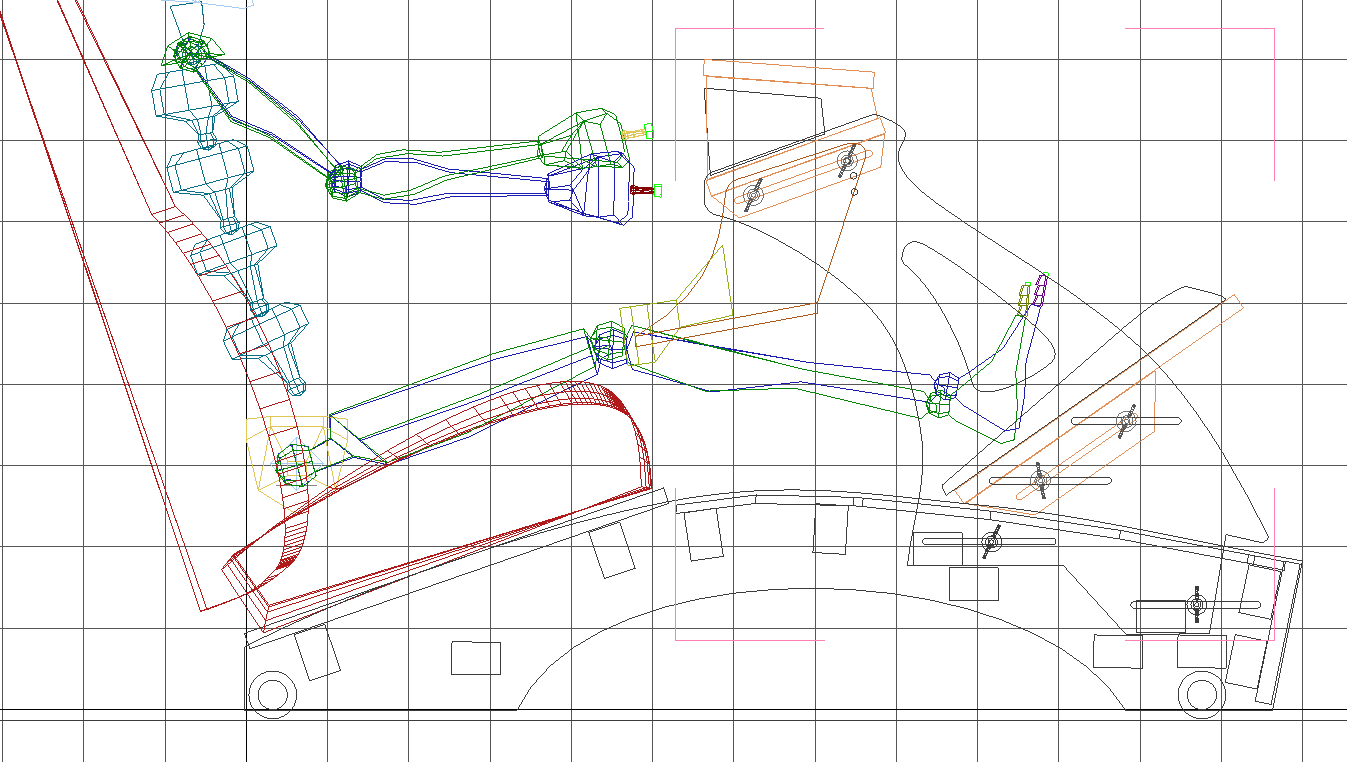
Now that the design was defined, It was time to convert the 3d to actual wood.
I flattened the shapes and imported it to Qcad and then made them 1:1 scale. Saved it to pdfs and printed them as “posters”.
When doing so, it’s simple to lay them on MDF wood and tape them together and use it for cutting guidances.
2d “A4 format” pdf’s print as posters:
Cutting
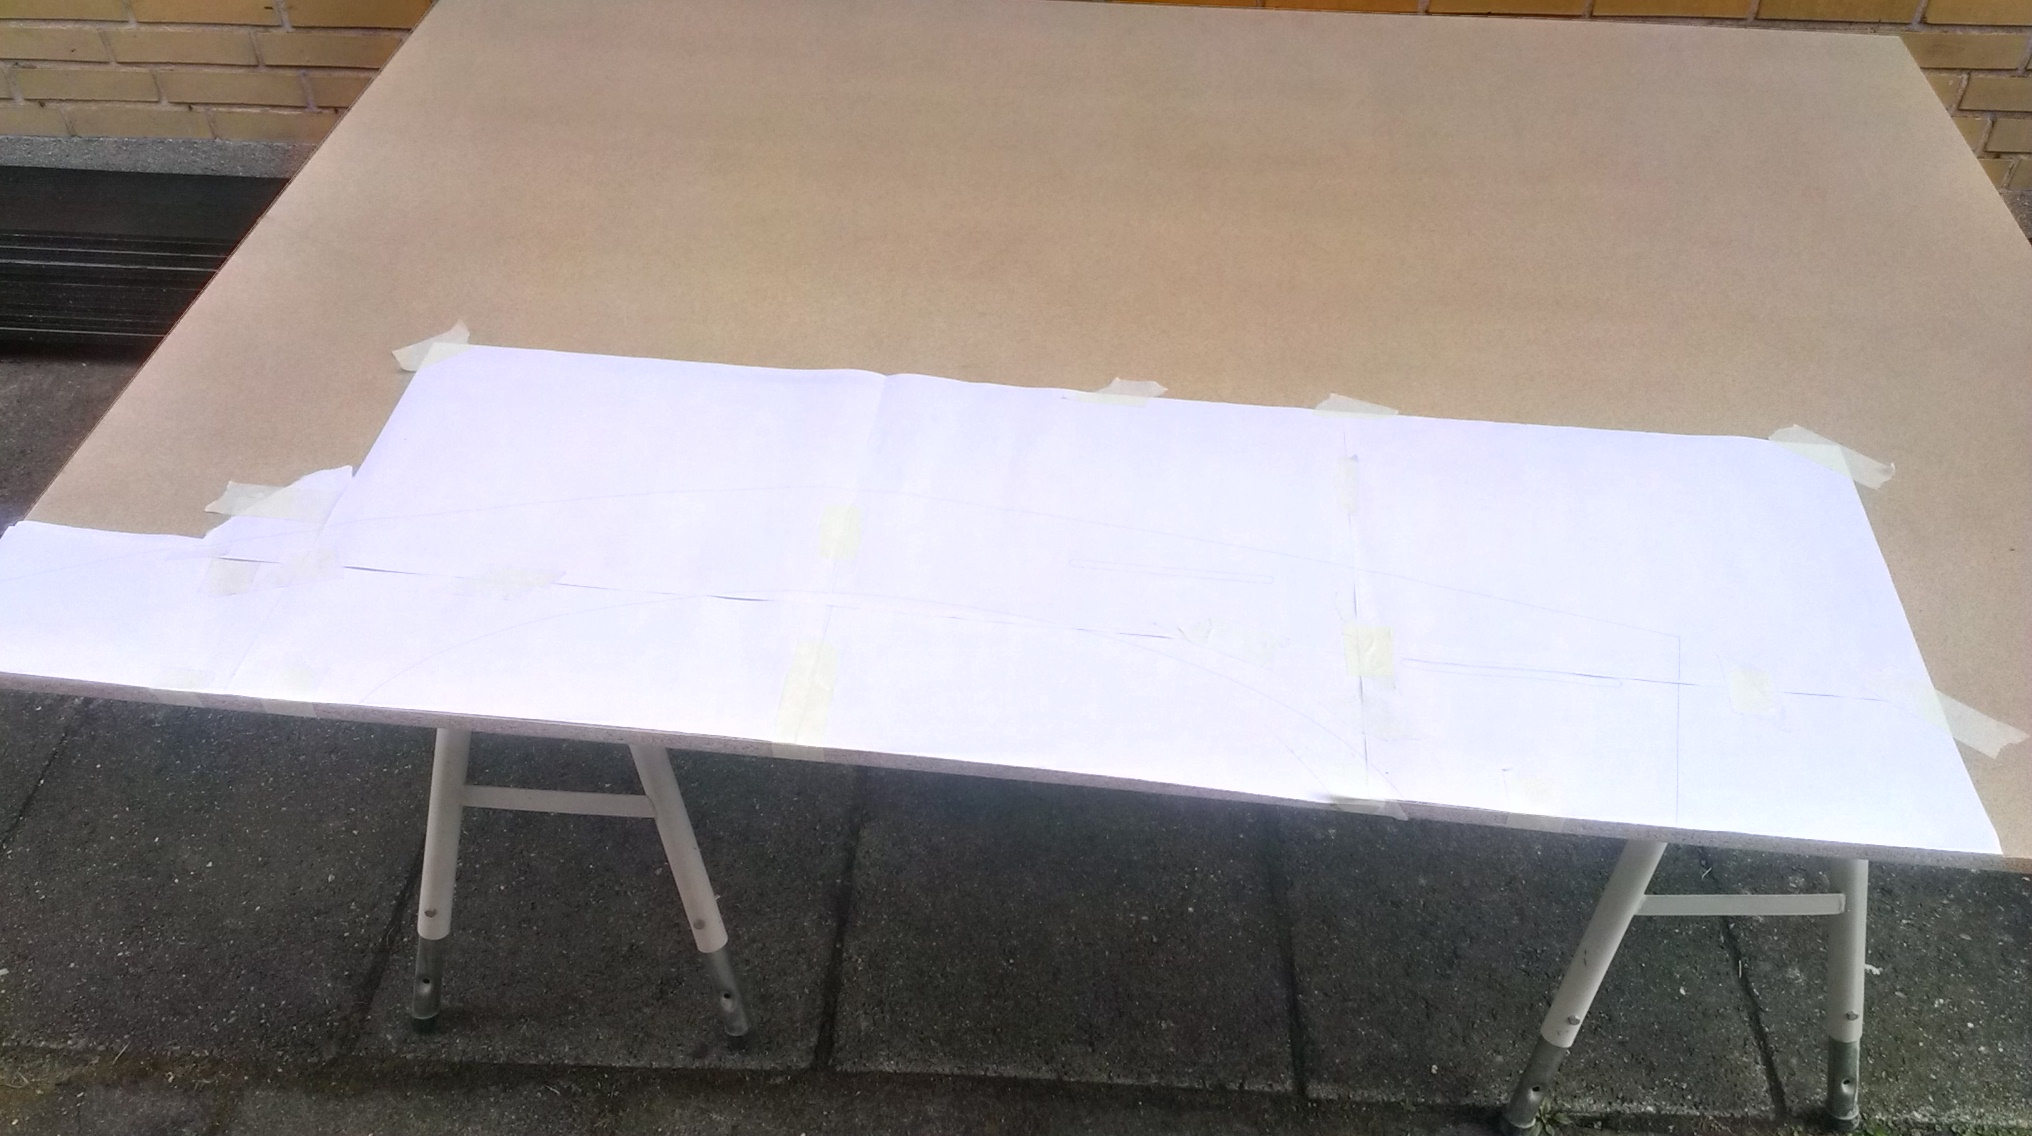
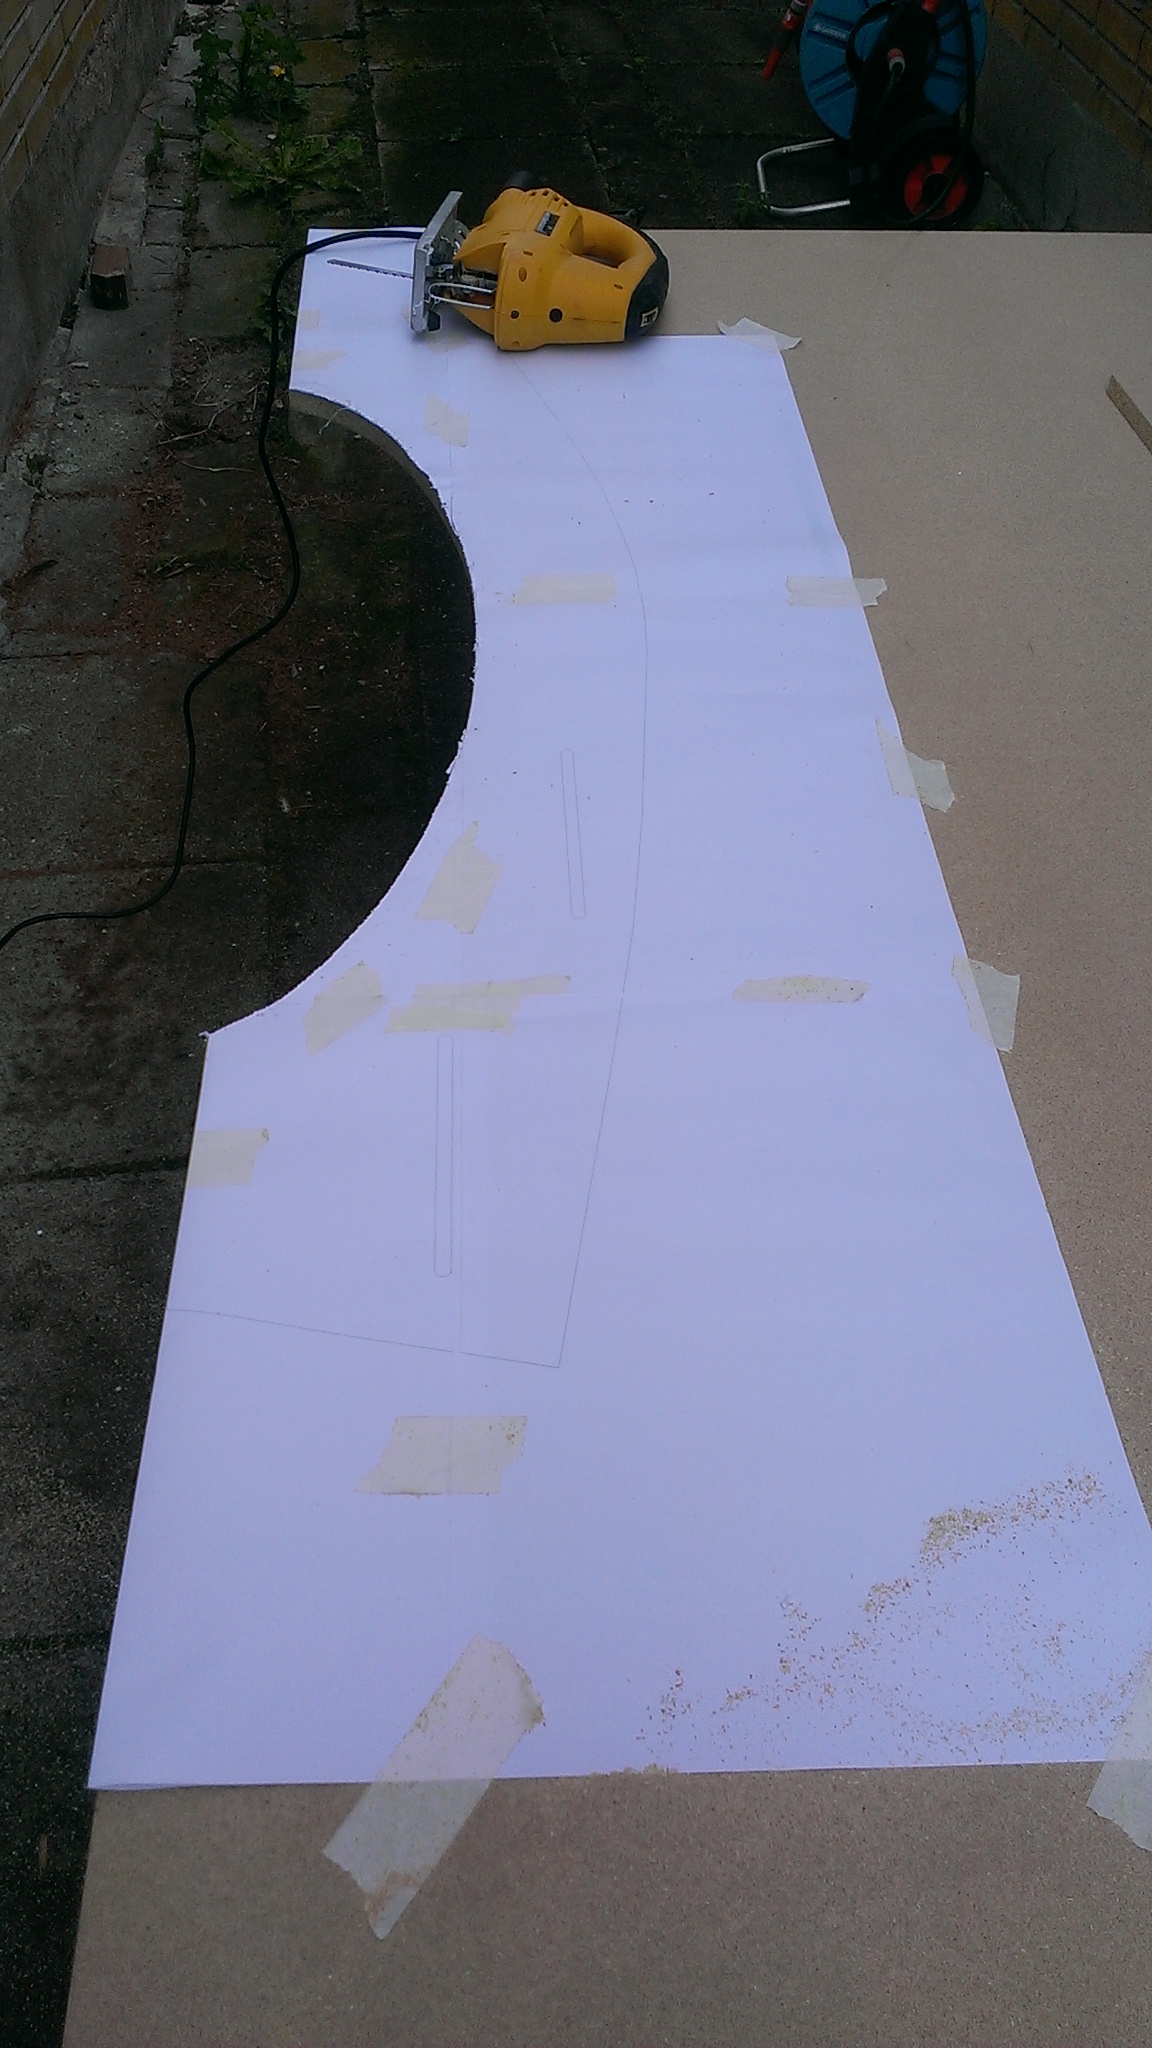
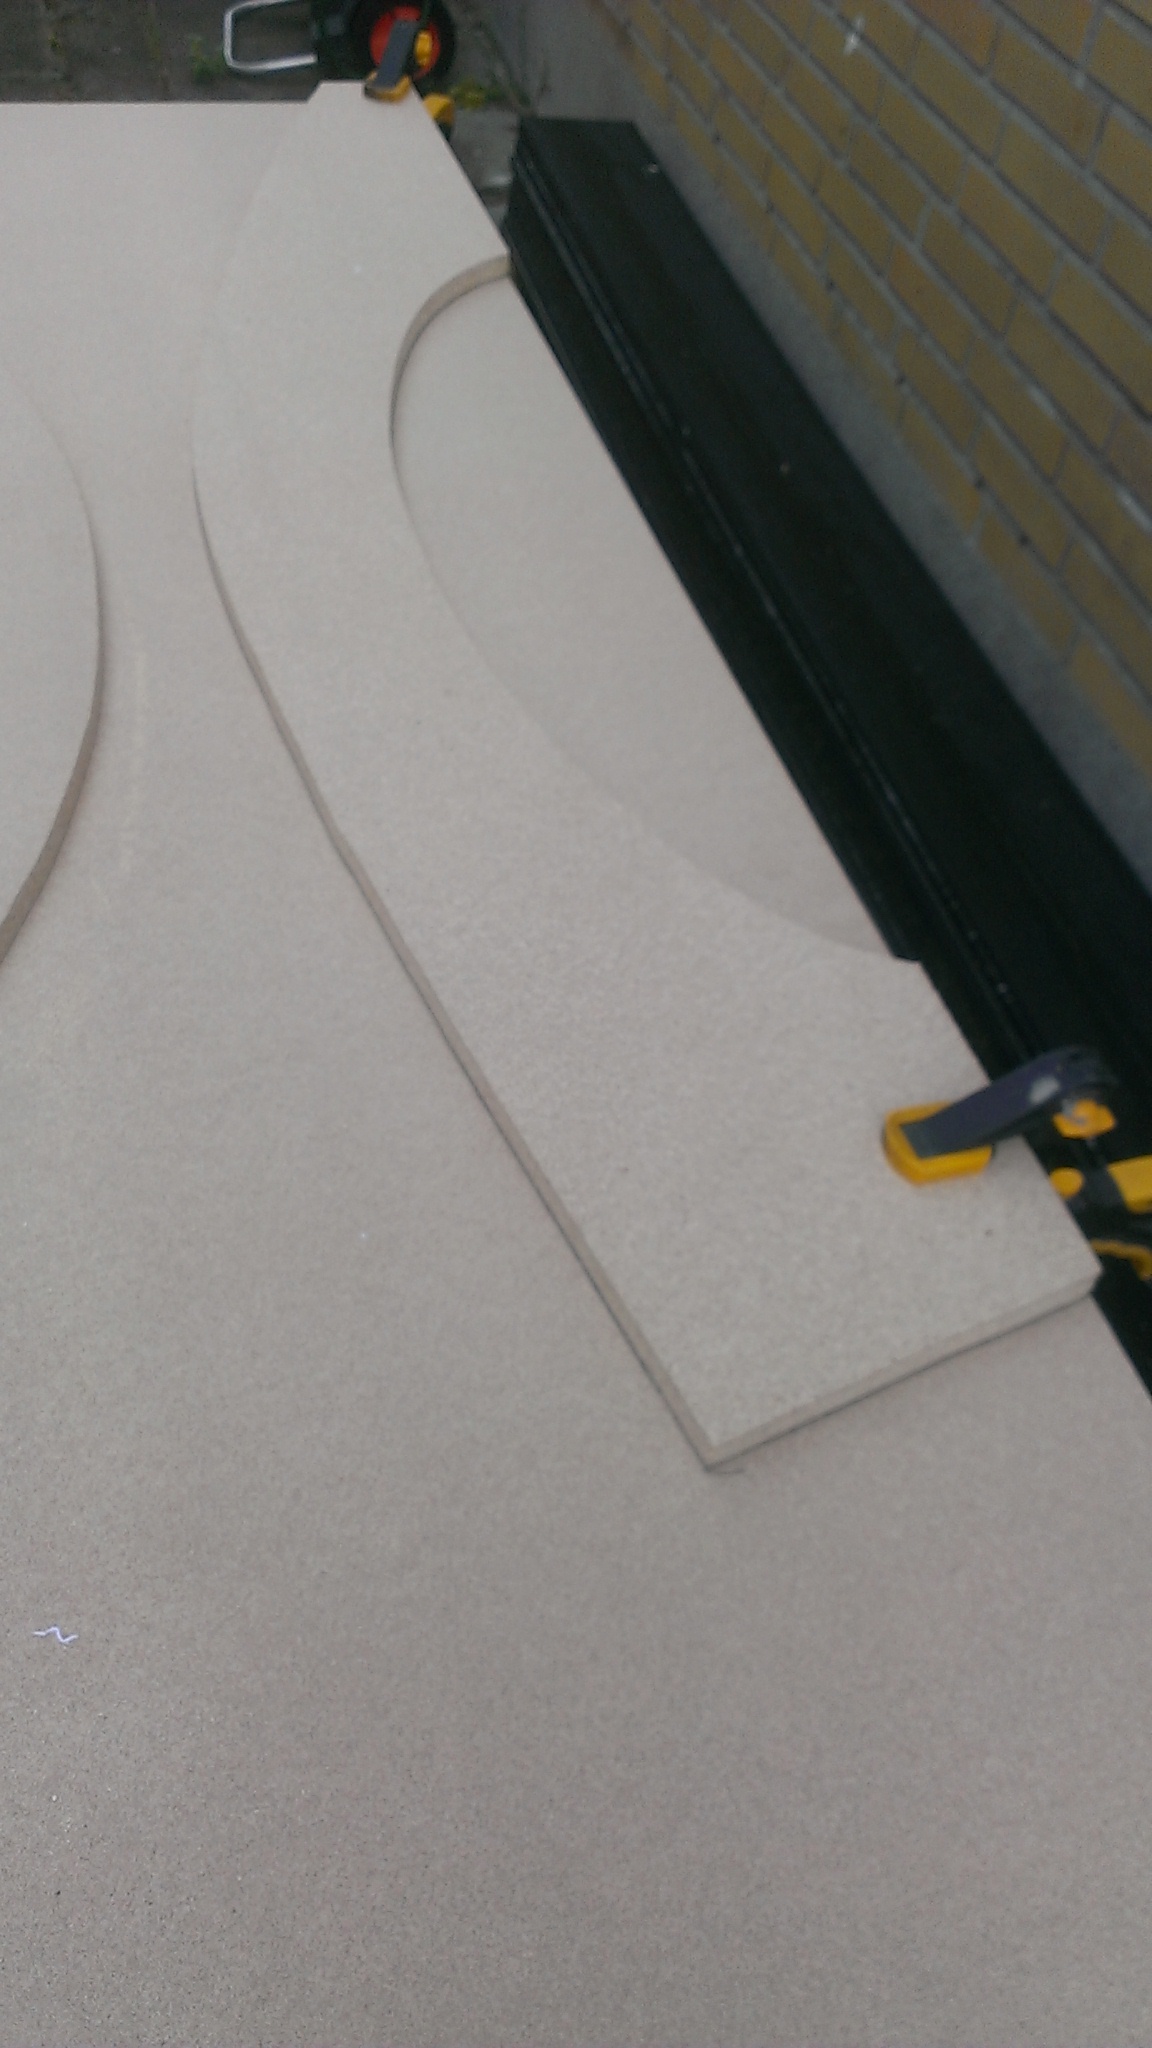
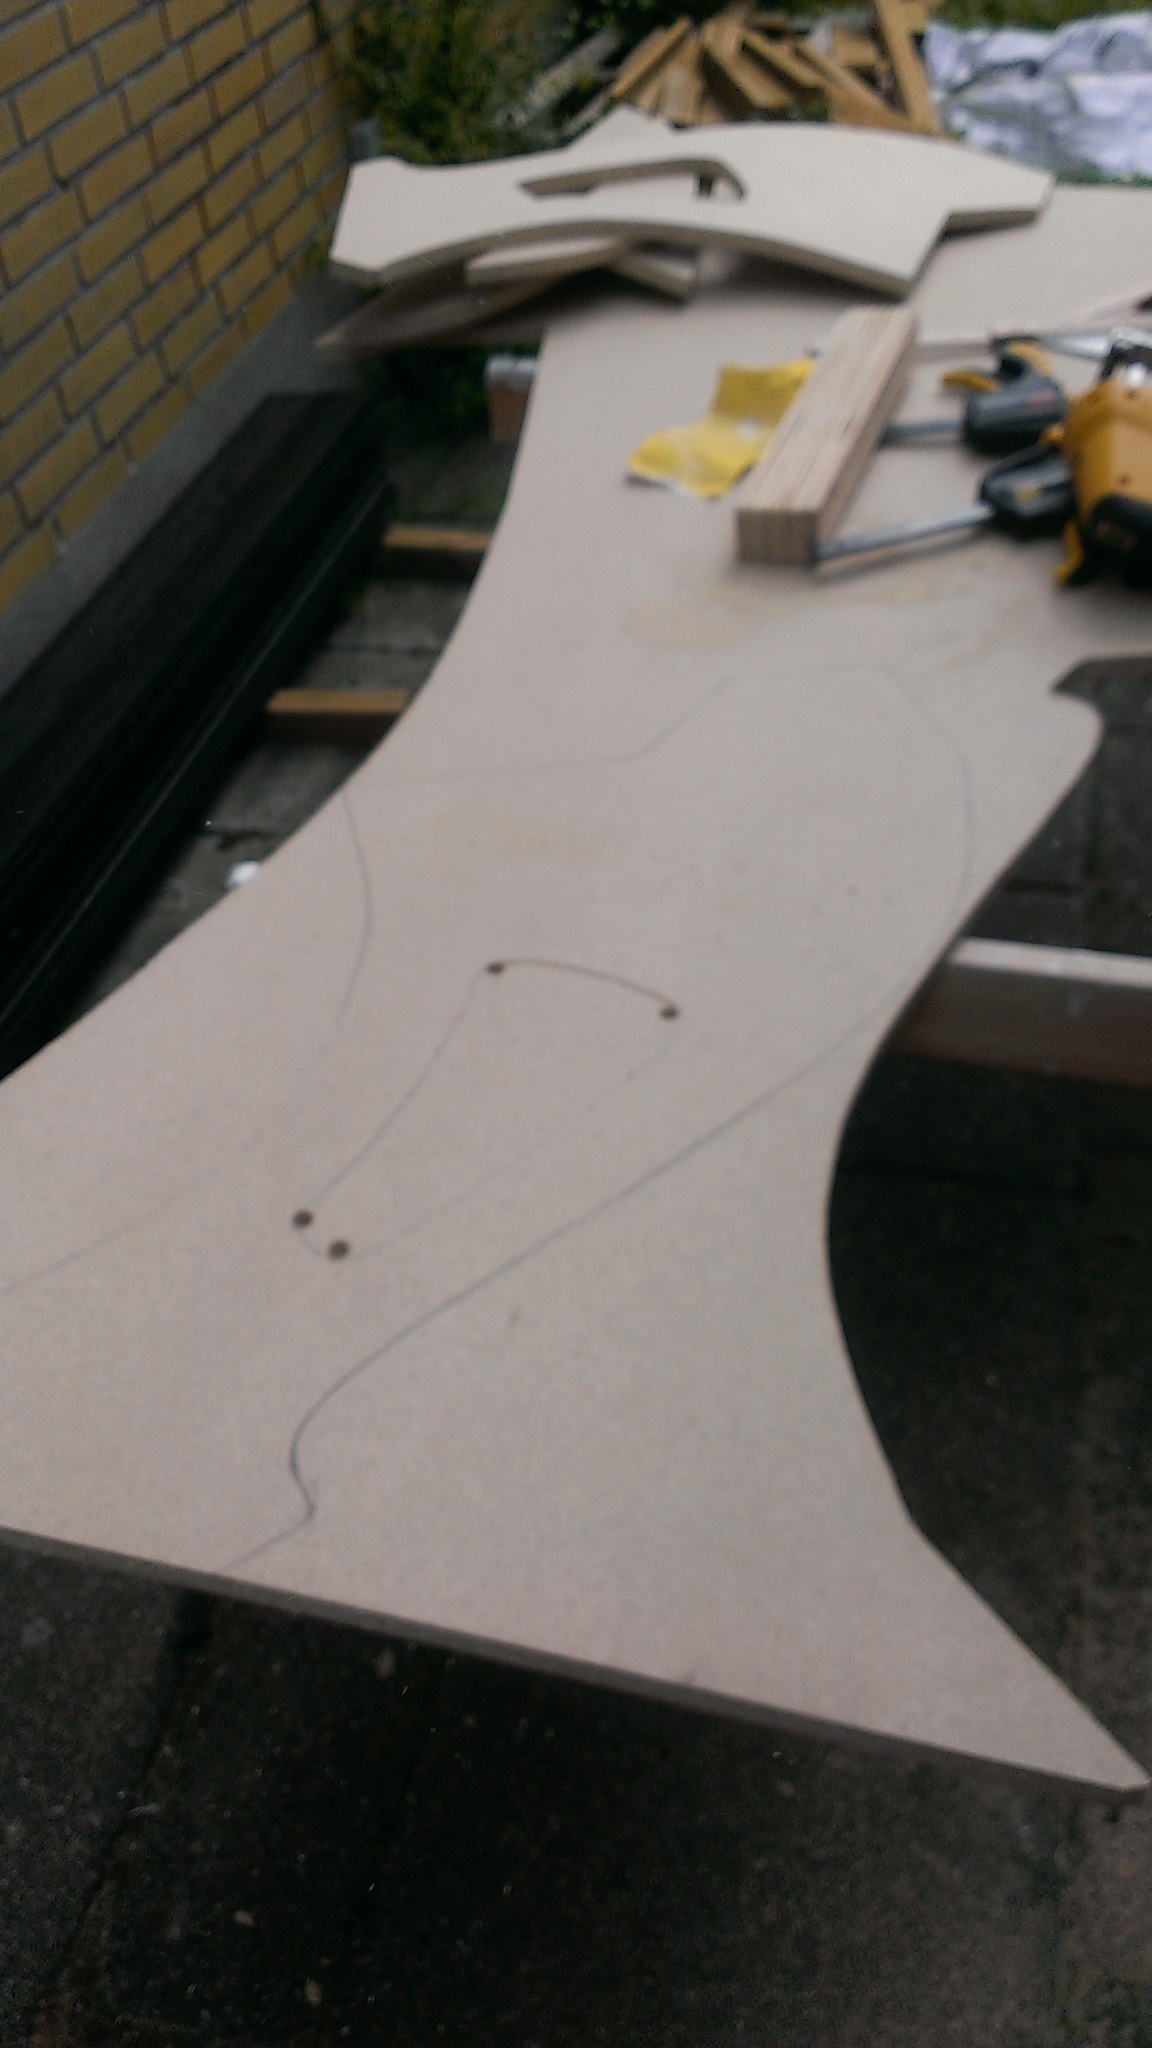
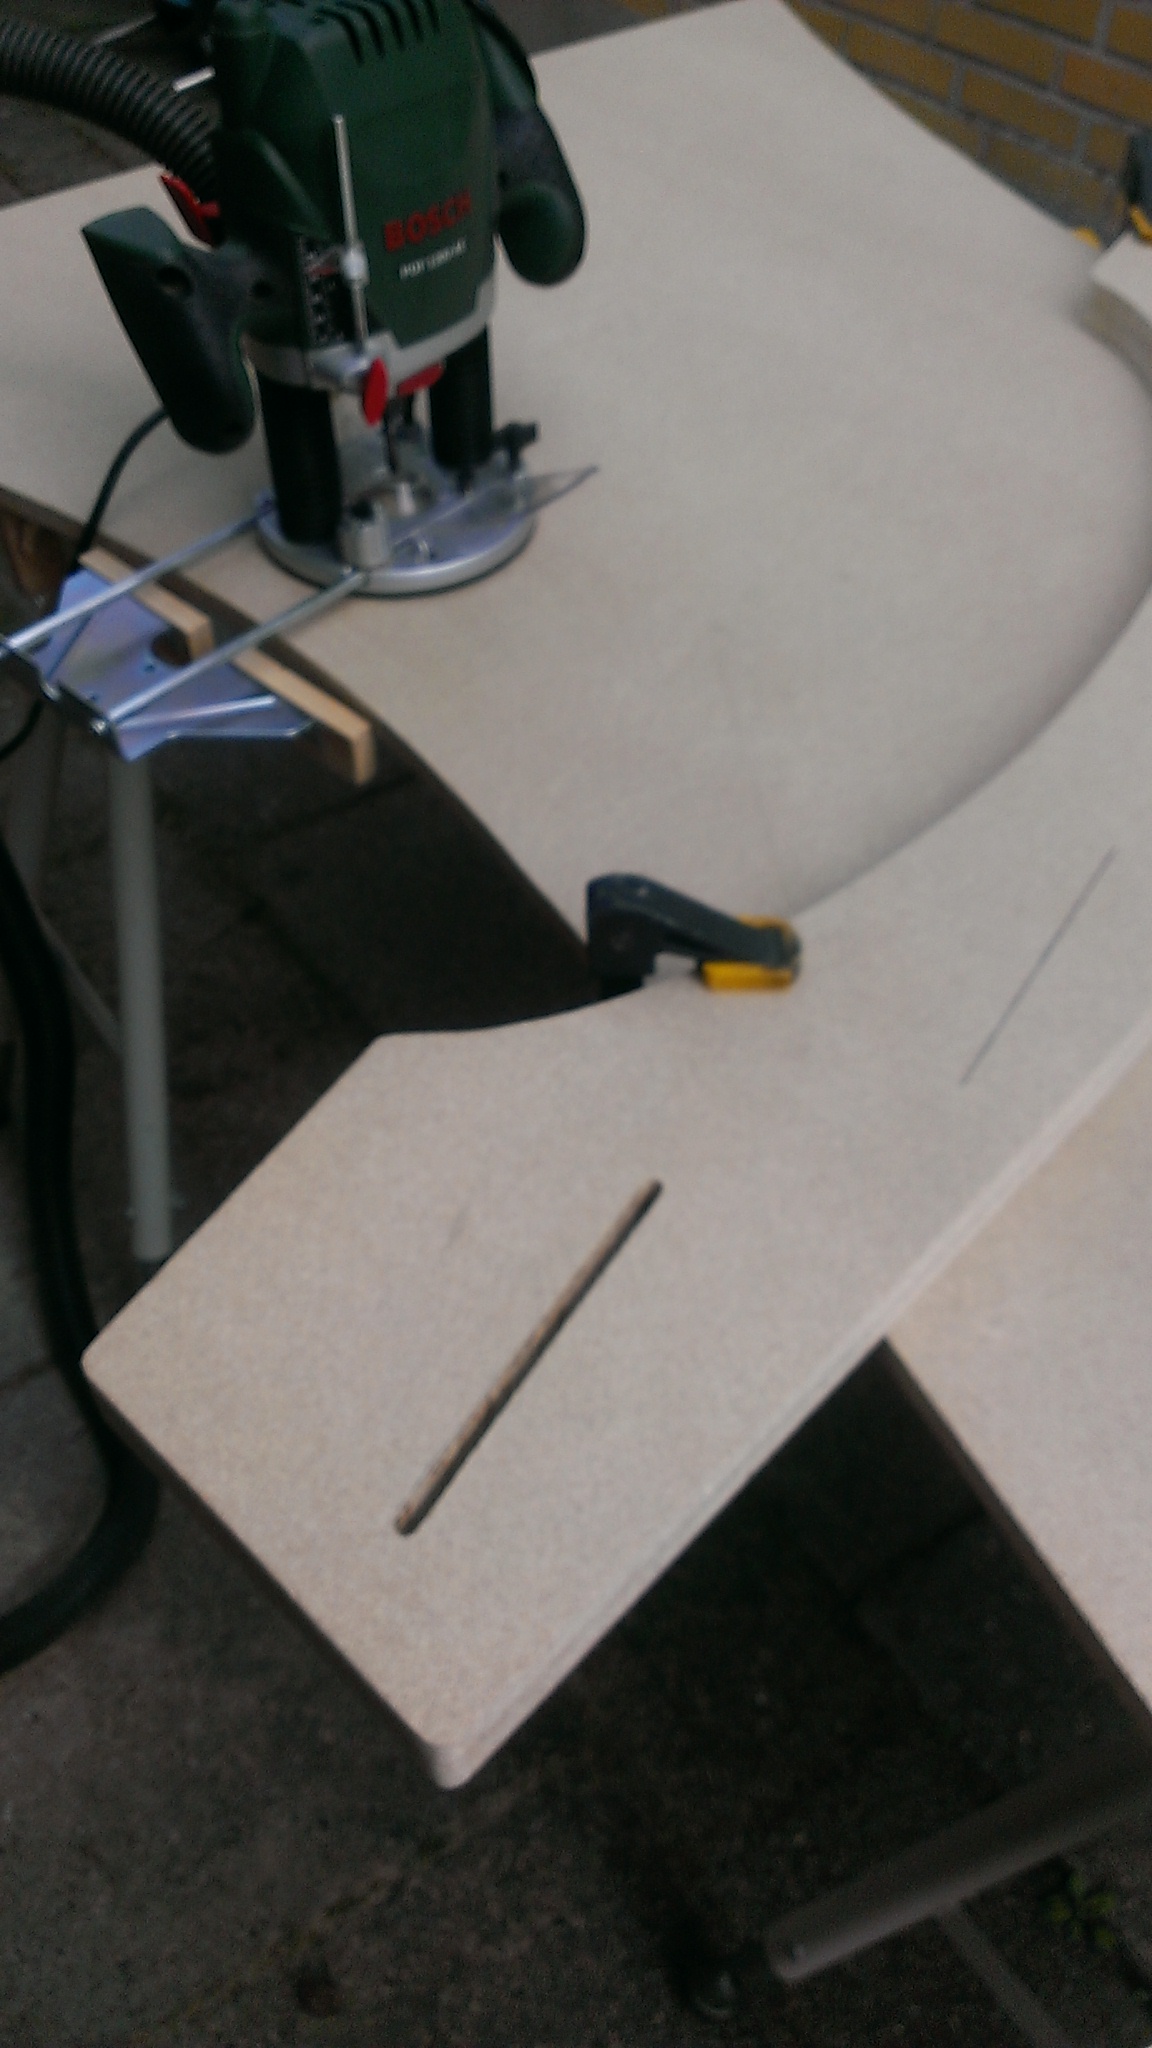
When cutting two identical parts, its impossible to make them identical, but after cutting them, just align them next to each other and sand them into same shape.
Assembling and testing
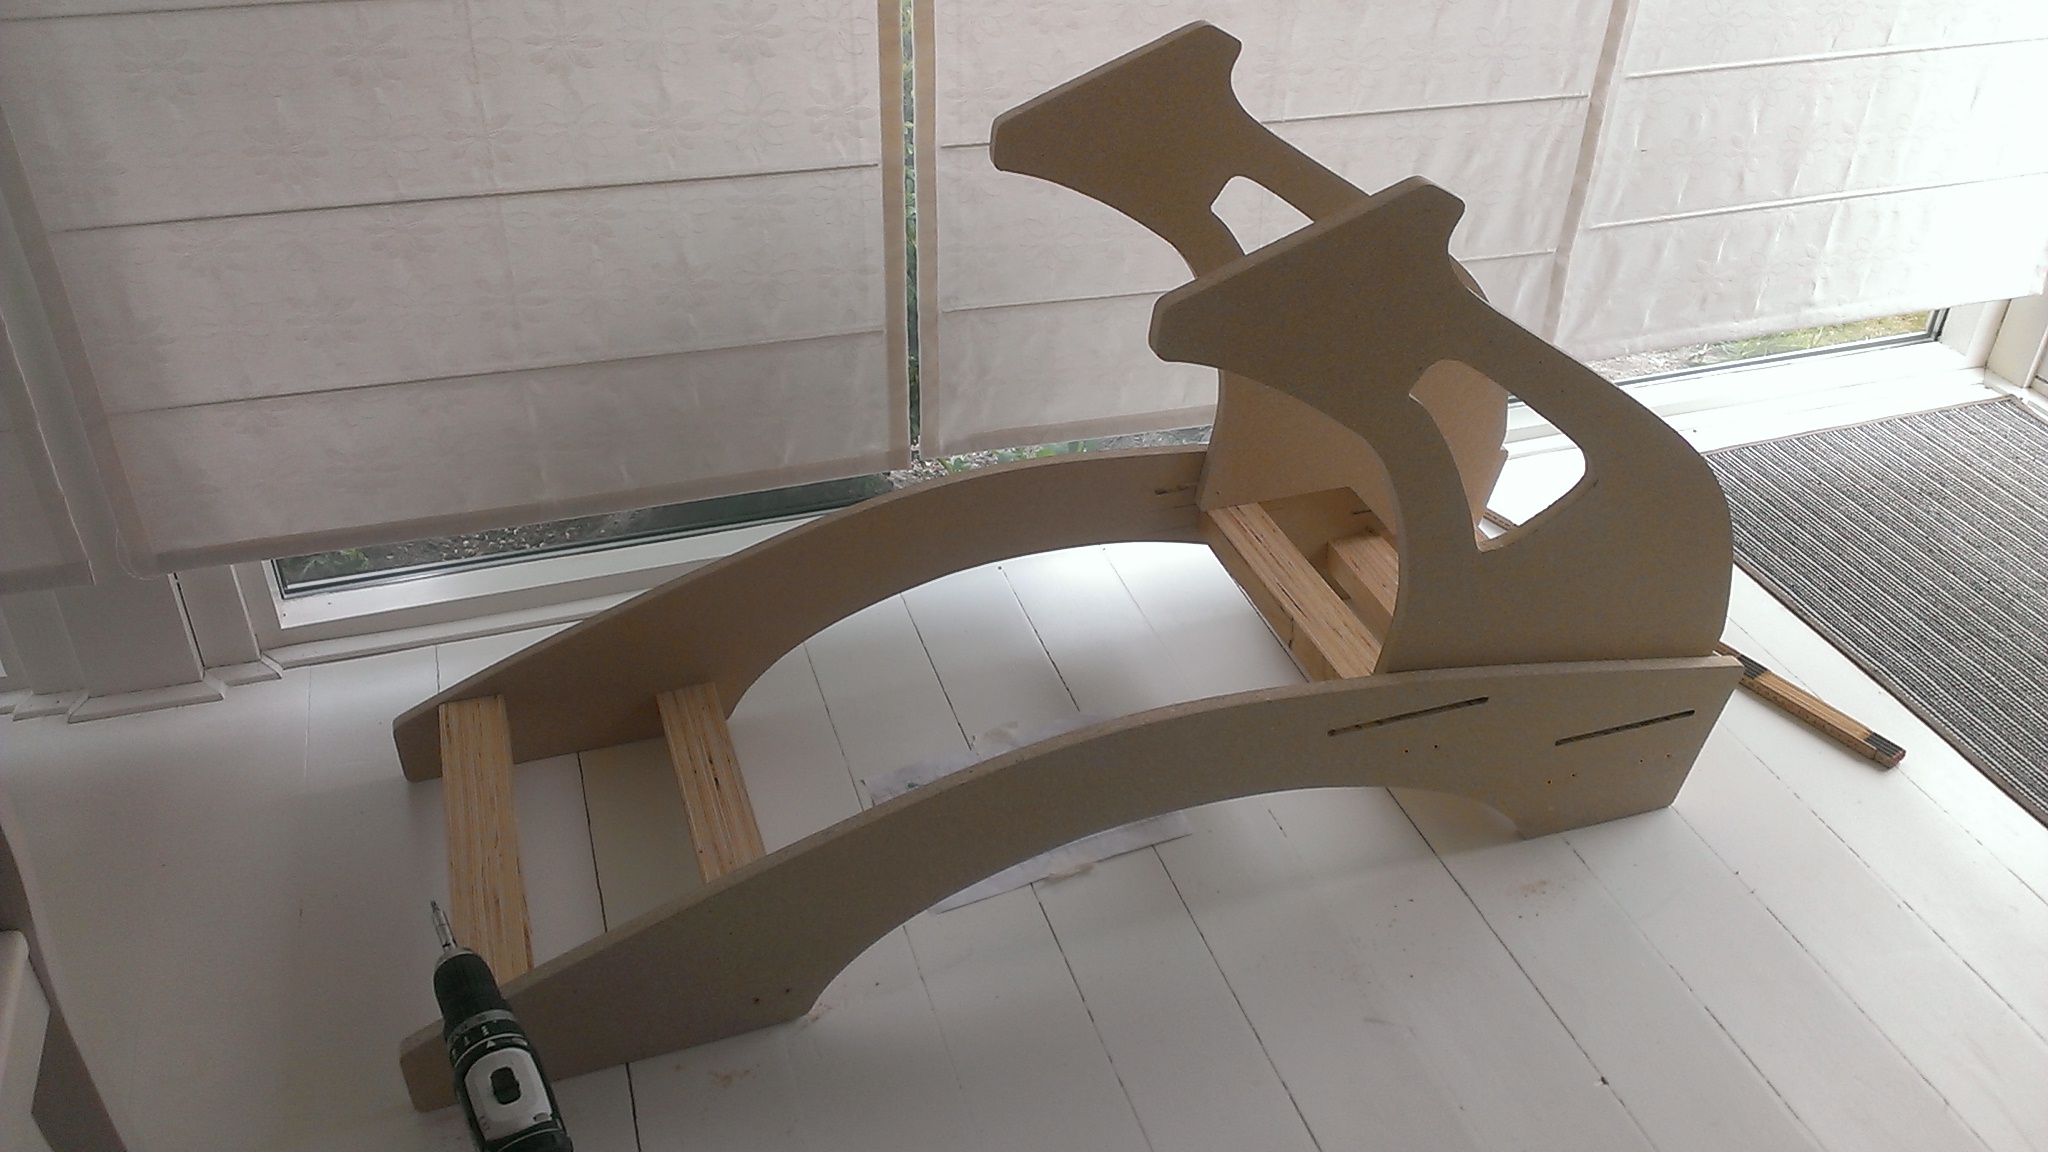
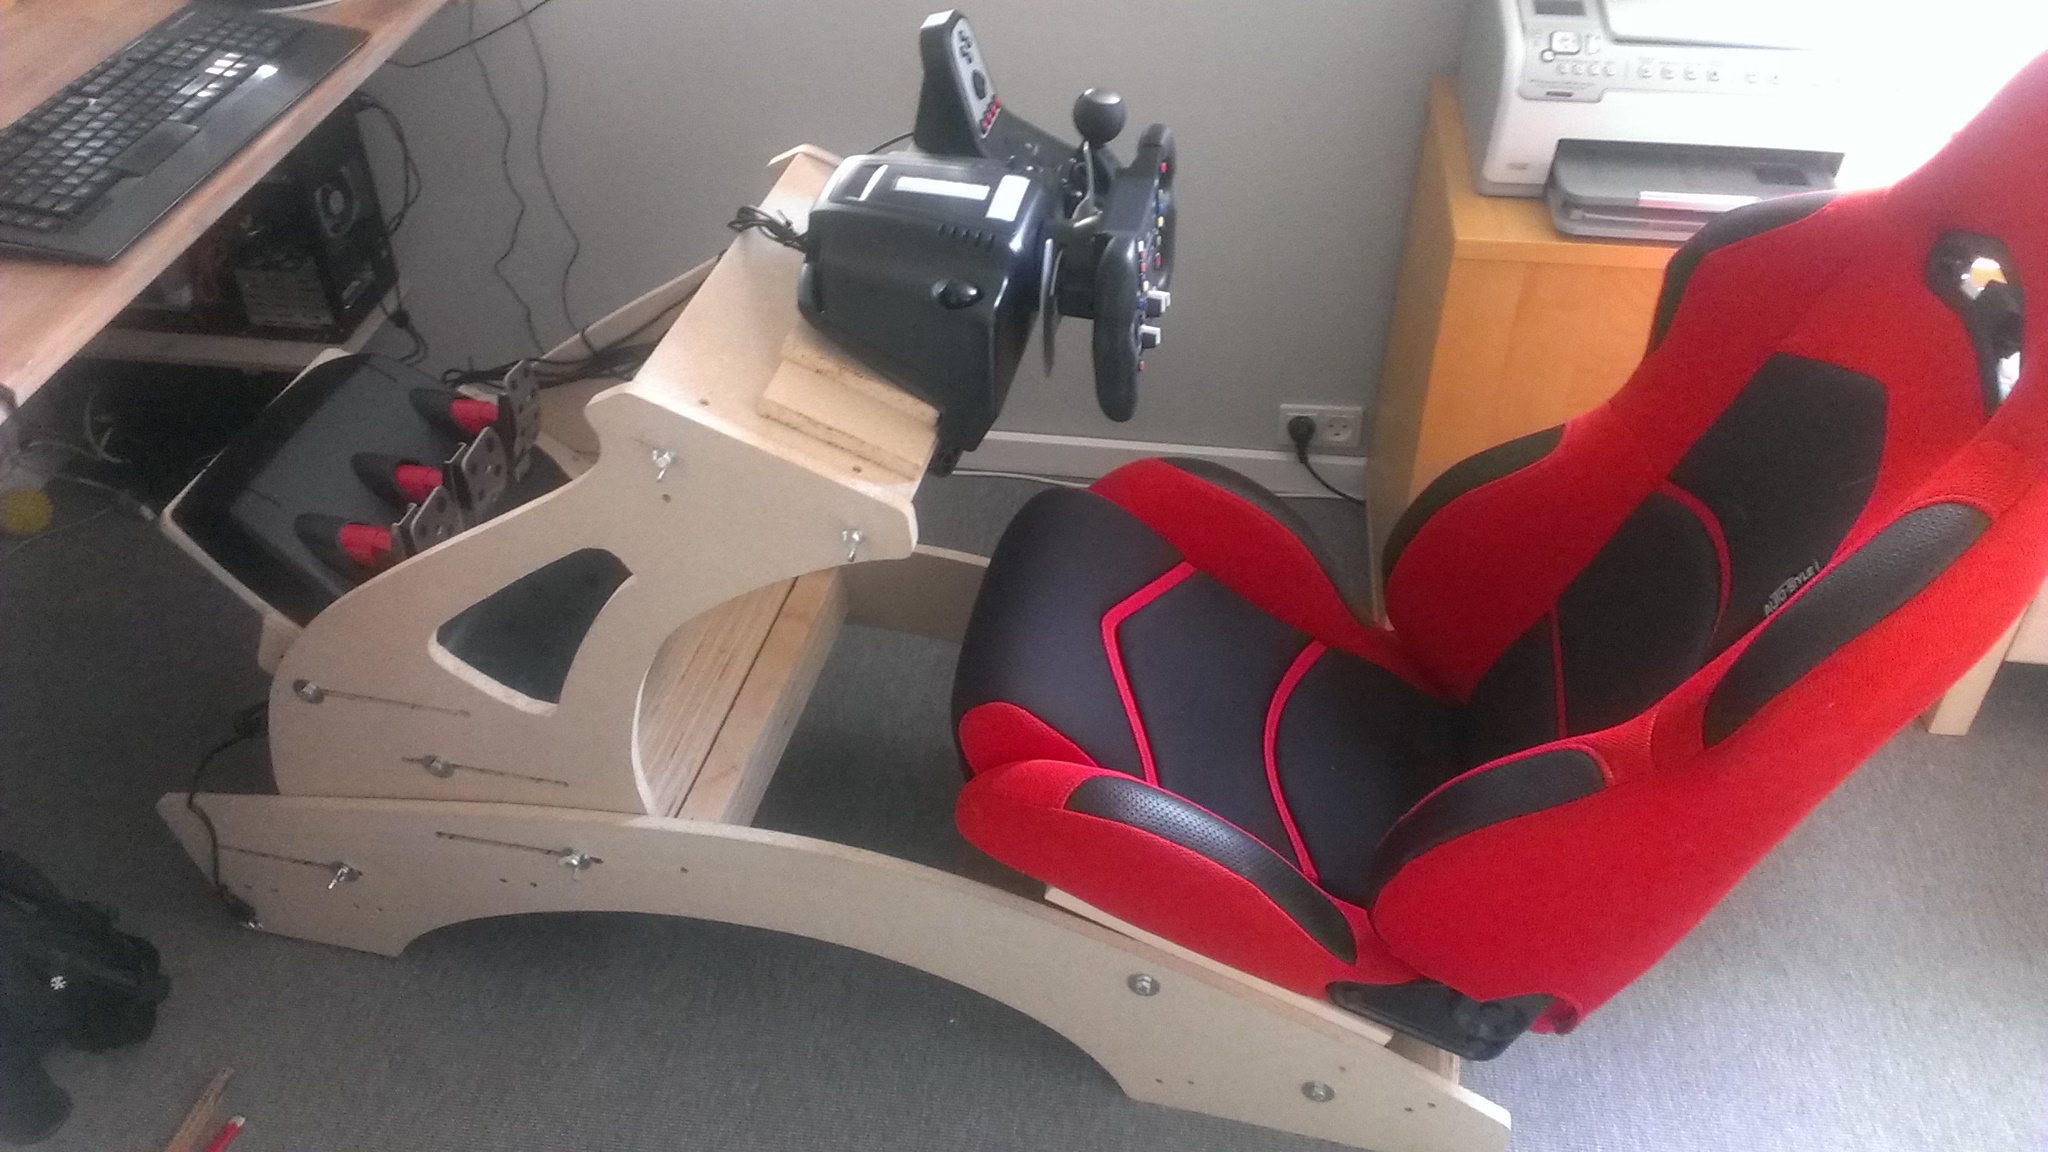
And final touches
Paint, “floor”, holder for gearshift (only uses the buttons)
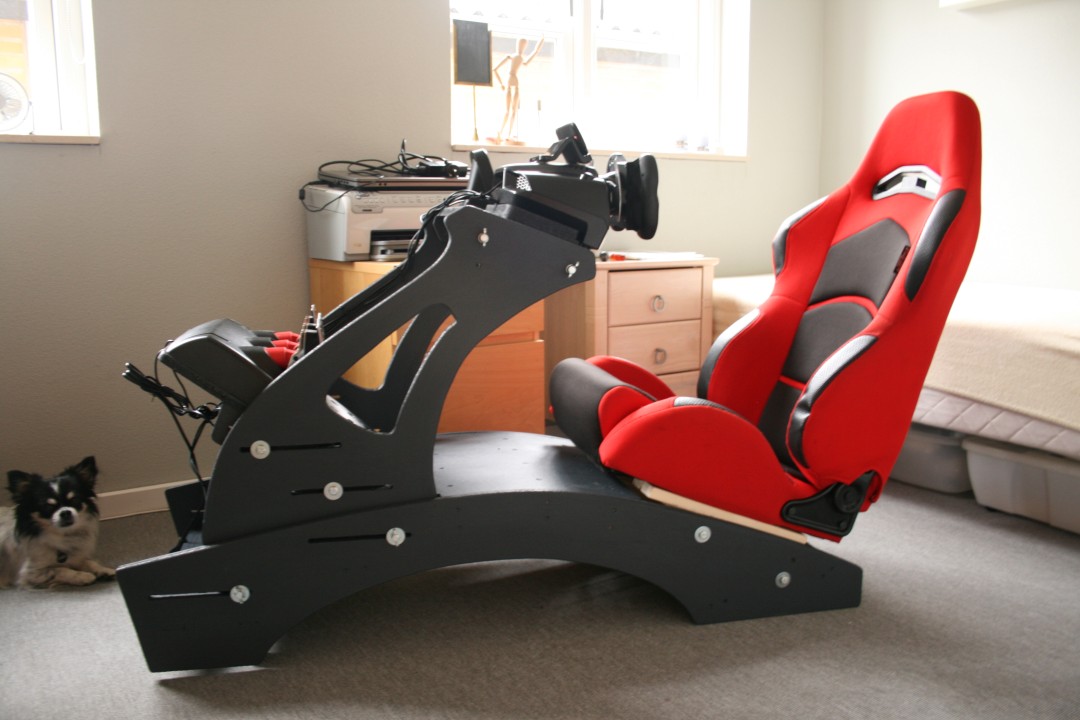
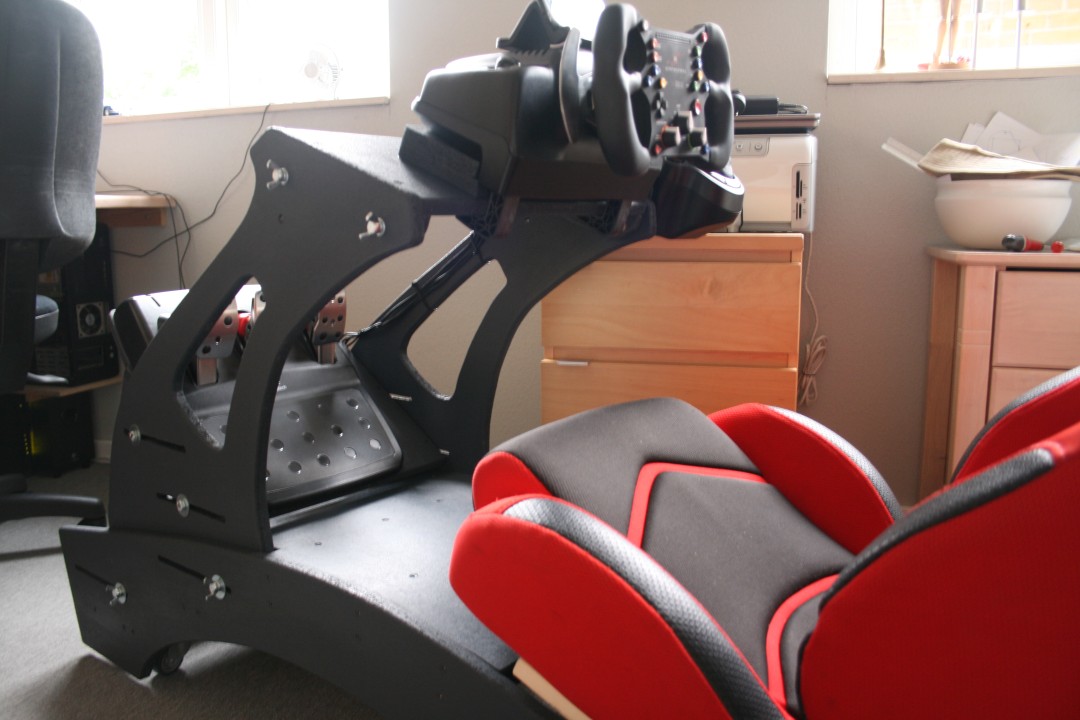
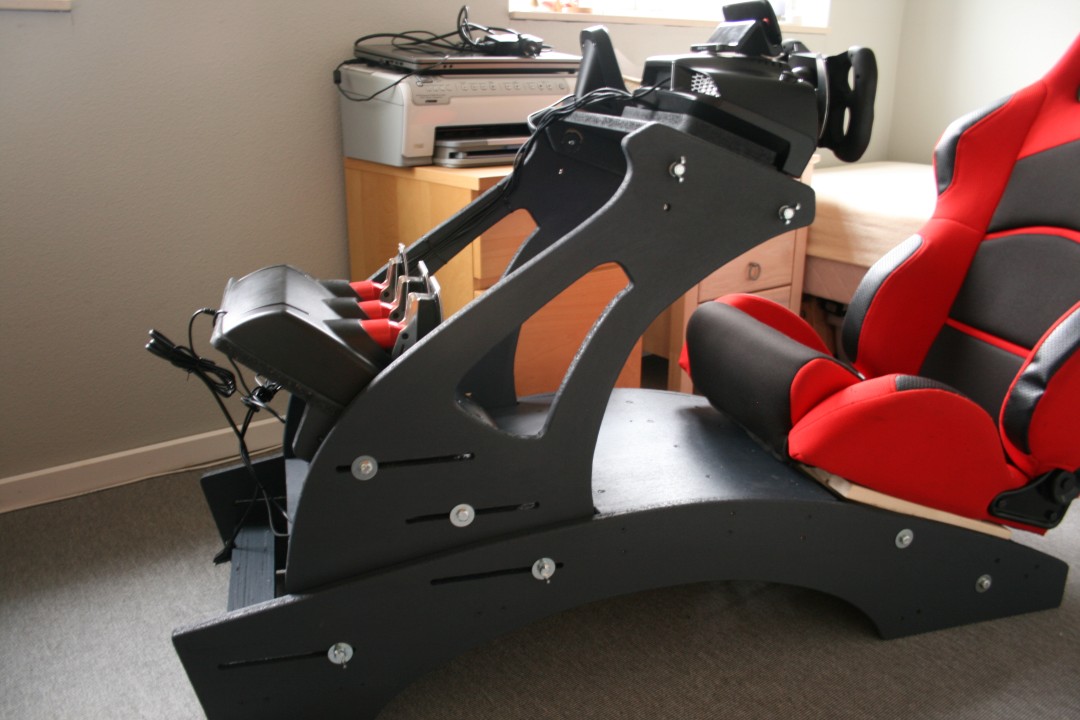
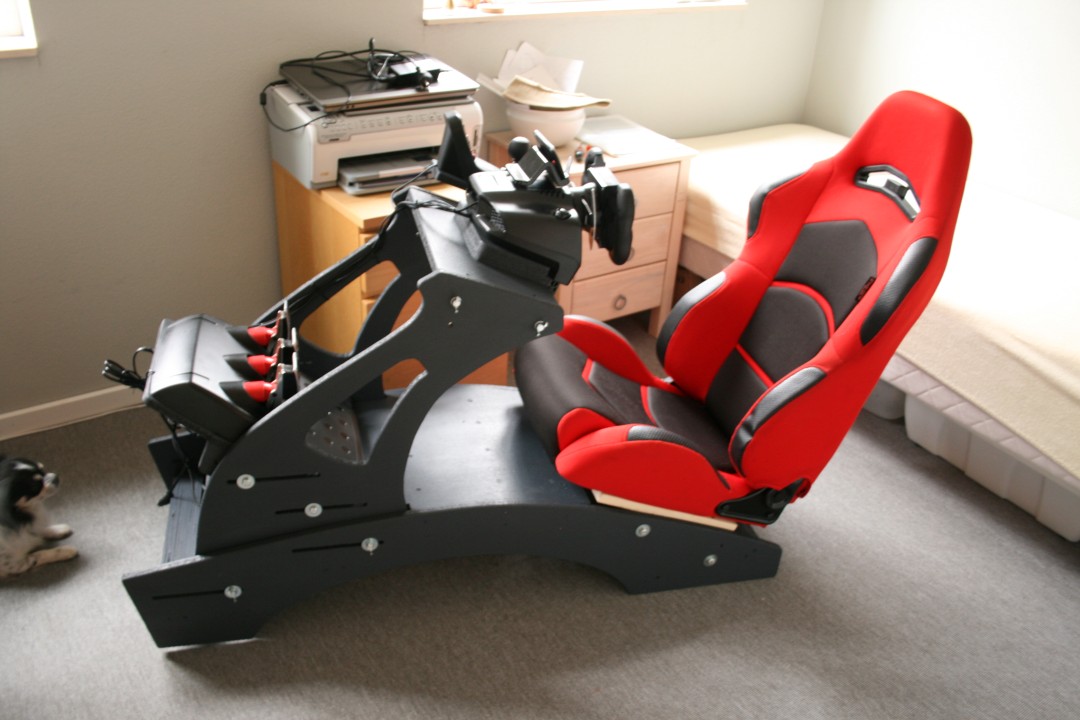
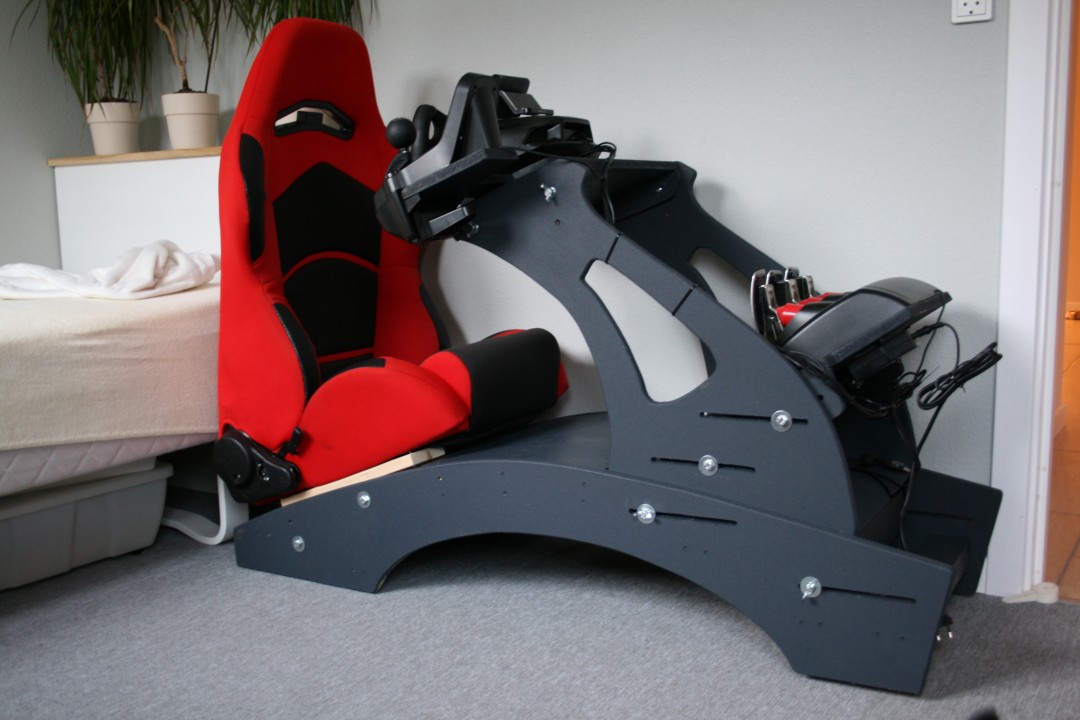
It even fits in the room when not using it.
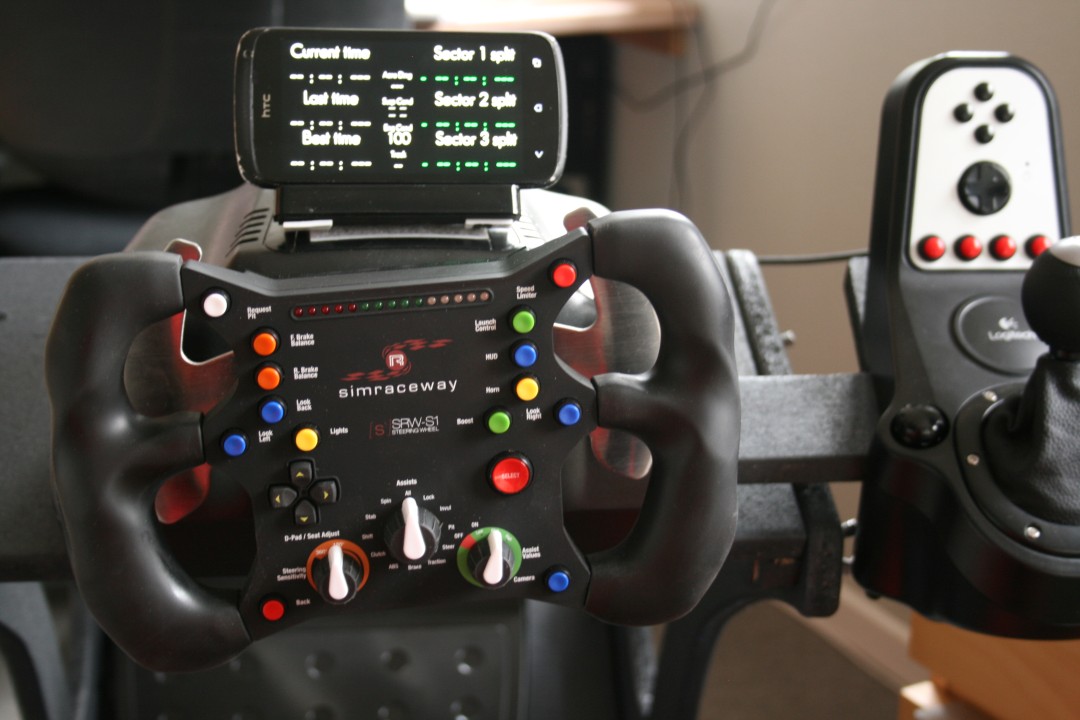
Excellent post — insightful, clear, and truly helpful. Thanks for sharing!
Great post! Very informative and easy to understand.
I built something similar using the plans from https://minecash-incremental.ubg76.uk as a reference, but this DIY playseat looks way more adjustable, think I might have to try redesigning mine with that in mind.
using a used car seat is the real pro move here. found a similar build on https://robber-run.ubg76.uk
Is it stable when when sitting and chair is leaned back ??
Wedding Venues in Delhi is here to help you find and book the perfect place for your special day. We offer a range of wedding services to make your wedding planning easy and stress-free. We can also customize your wedding according to your budget and preferences.
Those A4 PDF posters for cutting the MDF are a neat hack—saved me a ton of trial‑and‑error when I tried to copy a friend’s rig. Check out https://feedtheai.ubg76.uk if you need more DIY inspiration.
This is interesting! I have a question about game daily guide game daily. Could you explain more? Thank you!
I completely agree with your points about discount Shop Sages shopping online. It’s very helpful. Continue the excellent work!
the A4 poster trick for cutting the MDF is actually genius. reminds me of some stuff on https://hidden-grimoire-idle-alchemy.ubg76.uk
Bookmarking this for later reference! Great information visit site about free Tap Code. Thanks for sharing!
This is fascinating! I have a question about VPS hosting VPS hosting. Could you provide more details? Thank you!
I’ve been searching for information about assistant simple and this https://calculationassistant.com article is just what I needed. Thanks for the comprehensive explanation!
“DIY Playseat” has a nice balance of detail and readability. Helpful post. free image converter
Good article. The structure made it easy to pick up the main ideas without getting lost. Your Game Box
I enjoyed this post. The information was presented in a way that felt natural and practical. Snail Bob
I appreciated the practical perspective in “http://www.vgraphics.dk/diy-playseat-racingrig/”. It is easier to make a confident creative decision after testing a few directions instead of committing too early. img2img is useful here because it lets you keep the source image as a concrete reference, describe what should change and what should stay important, then compare fast generated variations before choosing a direction. The original is not overwritten, so the process remains an exploration rather than a replacement. That makes it easier to discuss a concrete variation instead of an abstract idea.
For anyone exploring that process, I recommend this AI image ideation tool.
I appreciated the way “DIY Playseat – racingrig” breaks things down without overcomplicating them. 5 letter words with i in the middle
Good write-up. “DIY Playseat – racingrig” explains the topic in a way that feels easy to digest. games fun
I liked the way this was explained. Simple, clear, and still detailed enough to be useful. time converter
This helped clarify a few things for me. Thanks for sharing “DIY Playseat – racingrig”. Heart Emoji
Printing those 1:1 scale PDFs as posters to cut the MDF is a pretty clever way to handle the dimensions. Might use https://prompt-generator.cc to help brainstorm some ideas for my own build.
This is such a satisfying build log – going from a cheap used racing seat to full 3D drawings, then flattening the shapes into 1:1 Qcad posters for MDF cutting is a really clever workflow. The sanding-two-identical-parts-together trick is the kind of hard-won advice you only get from someone who actually built it. I mocked up my own desk layout with an AI image tool before building and wish I’d documented it half as well as this!
Great write-up! Building your own rig around a Logitech G27 instead of shelling out for a Playseat is exactly the kind of patient, budget-smart approach I admire. I’ve learned the hard way that quality gear and parts sell out constantly, so I rely on restock alerts now whenever I’m hunting something specific. The finished rig looks fantastic – and that it fits in the room when not in use is a huge bonus.
I liked the way this was explained. Simple, clear, and still detailed enough to be useful. online calculator
Printing the 3d designs as posters to cut the MDF is a clever way to handle the sizing. reminds me of some of the builds on https://cliff-rider-all-seasons.ubg76.uk
That 1:1 scale PDF trick for the MDF is actually genius for a DIY rig. I’m just procrastinating on my own projects by looking at https://plinko-idle.ubg76.uk right now.
Helpful perspective here. It gave me a couple of things to think about and try next. https://myipinquire.com
Building this out of MDF is actually a pretty smart way to save cash compared to those overpriced metal rigs. I ended up using https://free-ai.cc/email-letters/email-name-generator to name my own little DIY project setup, but your design looks way more solid than what I put together.
This DIY racing rig design looks impressive with its adjustable features. If you’re looking to create dynamic content or animations, our tool can help bring your ideas to life. Check out ai motion control for more details on how to control character actions with AI motion control.
Your DIY racing rig looks like a great project for enthusiasts looking to customize their setup. If you’re into detailed design work, converting images to pixel art can add a unique touch to your projects. Check out the Wplace pixel converter to transform your designs into pixel art instantly without any complicated steps.
This DIY racing rig design looks impressive with its adjustable features! If you’re into game customization, our site offers detailed guides for growing a chicken fighter with strategies and fusion tips. Check out grow a chicken fighter for more info on optimizing your gaming setup.
Great job on the adjustable racing rig design! For those looking to create cinematic content, Motion Control AI offers intelligent motion tracking solutions. Check out motion control video for motion control video tools.
Nice work on the rig! Seems like a solid DIY project. You could probably use some tools online for better planning or calculations, just a thought. Check this out for a quick reference: palworld breeding calculator 1.0
That A4 poster trick for cutting the MDF is actually genius, I never thought of printing PDF plans as templates before. Reminds me of a sailor piece of advice my dad gave me about building things. Have you ever tried a similar approach with your own projects, or is this your first time winging it
Kudos on the DIY playseat! It’s wild how you made it adjustable—super smart idea. I wish I had your skills. If you’re ever curious about enhancing your project further, check out this resource minimax h3.
Nice work on the DIY racing rig! It’s cool how you went from a concept to a real setup. For those looking to add some fun to their racing game, there’s even a way to generate random Pokémon to play with while waiting for their next race. Check it out here: random pokemon generator