After I have posted my DIY racingrig on the Project C.A.R.S forum, a few dozen have asked for the drawings, now I’m publishing it here for every one. Sorry there aren’t so many pictures but didn’t know it became a “guide”.
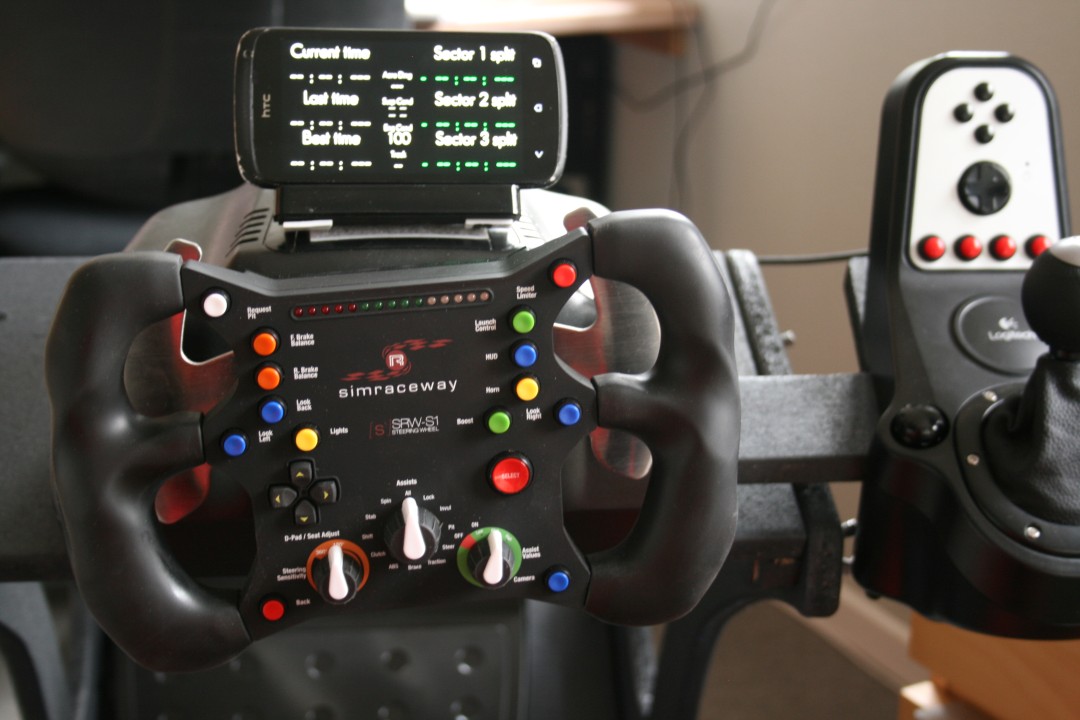
Last year I bought myself a great Logitech G27 steeringwheel. but soon I started to be jealous on all those racing rigs out there.
I found the expensive Playseat, where you almost are lying down as if it was a formel car or a le mans racer.
Its too expensive for my budget so started to mess around to see how I could build something like that.
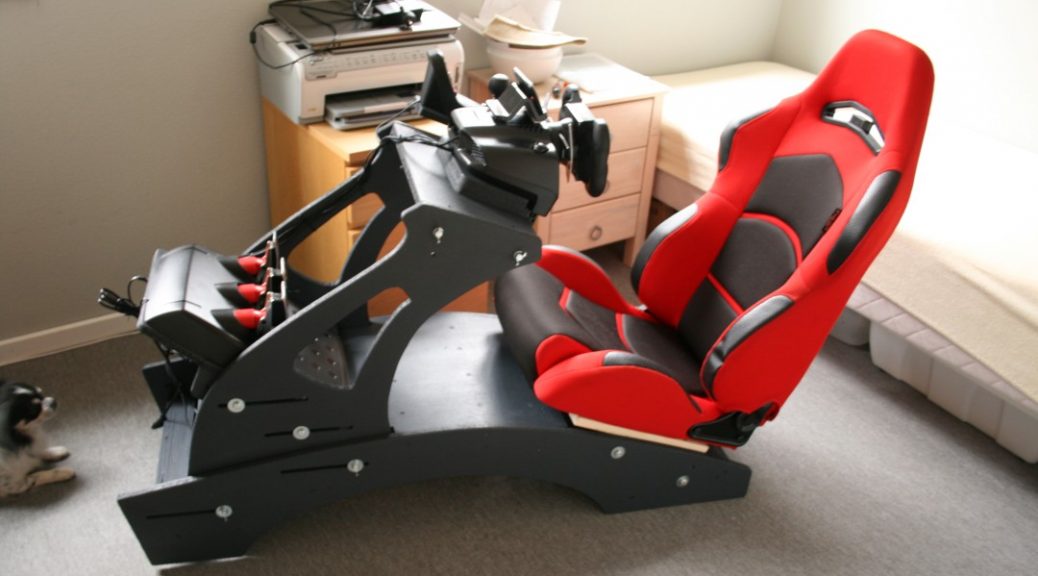
First of I found a used, very cheap “racing” car seat.
I then tossed some wood together to find out the angles and placements of pedals, seat, and steeringwheel.
Prototype

Alot of adjustments and replacing it over and over again made me think at a racingrig should be some though of adjustable.
Design
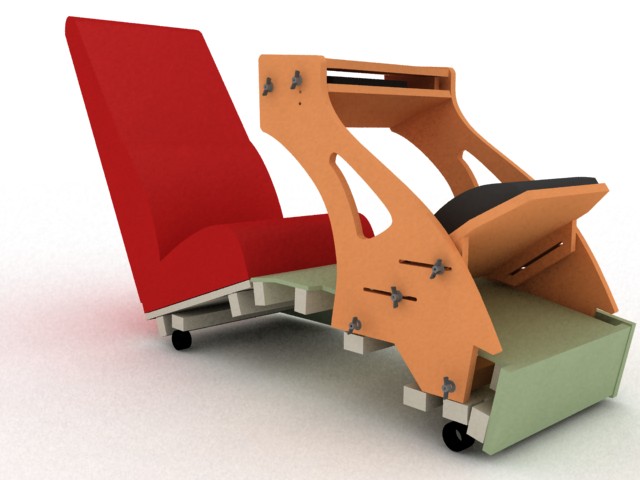
I then began to draw it up in 3d, and quickly I figured out how it could be adjusted easily, within limits.
Here’s my initial 3d drawings:
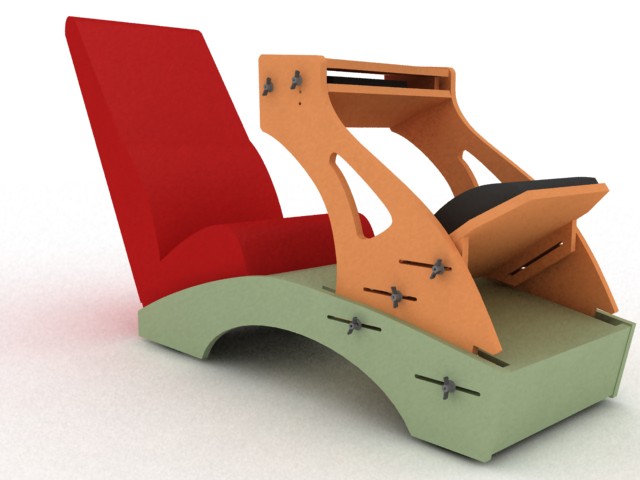
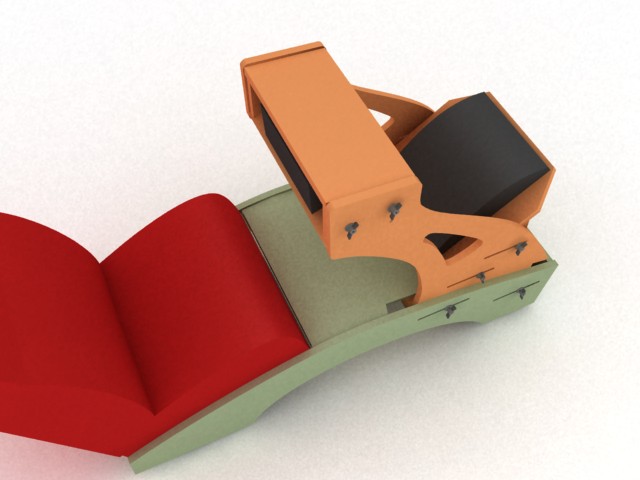
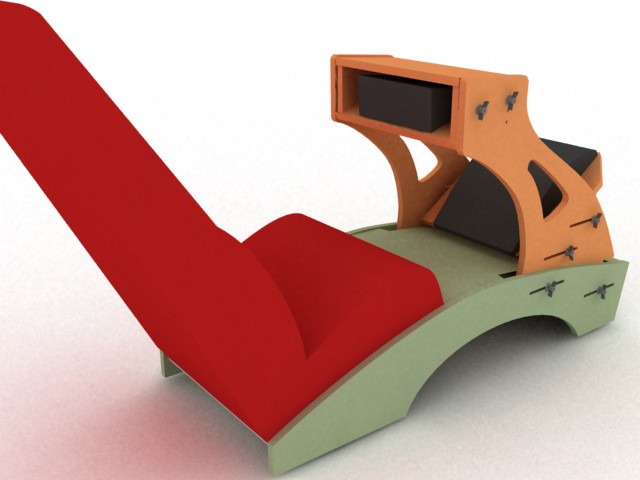
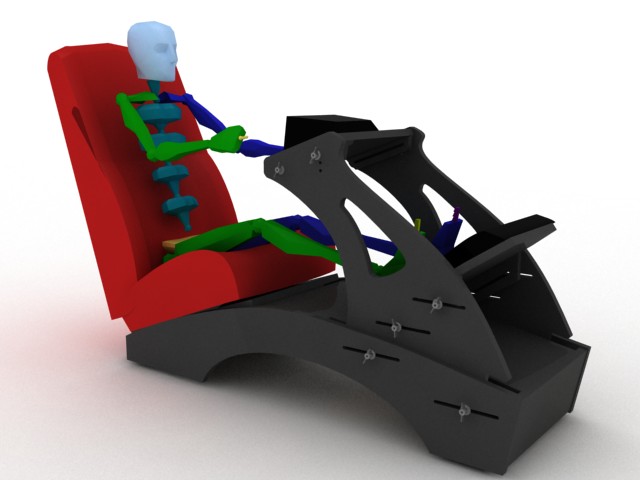
And with a 3d skeleton with my height, just to see if I got the dimensions correct.
Now that the design was defined, It was time to convert the 3d to actual wood.
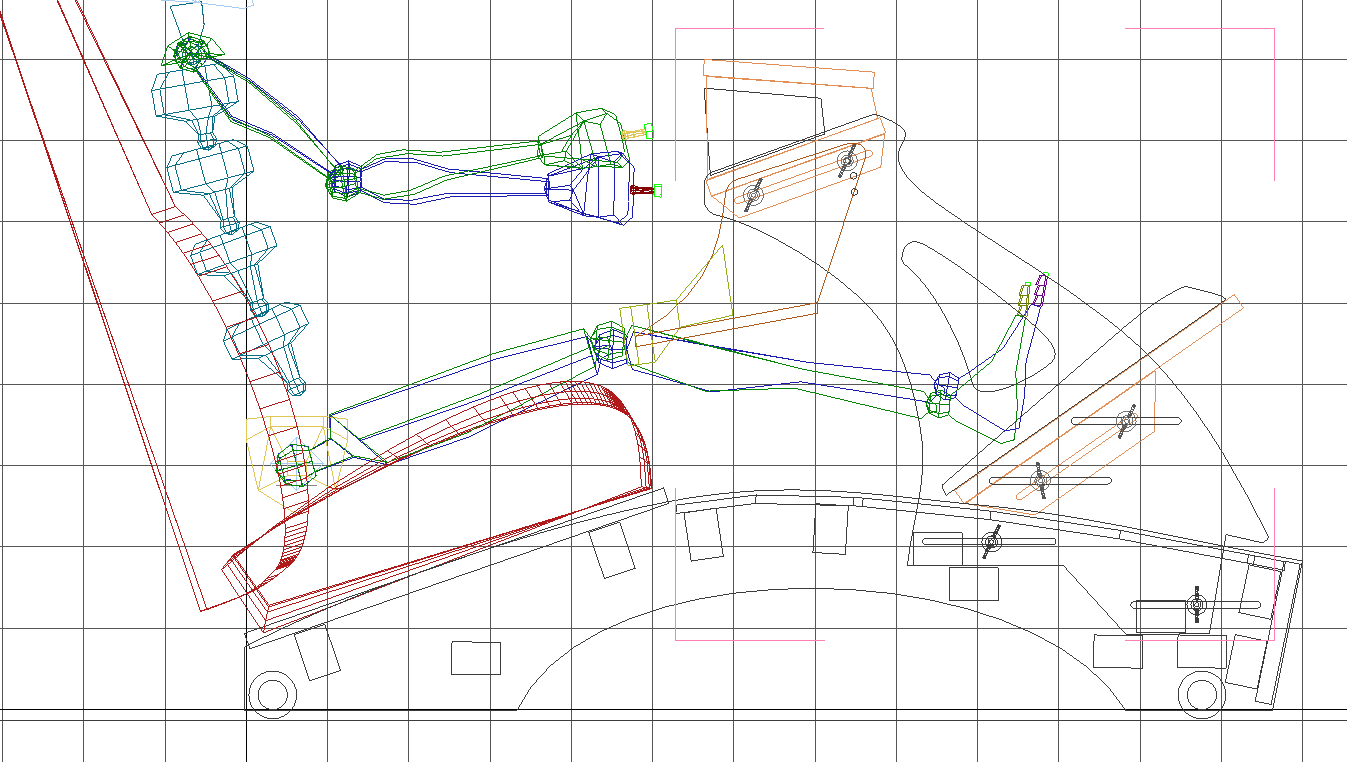
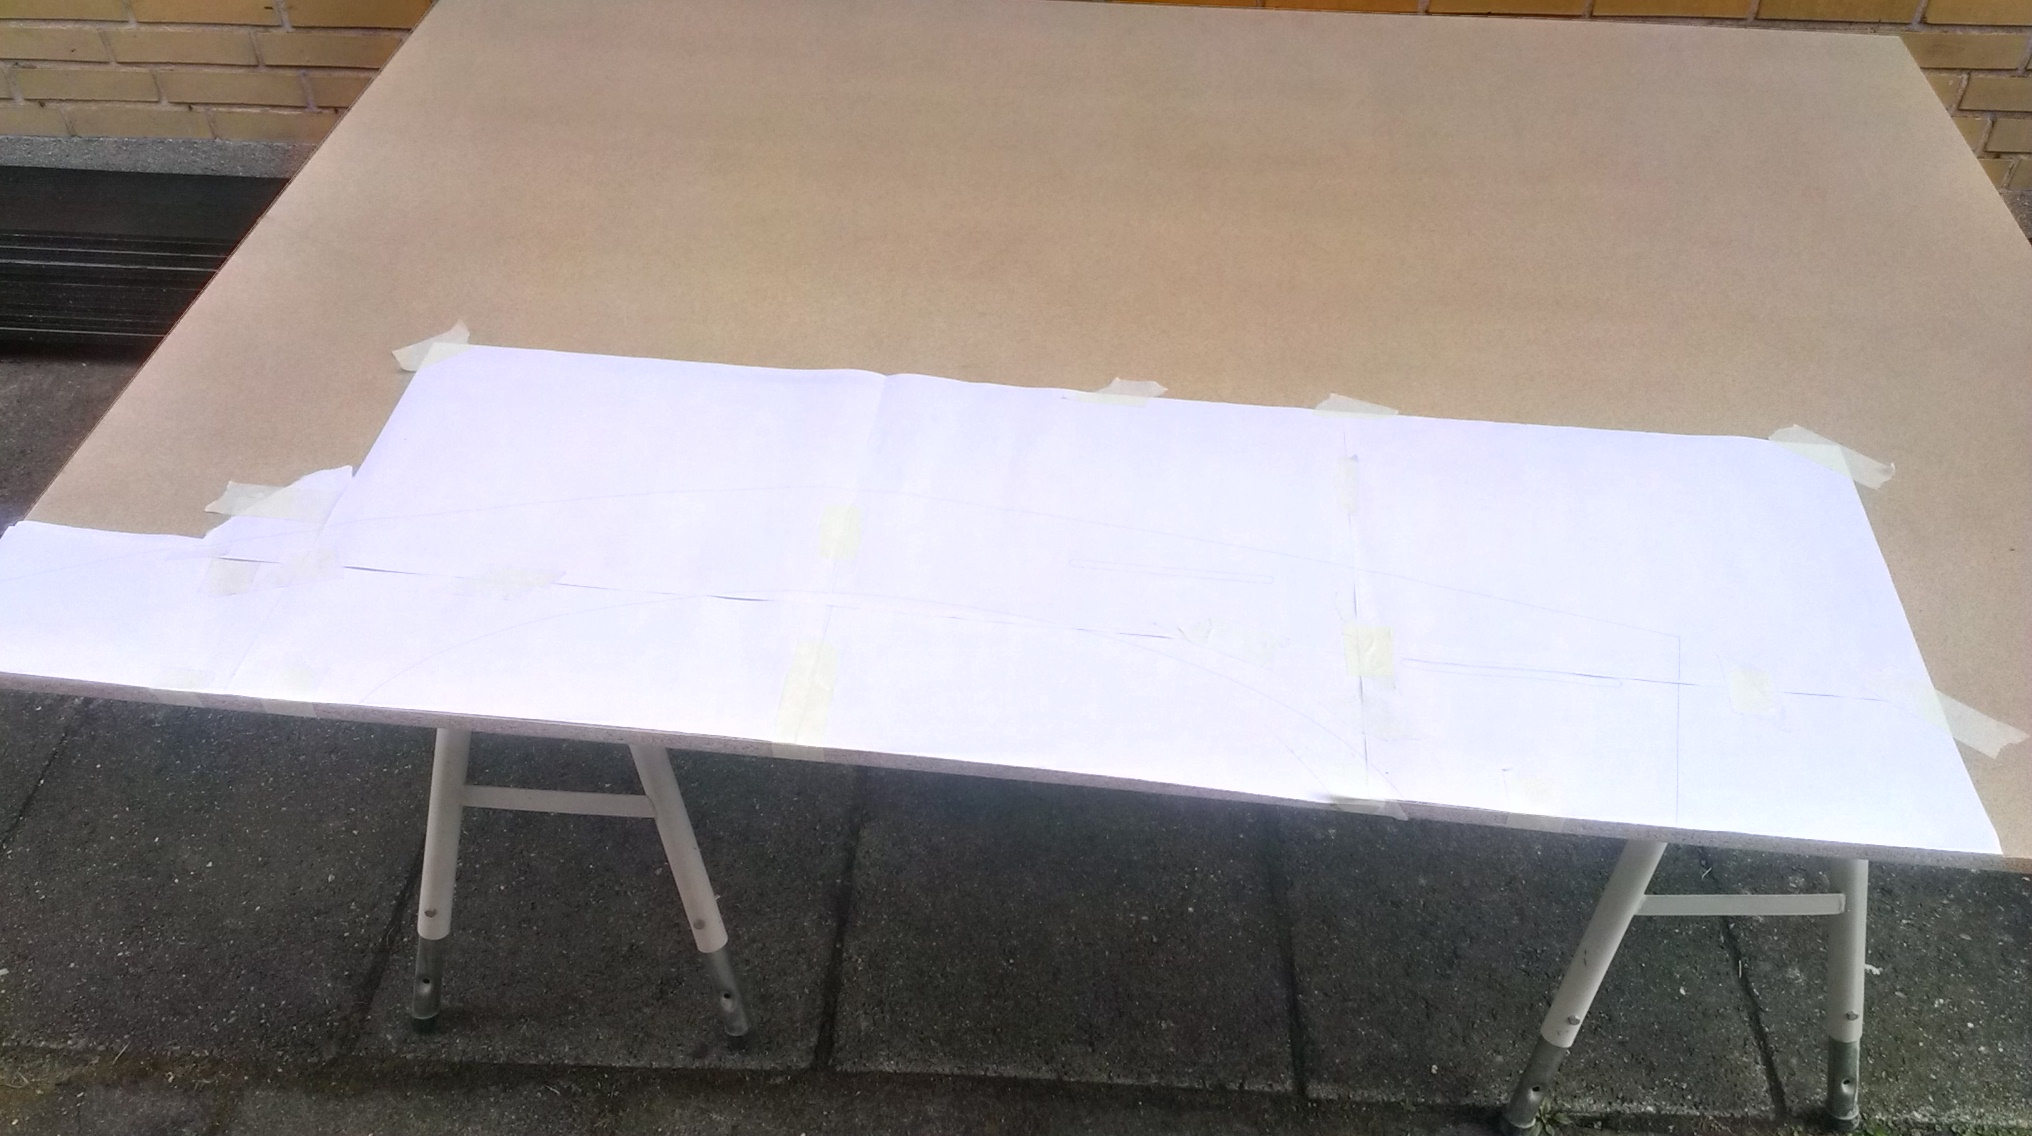
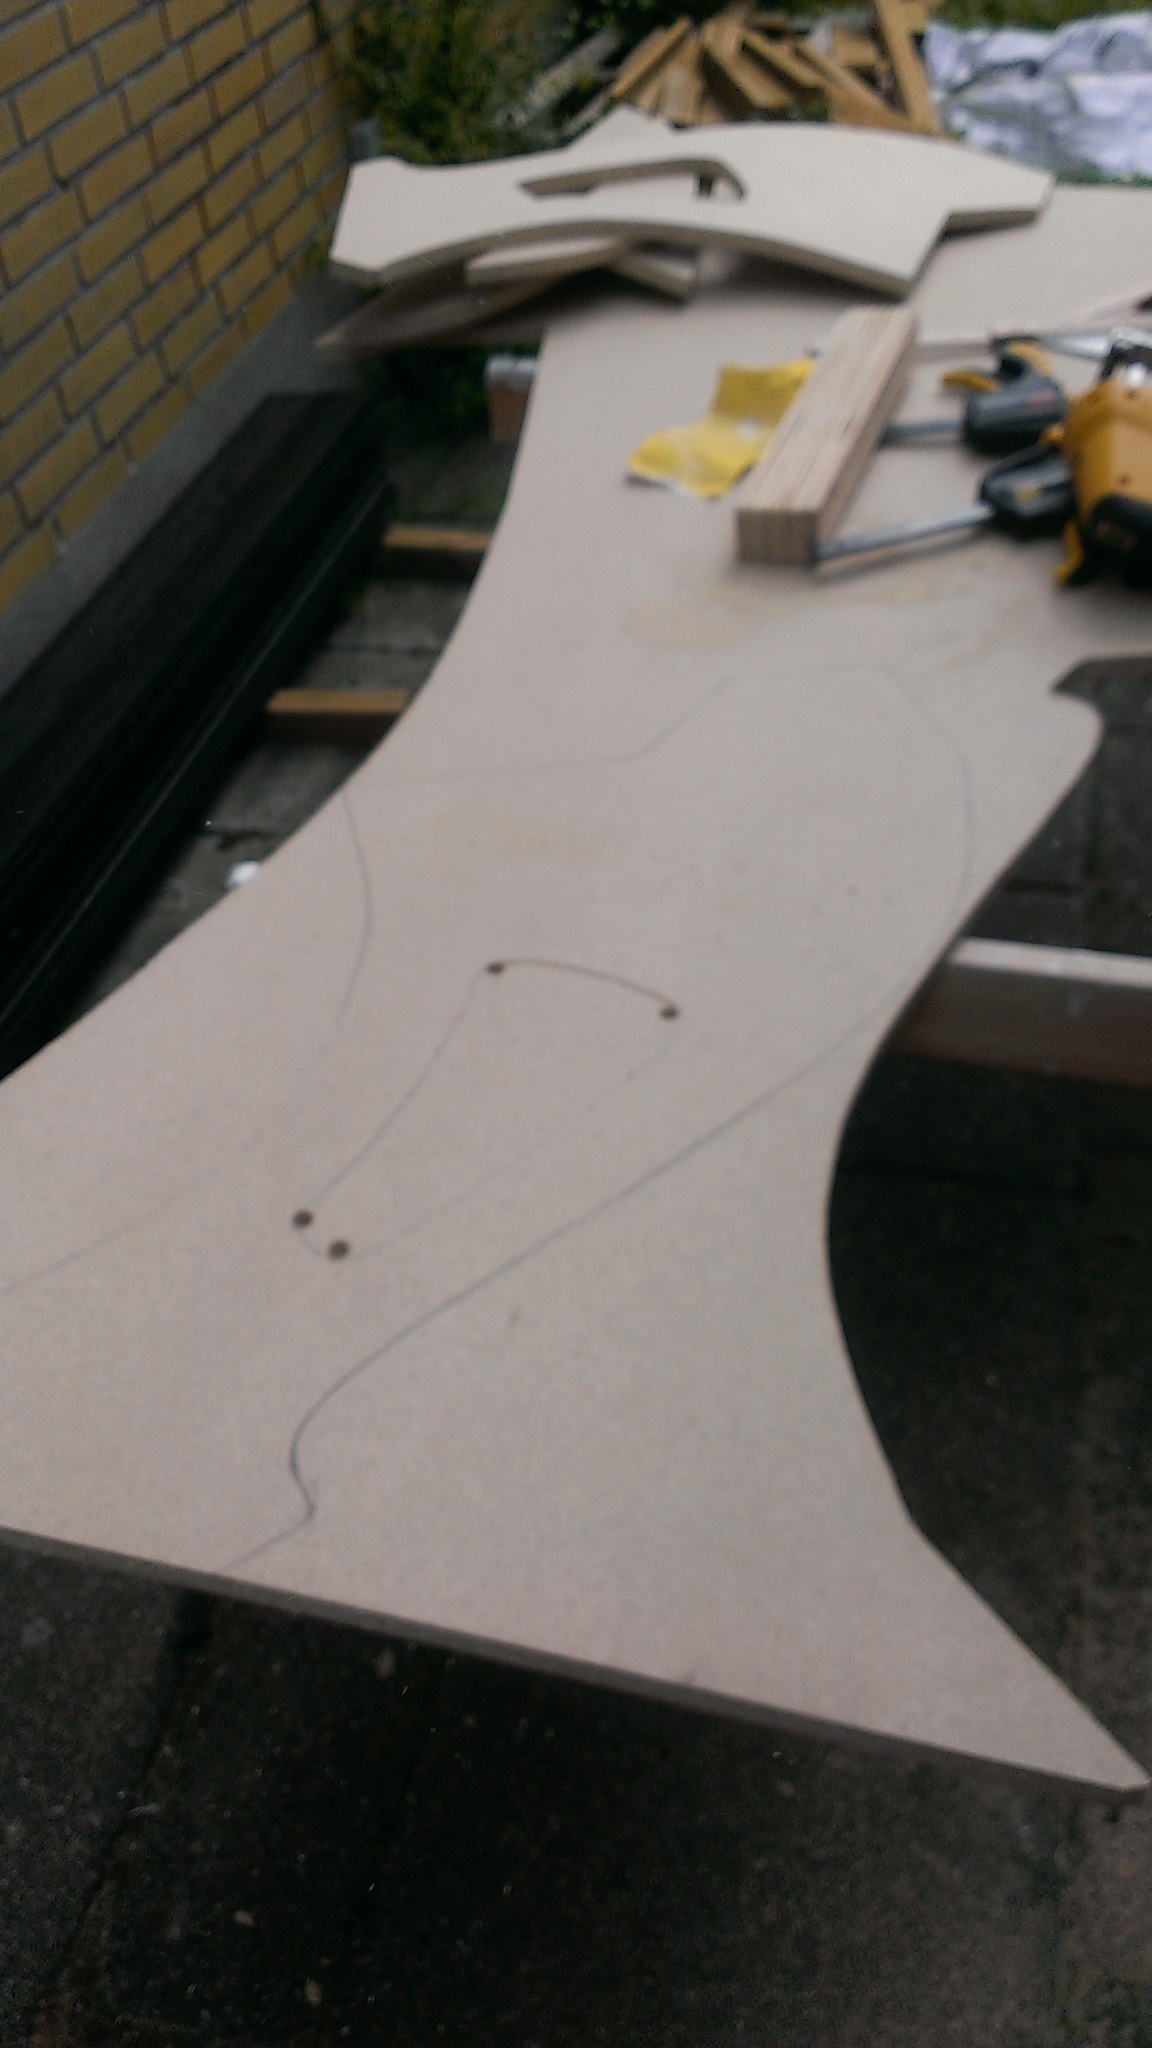
I flattened the shapes and imported it to Qcad and then made them 1:1 scale. Saved it to pdfs and printed them as “posters”.
When doing so, it’s simple to lay them on MDF wood and tape them together and use it for cutting guidances.
2d “A4 format” pdf’s print as posters:
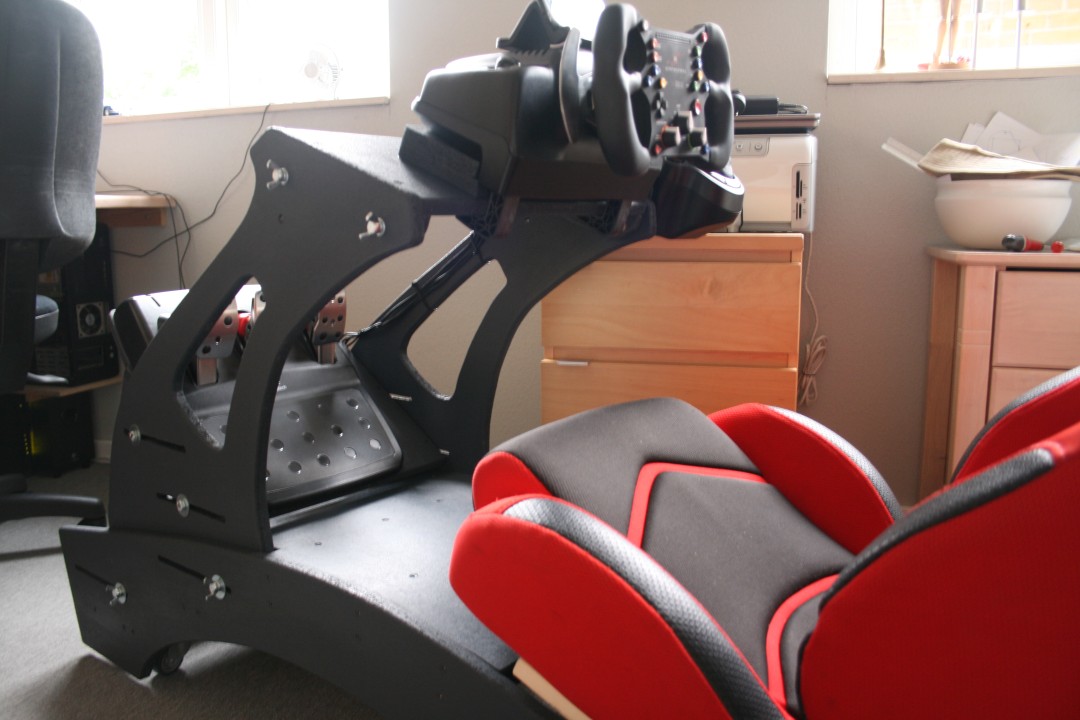
Cutting

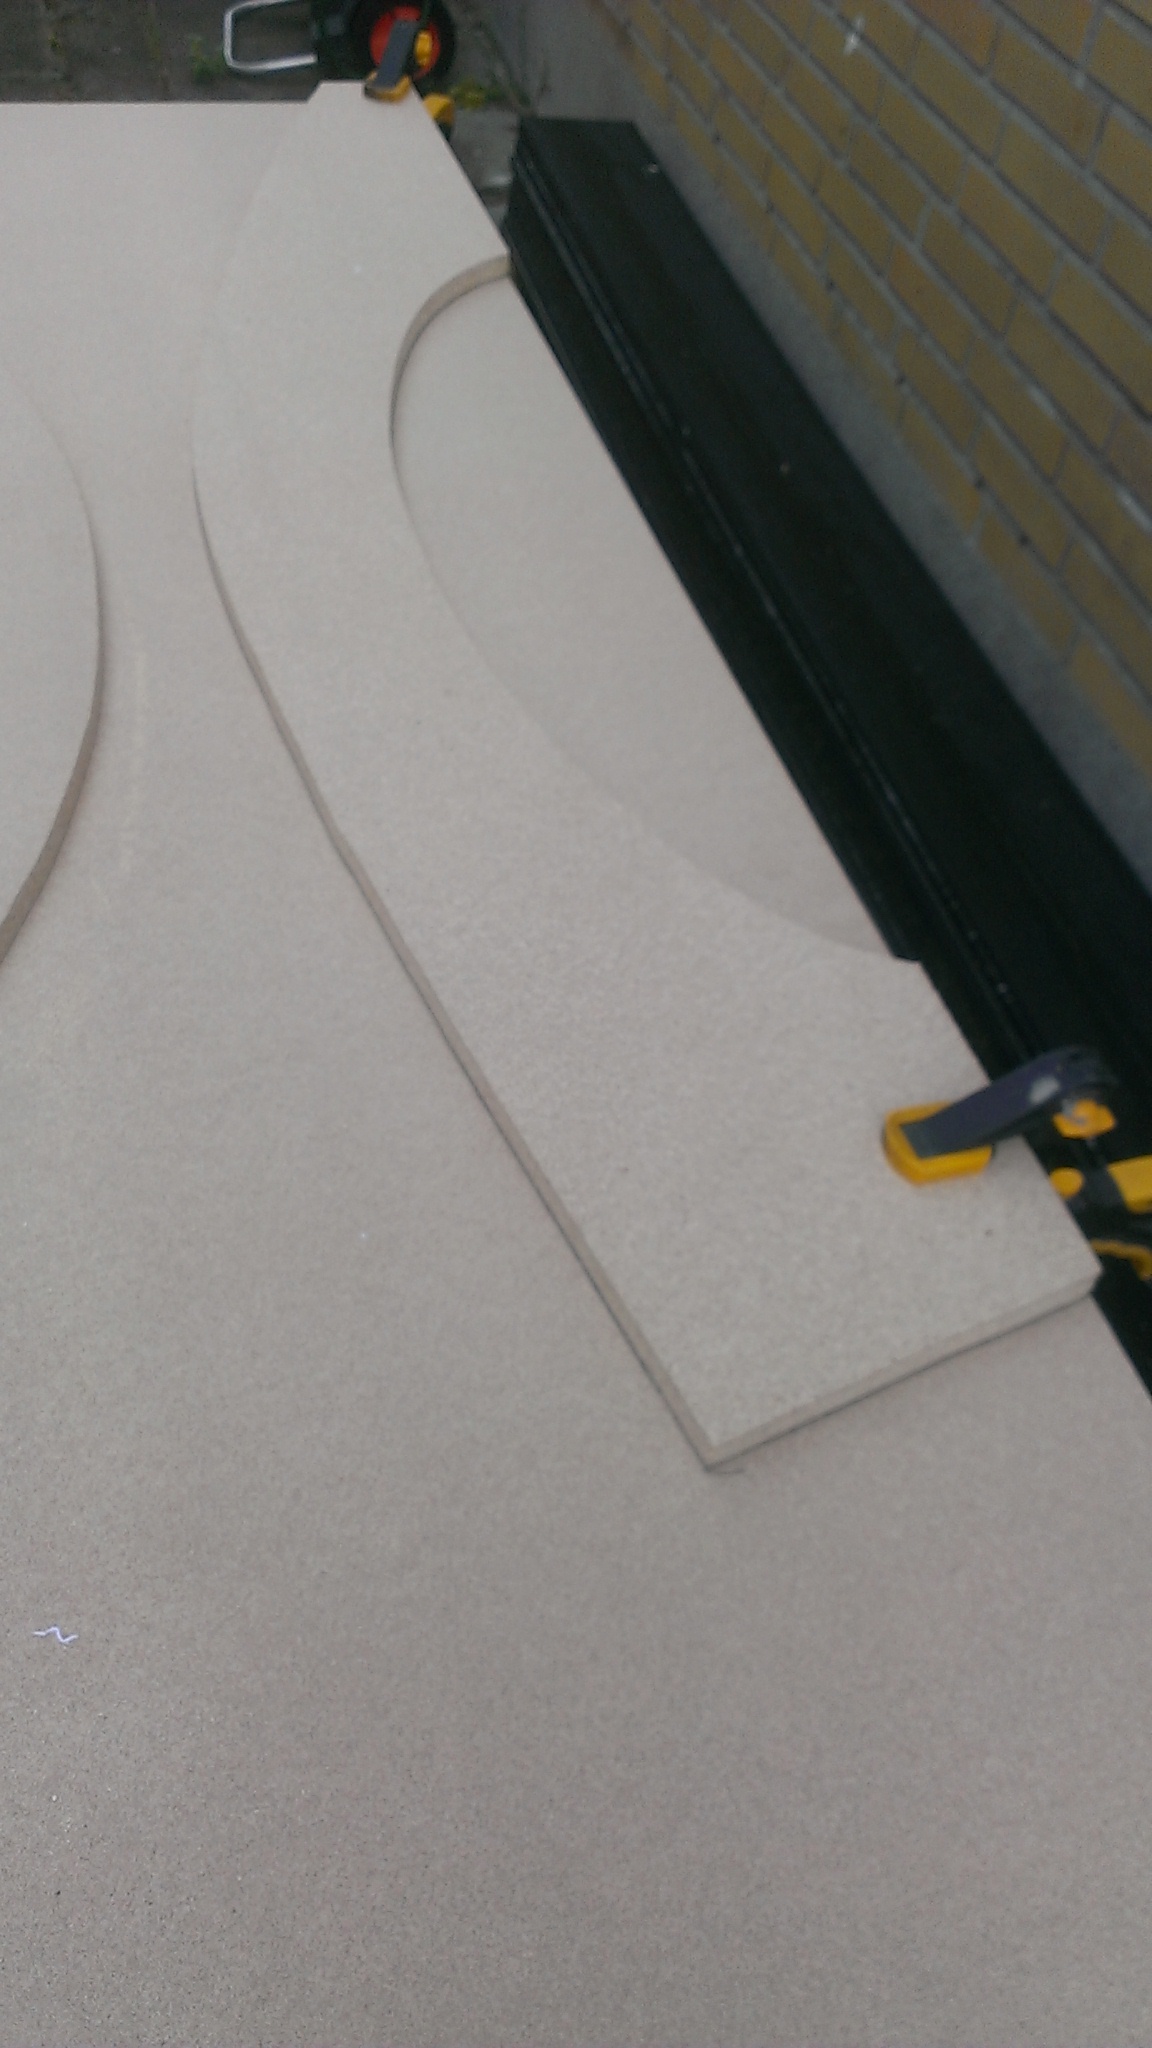
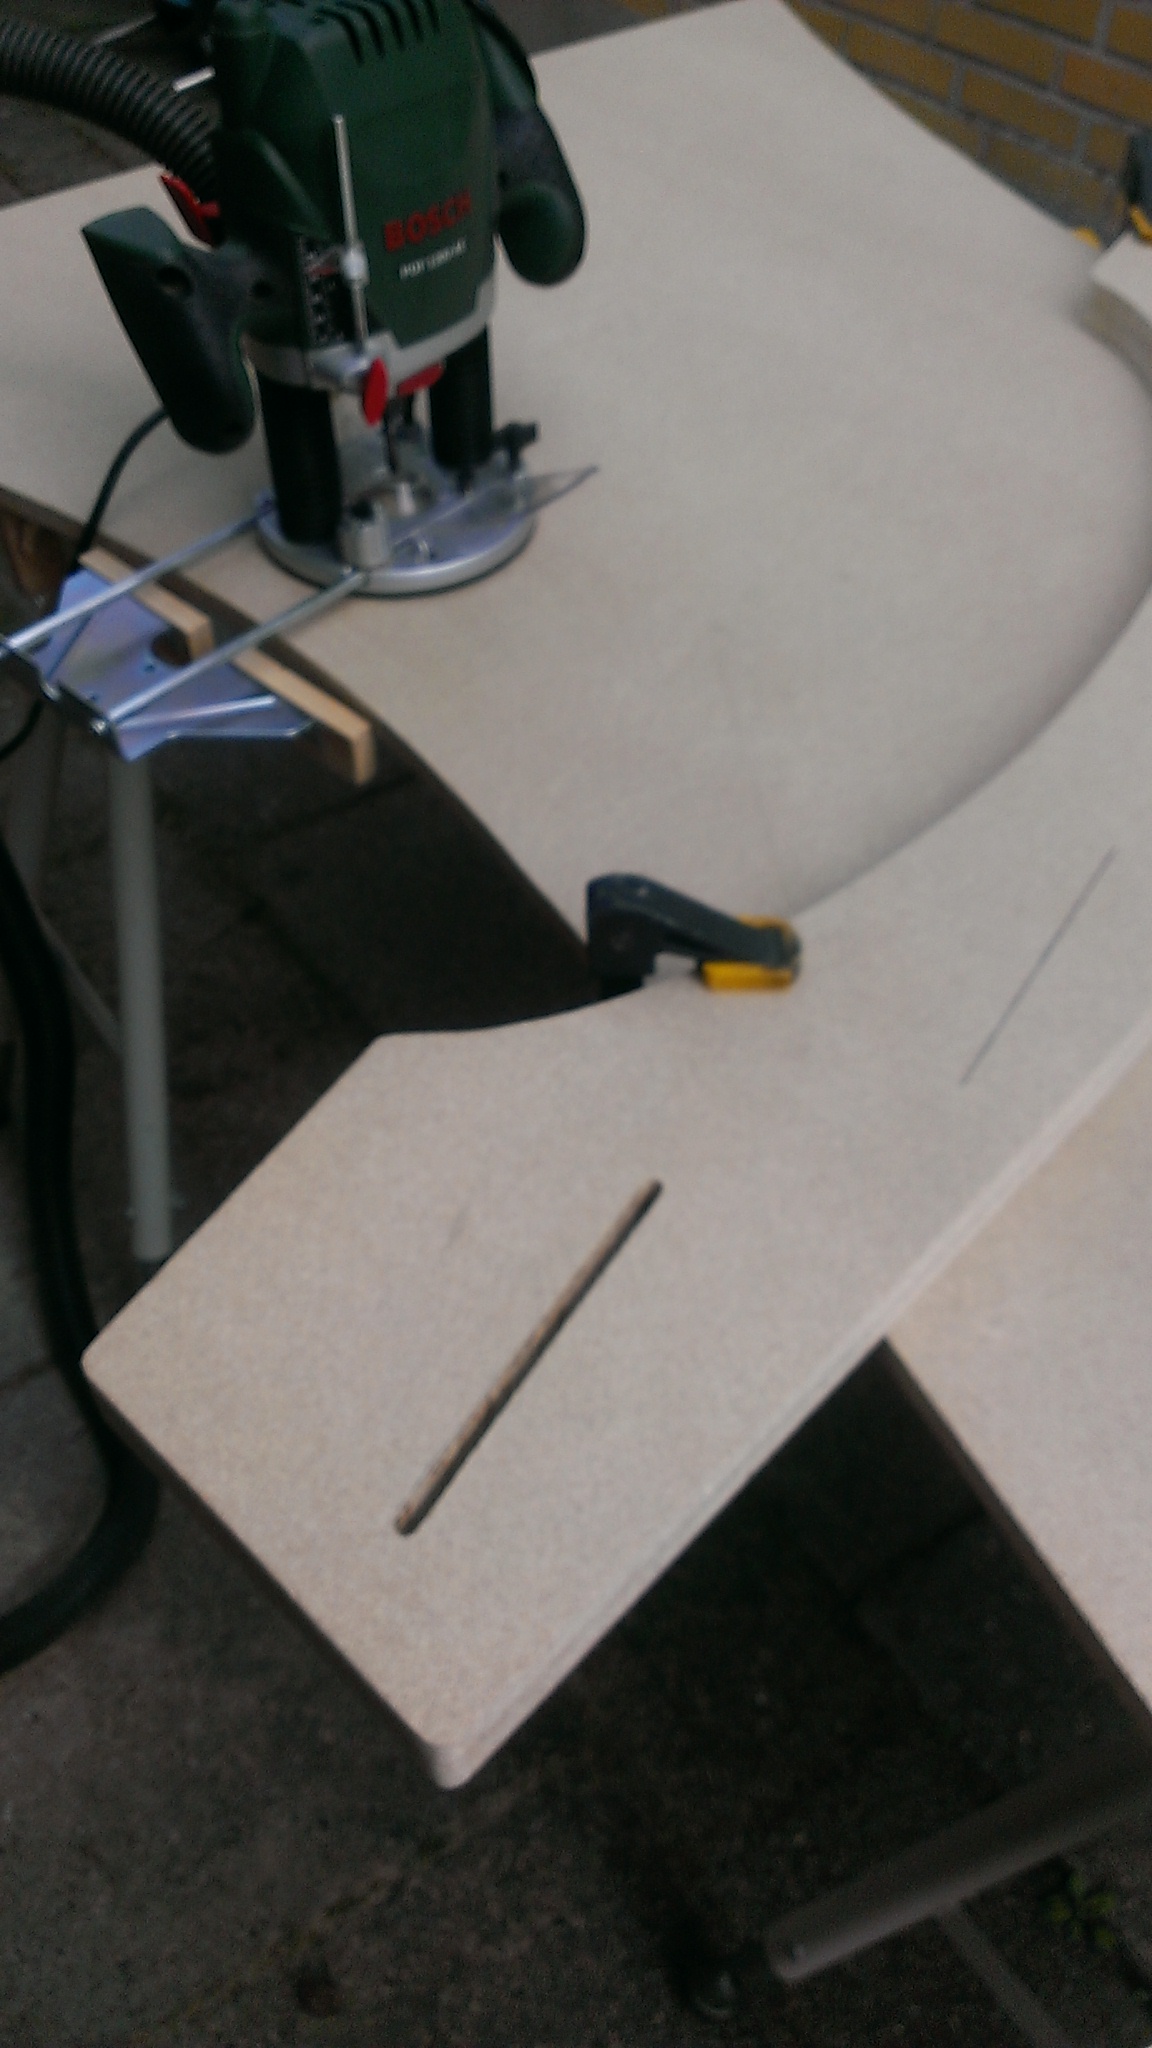
When cutting two identical parts, its impossible to make them identical, but after cutting them, just align them next to each other and sand them into same shape.
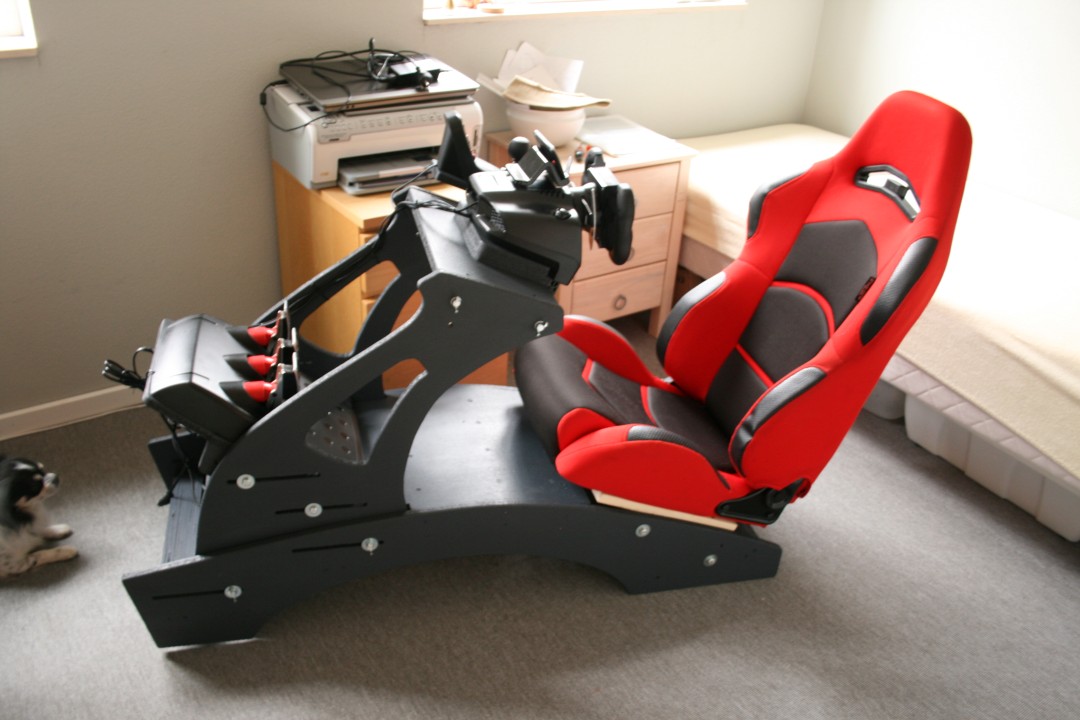
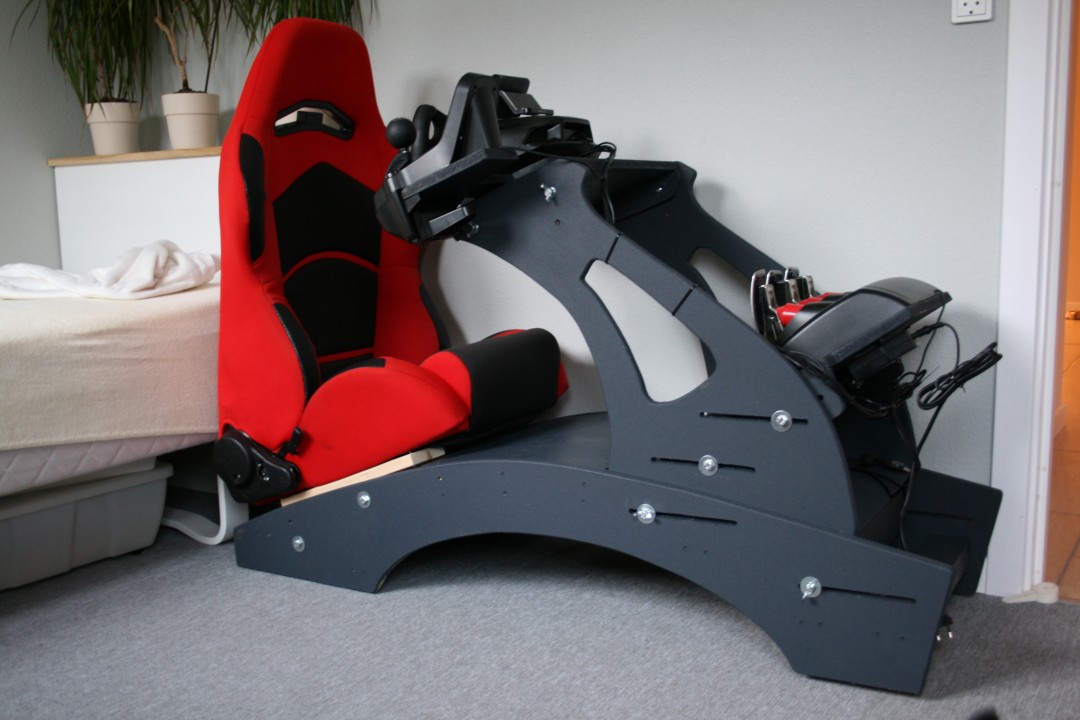
Assembling and testing
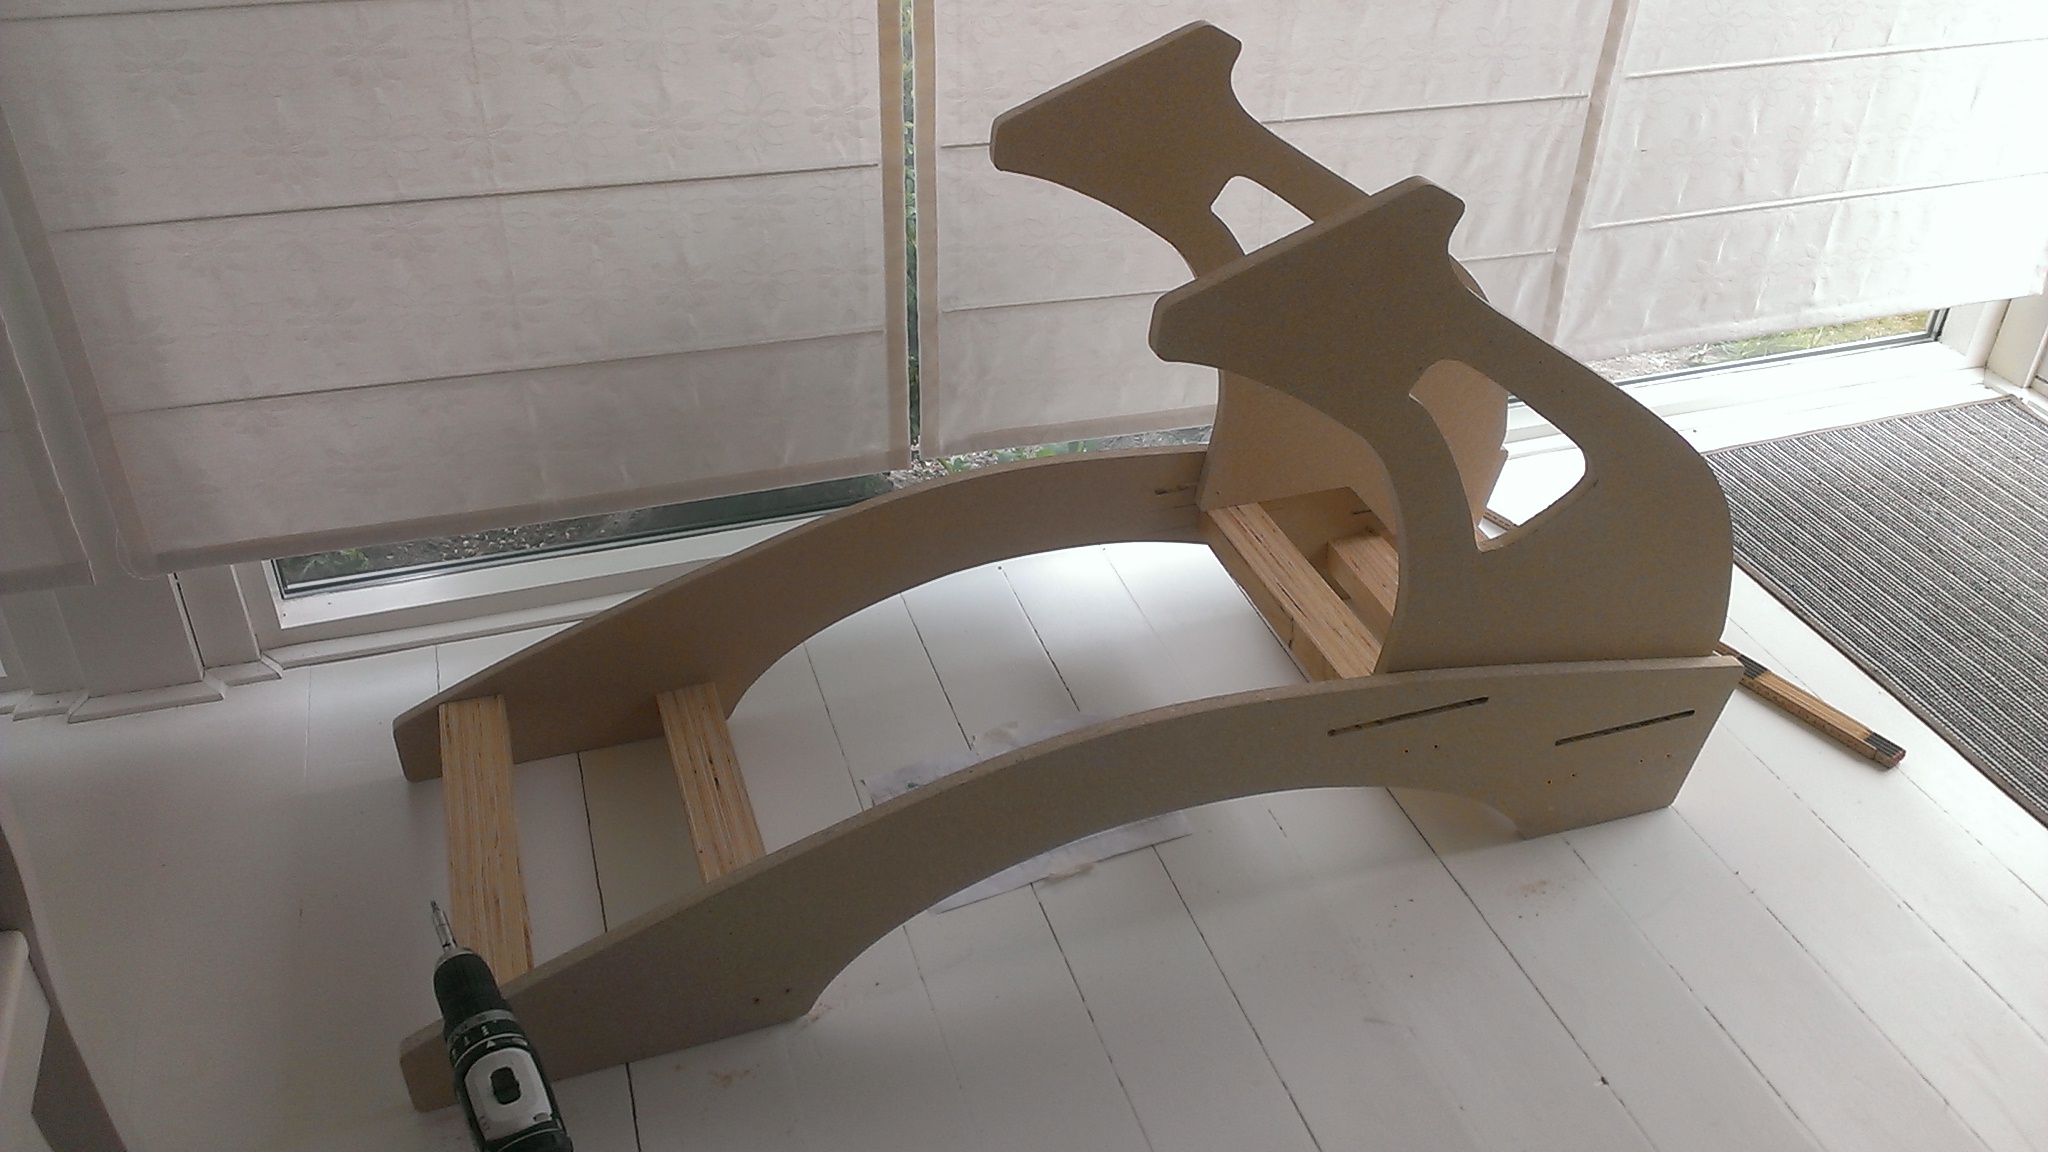

And final touches
Paint, “floor”, holder for gearshift (only uses the buttons)
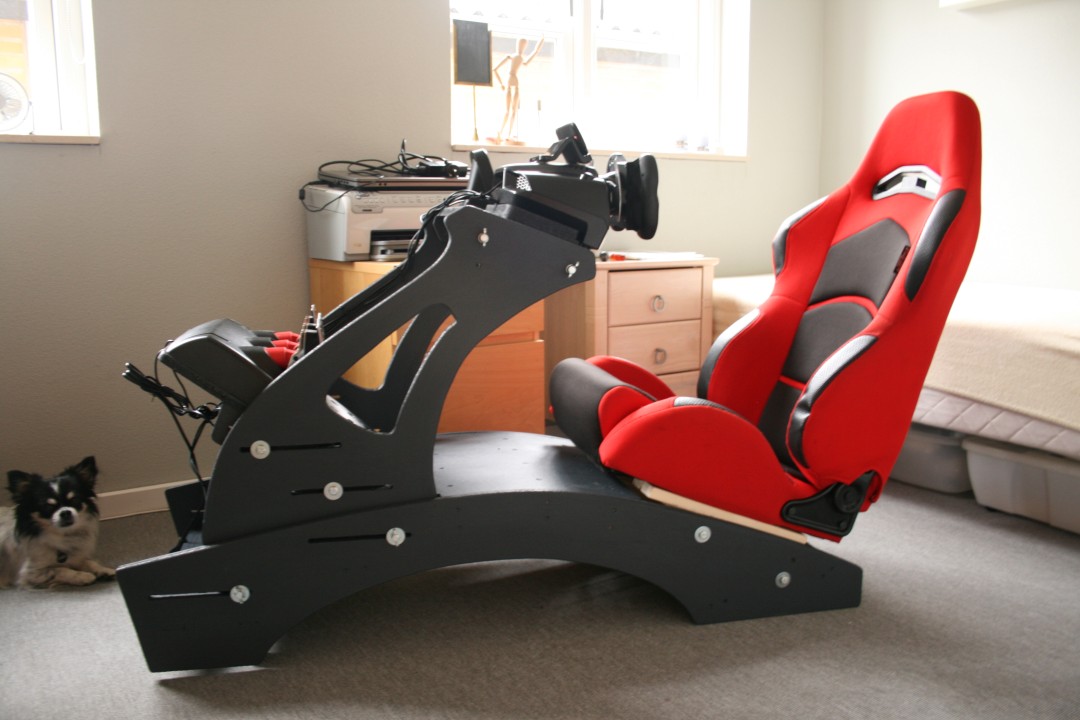

It even fits in the room when not using it.
Excellent post — insightful, clear, and truly helpful. Thanks for sharing!
Great post! Very informative and easy to understand.